TA Instruments Packing the 2970 DEA Instrumen tt
TA Instruments Packing the 2970 DEA Instrumen tt
TA Instruments Packing the 2970 DEA Instrumen tt
- No tags were found...

You also want an ePaper? Increase the reach of your titles
YUMPU automatically turns print PDFs into web optimized ePapers that Google loves.
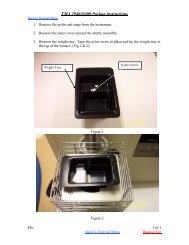
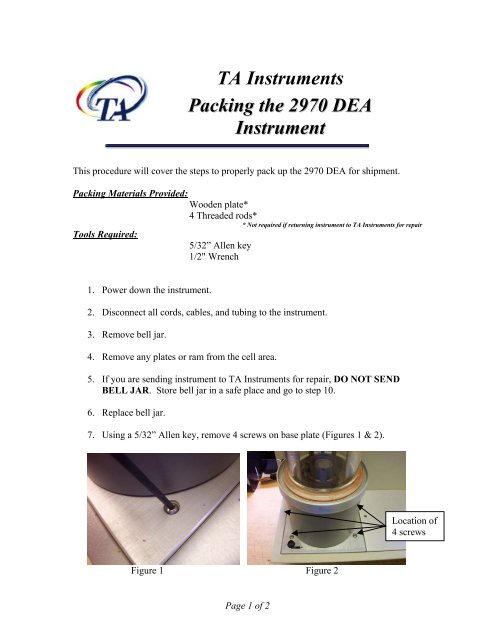
<strong>TA</strong> <strong><strong>Instrumen</strong>ts</strong><strong>Packing</strong> <strong>the</strong> <strong>2970</strong> <strong>DEA</strong><strong>Instrumen</strong>tThis procedure will cover <strong>the</strong> steps to properly pack up <strong>the</strong> <strong>2970</strong> <strong>DEA</strong> for shipment.<strong>Packing</strong> Materials Provided:Wooden plate*4 Threaded rods** Not required if returning instrument to <strong>TA</strong> <strong><strong>Instrumen</strong>ts</strong> for repairTools Required:5/32” Allen key1/2" Wrench1. Power down <strong>the</strong> instrument.2. Disconnect all cords, cables, and tubing to <strong>the</strong> instrument.3. Remove bell jar.4. Remove any plates or ram from <strong>the</strong> cell area.5. If you are sending instrument to <strong>TA</strong> <strong><strong>Instrumen</strong>ts</strong> for repair, DO NOT SENDBELL JAR. Store bell jar in a safe place and go to step 10.6. Replace bell jar.7. Using a 5/32” Allen key, remove 4 screws on base plate (Figures 1 & 2).Location of4 screwsFigure 1 Figure 2Page 1 of 2
8. Screw in <strong>the</strong> 4 threaded rods into <strong>the</strong> screw holes of <strong>the</strong> base plate (Figure 3).9. Insert wooden plate around bell jar with threaded rods going through <strong>the</strong> holes of<strong>the</strong> wooden plate (Figure 3).10. Install washers and nuts on <strong>the</strong> 4 threaded rods.11. Tighten wooden plate down with nuts. DO NOT over tighten (Figure 4).Figure 3 Figure 412. If shipping <strong>the</strong> instrument in <strong>the</strong> reusable <strong>TA</strong> plastic shipping container;a. Place instrument in shipping container.b. Place top portion of shipping container over <strong>the</strong> instrument. Note <strong>the</strong>direction, <strong>the</strong> “FRONT” is labeled on both <strong>the</strong> top and bo<strong>tt</strong>om portions of<strong>the</strong> container. Secure <strong>the</strong> latches on all of <strong>the</strong> sides.c. Your instrument is now ready to ship.13. If shipping <strong>the</strong> instrument in <strong>the</strong> cardboard shipping carton;a. Carefully lift <strong>the</strong> instrument and remove <strong>the</strong> feet.b. Align instrument to <strong>the</strong> shock mounts on <strong>the</strong> wooden pallet.c. Secure instrument to pallet with 4 shipping bolts.d. Place pallet with instrument inside shipping carton.e. Place sleeve inside shipping carton.f. Place feet and accessories inside box and seal with heavy-duty tape.g. Using a strapping kit, secure carton to a shipping pallet.h. Your instrument is now ready to ship.<strong>TA</strong> <strong><strong>Instrumen</strong>ts</strong> strongly recommends using a MotorFreight Carrier!Page 2 of 2