Topcem Premix Topcem Premix - AltaPaints and Coatings
Topcem Premix Topcem Premix - AltaPaints and Coatings
Topcem Premix Topcem Premix - AltaPaints and Coatings
- No tags were found...
Create successful ePaper yourself
Turn your PDF publications into a flip-book with our unique Google optimized e-Paper software.
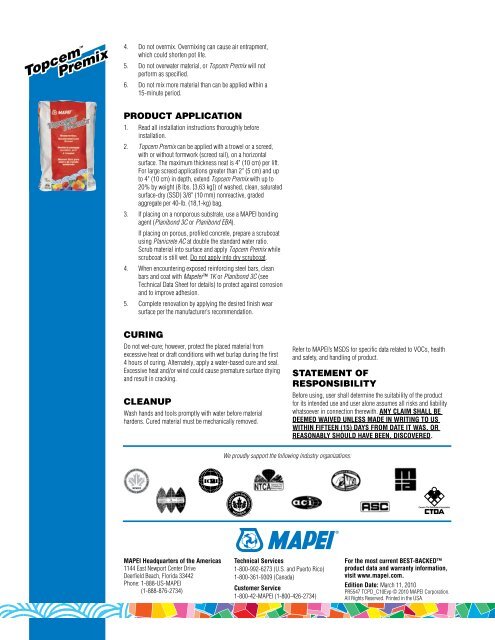
<strong>Topcem</strong> <strong>Premix</strong>4. Do not overmix. Overmixing can cause air entrapment,which could shorten pot life.5. Do not overwater material, or <strong>Topcem</strong> <strong>Premix</strong> will notperform as specified.6. Do not mix more material than can be applied within a15-minute period.Product Application1. Read all installation instructions thoroughly beforeinstallation.2. <strong>Topcem</strong> <strong>Premix</strong> can be applied with a trowel or a screed,with or without formwork (screed rail), on a horizontalsurface. The maximum thickness neat is 4" (10 cm) per lift.For large screed applications greater than 2" (5 cm) <strong>and</strong> upto 4" (10 cm) in depth, extend <strong>Topcem</strong> <strong>Premix</strong> with up to20% by weight (8 lbs. [3,63 kg]) of washed, clean, saturatedsurface-dry (SSD) 3/8" (10 mm) nonreactive, gradedaggregate per 40-lb. (18,1-kg) bag.3. If placing on a nonporous substrate, use a MAPEI bondingagent (Planibond 3C or Planibond EBA).If placing on porous, profiled concrete, prepare a scrubcoatusing Planicrete AC at double the st<strong>and</strong>ard water ratio.Scrub material into surface <strong>and</strong> apply <strong>Topcem</strong> <strong>Premix</strong> whilescrubcoat is still wet. Do not apply into dry scrubcoat.4. When encountering exposed reinforcing steel bars, cleanbars <strong>and</strong> coat with Mapefer 1K or Planibond 3C (seeTechnical Data Sheet for details) to protect against corrosion<strong>and</strong> to improve adhesion.5. Complete renovation by applying the desired finish wearsurface per the manufacturer’s recommendation.curingDo not wet-cure; however, protect the placed material fromexcessive heat or draft conditions with wet burlap during the first4 hours of curing. Alternately, apply a water-based cure <strong>and</strong> seal.Excessive heat <strong>and</strong>/or wind could cause premature surface drying<strong>and</strong> result in cracking.CleanupWash h<strong>and</strong>s <strong>and</strong> tools promptly with water before materialhardens. Cured material must be mechanically removed.Refer to MAPEI’s MSDS for specific data related to VOCs, health<strong>and</strong> safety, <strong>and</strong> h<strong>and</strong>ling of product.Statement ofResponsibilityBefore using, user shall determine the suitability of the productfor its intended use <strong>and</strong> user alone assumes all risks <strong>and</strong> liabilitywhatsoever in connection therewith. Any claim shall bedeemed waived unless made in writing to uswithin fifteen (15) days from date it was, orreasonably should have been, discovered.We proudly support the following industry organizations:MAPEI Headquarters of the Americas1144 East Newport Center DriveDeerfield Beach, Florida 33442Phone: 1-888-US-MAPEI(1-888-876-2734)Technical Services1-800-992-6273 (U.S. <strong>and</strong> Puerto Rico)1-800-361-9309 (Canada)Customer Service1-800-42-MAPEI (1-800-426-2734)For the most current BEST-BACKEDproduct data <strong>and</strong> warranty information,visit www.mapei.com.Edition Date: March 11, 2010PR5547 TCPD_C10Evp © 2010 MAPEI Corporation.All Rights Reserved. Printed in the USA.


