Battelle Developmental Inventory , 2nd Edition (BDI-2 ) - Riverside ...
Battelle Developmental Inventory , 2nd Edition (BDI-2 ) - Riverside ...
Battelle Developmental Inventory , 2nd Edition (BDI-2 ) - Riverside ...
- No tags were found...

You also want an ePaper? Increase the reach of your titles
YUMPU automatically turns print PDFs into web optimized ePapers that Google loves.
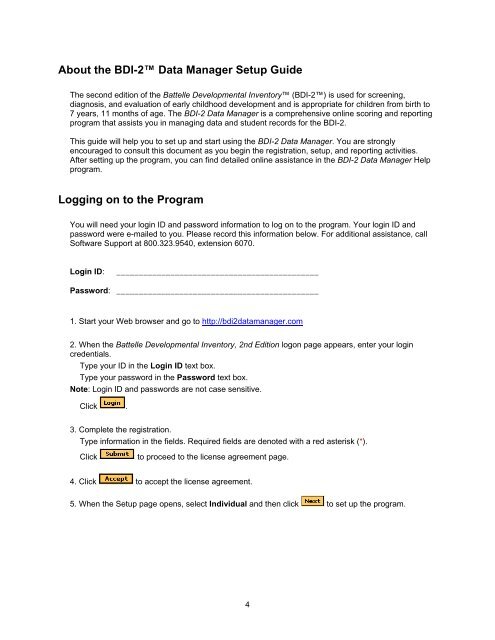
About the <strong>BDI</strong>-2 Data Manager Setup GuideThe second edition of the <strong>Battelle</strong> <strong>Developmental</strong> <strong>Inventory</strong> (<strong>BDI</strong>-2) is used for screening,diagnosis, and evaluation of early childhood development and is appropriate for children from birth to7 years, 11 months of age. The <strong>BDI</strong>-2 Data Manager is a comprehensive online scoring and reportingprogram that assists you in managing data and student records for the <strong>BDI</strong>-2.This guide will help you to set up and start using the <strong>BDI</strong>-2 Data Manager. You are stronglyencouraged to consult this document as you begin the registration, setup, and reporting activities.After setting up the program, you can find detailed online assistance in the <strong>BDI</strong>-2 Data Manager Helpprogram.Logging on to the ProgramYou will need your login ID and password information to log on to the program. Your login ID andpassword were e-mailed to you. Please record this information below. For additional assistance, callSoftware Support at 800.323.9540, extension 6070.Login ID:_____________________________________________Password: _____________________________________________1. Start your Web browser and go to http://bdi2datamanager.com2. When the <strong>Battelle</strong> <strong>Developmental</strong> <strong>Inventory</strong>, <strong>2nd</strong> <strong>Edition</strong> logon page appears, enter your logincredentials.Type your ID in the Login ID text box.Type your password in the Password text box.Note: Login ID and passwords are not case sensitive.Click .3. Complete the registration.Type information in the fields. Required fields are denoted with a red asterisk (*).Clickto proceed to the license agreement page.4. Click to accept the license agreement.5. When the Setup page opens, select Individual and then click to set up the program.4