04_How to Set up Project and True North.pdf - Autodesk ...
04_How to Set up Project and True North.pdf - Autodesk ...
04_How to Set up Project and True North.pdf - Autodesk ...
- No tags were found...

You also want an ePaper? Increase the reach of your titles
YUMPU automatically turns print PDFs into web optimized ePapers that Google loves.
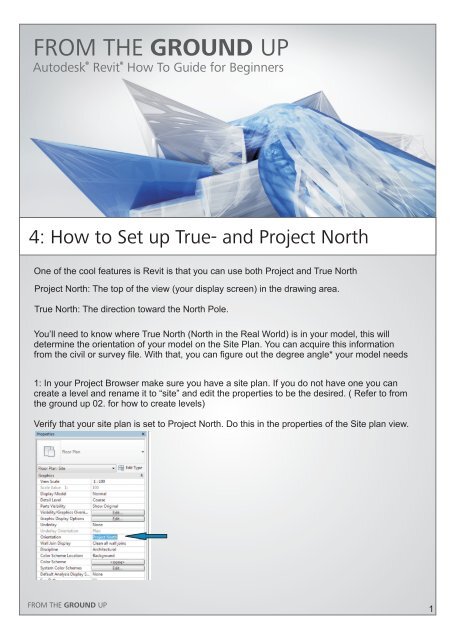
FROM THE GROUND UP®®Au<strong>to</strong>desk Revit <strong>How</strong> To Guide for Beginners4: <strong>How</strong> <strong>to</strong> <strong>Set</strong> <strong>up</strong> <strong>True</strong>- <strong>and</strong> <strong>Project</strong> <strong>North</strong>One of the cool features is Revit is that you can use both <strong>Project</strong> <strong>and</strong> <strong>True</strong> <strong>North</strong><strong>Project</strong> <strong>North</strong>: The <strong>to</strong>p of the view (your display screen) in the drawing area.<strong>True</strong> <strong>North</strong>: The direction <strong>to</strong>ward the <strong>North</strong> Pole.You’ll need <strong>to</strong> know where <strong>True</strong> <strong>North</strong> (<strong>North</strong> in the Real World) is in your model, this willdetermine the orientation of your model on the Site Plan. You can acquire this informationfrom the civil or survey file. With that, you can figure out the degree angle* your model needs1: In your <strong>Project</strong> Browser make sure you have a site plan. If you do not have one you cancreate a level <strong>and</strong> rename it <strong>to</strong> “site” <strong>and</strong> edit the properties <strong>to</strong> be the desired. ( Refer <strong>to</strong> fromthe ground <strong>up</strong> 02. for how <strong>to</strong> create levels)Verify that your site plan is set <strong>to</strong> <strong>Project</strong> <strong>North</strong>. Do this in the properties of the Site plan view.FROM THE GROUND UP1
2.. While still in your site plan view, navigate <strong>to</strong> the visibility settings on the Properties<strong>and</strong> select it.In your Visibility Graphics > Model Categories exp<strong>and</strong> site <strong>and</strong> make sure that <strong>Project</strong>base point <strong>and</strong> Survey point had been ticked.The following symbols will then appear in your project site plan view3. If your project location has not been set <strong>up</strong> select the Triangle symbol <strong>and</strong> click on“Survey Point”FROM THE GROUND UP2
4. Once Survey point has been selected the this screen will appear.Using the internet mapping service type in the project location <strong>and</strong> click ok.5. Next select the blue circular symbol which is the project base point.In the properties add it the angle <strong>to</strong> <strong>True</strong> <strong>North</strong>You now have your <strong>Project</strong> <strong>and</strong> <strong>True</strong> <strong>North</strong> <strong>Set</strong> <strong>up</strong>. You can d<strong>up</strong>licate your site plan <strong>and</strong>change the orientation of the view <strong>to</strong> show <strong>True</strong> <strong>North</strong>. Or use your project location <strong>to</strong>olsmake changes.Send your Revit <strong>How</strong> To questions <strong>to</strong> angela.lang@au<strong>to</strong>desk.comFROM THE GROUND UP3