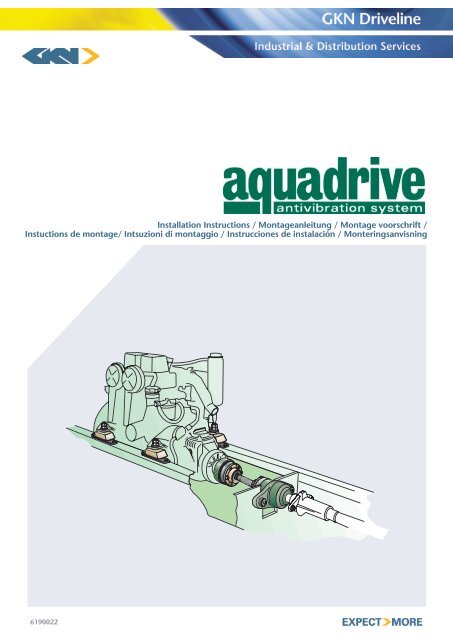
Installation Instructions / Montageanleitung / Montage voorschrift ...
Installation Instructions / Montageanleitung / Montage voorschrift ...
Installation Instructions / Montageanleitung / Montage voorschrift ...
- No tags were found...

Create successful ePaper yourself
Turn your PDF publications into a flip-book with our unique Google optimized e-Paper software.
2. Tools required / Benötigte Werkzeuge / Outils necissaires / Benodigdegereedschappen / Utillaje necesario / Attrezzi richiesti / Nödvändiga verktyg
13.A. B.B20 42 Nm / 31 lb.ftB30 85 Nm / 62 lb.ftGBA. <strong>Installation</strong>Thighten scre ws lightly and align hub . Tighten scre ws in diametr ically oppositesequence in two or three stages up to prescr ibed settings tab led in theseinstructions. Re-chec k tightening torque by appla ying it to all the scre ws.DEA. <strong>Installation</strong>Ziehen Sie die Schrauben leicht an und r ichten Sie die Nabe aus . Ziehen Siedie Schrauben in diametral gegenüber liegender Reihenf olge in zwei bis dreiSchr itten an bis zu dem Anzugsmoment, das in einer Tabelle in diesenInstruktionen für jeden Schraubentyp angegeben ist. Über prüfen Sie dasAnzugsmoment, ziehen Sie alle Schrauben danach f est.FRA. <strong>Installation</strong>Commencer à serrer les vis lentement en alignant le mo yeu. Serrer les visen croix pour les amener au couple précis en procédant en, deux ou troispasses . Contrôler le serrage au couple en passant en re vue toutes les vis .NLA. InstallatieDraai de bouten licht aan en plaats de klemb us over de klemnaaf . Zet debouten kruislings v ast in twee of dr ie stappen tot de beschre ven Sw aarde inde instr uctie is ber ikt. Controleer het aandraaimoment nogmaals door allebouten te controleren.ITA. MontaggioAvvitate moderatamente le viti ed allineate il mozz o. Serrate ordinatamentele viti poste sui diametr i del calettatore . Questa operazione de ve essereeseguita in due o tre f asi fino al raggiungimento del v alore di coppia diserragio indicato nella tabella r iportata. Ad operazione conclusa, verificatecon la chia ve dinamometr ica che il v alore della coppia di serraggio corr ispondaeffettivamente a quello indicato .ESA. InstalaciónPosicionar los tor nillos apretándolos ligeramente y alinear el cubo . Apretarlos tor nillos, de dos en dos diametralmente opuestos y de forma progresiv a,hasta conseguir el par de apr iete indicado en estas instr ucciones . Controlarque cada tor nillo esté correctamente apretado .SEA. <strong>Installation</strong>Fäst skr uvarna så att frontr ingen precis greppar och r ikta upp enheten.Dra därefter åt skr uvarna k orsvis i två, tre eller flera steg till det angivnaåtdragningsmomentet. Slutk ontrollera installationen genom att dra samtligaskr uvar med angiv et åtdragningsmoment en sista gång.GBB. Rem ova lRemo ve the scre ws and scre w them into the releaset hreads of the front r ing,pressing off the rear r ing and releasing taper slee ve (fig B). Remo ve thescre ws from the release threads only after taper slee ve has been tak en outof the hub.DEB. Schrauben entfernenLösen und entf ernen Sie die Schrauben und Schrauben Sie sie in dieFreigewinde des Vorderrings, drü cken Sie dabei den hinteren Ring herausund lösen Sie die K egelhülse (Abbildungen B).Entfernen Sie die Schrauben aus dem F reigewinde erst, nachdem dieKegelhülse aus der Nabe herausgenommen wurde .FRB. DemontageRetirer les vis de serrage et les placer dans les trous taraudés d'e xtractionprévus à cet eff et sur l'a vant de la bague . Appauyer pour sor tir la baguearrière et la bague d'appui (B). Retirer les vis seulement après avoir sor ti labague d'appui du mo yeu conique .NLB. V erwijderenVerwijder de bouten en schroef dez e in de draadgaten welk e de r ingmoeten losdr ukken, dez e zitten in de v oorste r ing. Dez e dr ukken op deachterste r ing en haalt zo de dr uk van de klemnaaf . (fig.B)Haal de boutenuit de gaten op het moment dat de klemb us v erwijdert uit de behuizing.ITB. SmontaggioRimuo vete le viti ed a vvitatele nei fori filettati di smontaggio , posizionati intesta al calettatore , facendo fuor iuscire l'anello poster iore ed estraendo ilcorpo conico (fig B).Togliete le viti dai fori di smontaggio solo dopo che il cor po conico è statorimosso dal mozz o.ESB. DesmontajeAflojar los tor nillos y ator nillarlos en los agujeros roscados de e xtracción delanillo frontal, empujando el anillo trasero y liberando el casquillo cónico(pos B). Quitar los tor nillos de los agujeros de e xtracción sólo después dehaber retirado el casquillo cónico del cubo .SEB. DemonteringGänga först ur samtliga skr uvar och fäst dem sedan i frontr ingensgängade hål. Dra åt skr uvarna k orsvis och pressa ur frontr ingen tillsden k oniska h ylsan släpper (Fig. B). Efter att frontr ingen tagits loss kanskr uvarna åter sättas tillbaka i de urspr ungliga hålen.14. 15.LA+B+C+D4= L
GKN Driveline Service Scandinavia AB, Box 3100, SE-12703 SkärholmenTlf: +46 (0) 8 603 97 00, Fax: +46 (0) 8 603 97 02www.aquadrive.com