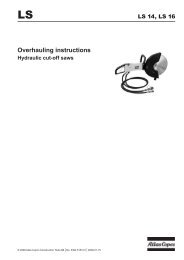
Overhauling instructions - Jackhammers.com
Overhauling instructions - Jackhammers.com
Overhauling instructions - Jackhammers.com

You also want an ePaper? Increase the reach of your titles
YUMPU automatically turns print PDFs into web optimized ePapers that Google loves.
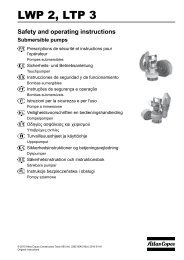
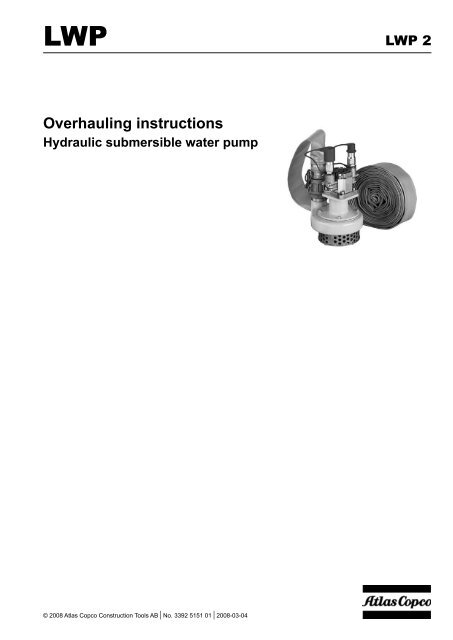
LWPLWP 2<strong>Overhauling</strong> <strong>instructions</strong>Hydraulic submersible water pump© 2008 Atlas Copco Construction Tools AB | No. 3392 5151 01 | 2008-03-04
LWP 2ContentsContentsEnglish . . . . . . . . . . . . . . . . . . . . . . . . . . . . . . . . . . . . . . . . . . . . . . . . . . . . . . . . . . . . . . . . . . . 4© 2008 Atlas Copco Construction Tools AB | No. 3392 5151 01 | 2008-03-04
ContentsLWP 2EnglishContentsAbout the <strong>Overhauling</strong> <strong>instructions</strong>. . . . . . . . . . . . . . . . . . . . . . . . . . . . . . . . . . . . . 5Special tools for repair . . . . . . . . . . . . . . . . . . . . . . . . . . . . . . . . . . . . . . . . . . . . . . . . . 6Disassembly - assembly . . . . . . . . . . . . . . . . . . . . . . . . . . . . . . . . . . . . . . . . . . . . . . . . . . . 7© 2008 Atlas Copco Construction Tools AB | No. 3392 5151 01 | 2008-03-04
LWP 2<strong>Overhauling</strong> <strong>instructions</strong>About the <strong>Overhauling</strong> <strong>instructions</strong>The aim of the <strong>instructions</strong> is to provide you with knowledge of how to make basicoverhauling of the LWP 2 water pump.Only qualified and trained persons may operate or maintain the pump. Use onlyauthorized parts. Any damage or malfunction caused by unauthorized parts will notbe covered by the Warranty or Product Liability.For major service to the pump, contact your nearest authorized Atlas Copcoworkshop.Safety <strong>instructions</strong> and technicalspecificationsPlease consult the "Spare parts list" and the "Safety and operating <strong>instructions</strong>"for the LWP 2 water pump regarding safety <strong>instructions</strong>, technical specifications,trouble shooting etc.© 2008 Atlas Copco Construction Tools AB | No. 3392 5151 01 | 2008-03-04
<strong>Overhauling</strong> <strong>instructions</strong>LWP 2Special tools for repairUsing the special tools when repairing theLWP 2 water pump will ensure a quick, smoothand precise mounting of seals and bearingswithout any damage. However, repair can alsobe done with similar tools made locally (seebelow sketches):Mandrel for lip sealPart number 3376 7184 35Dimensions of 3376 7184 35Mandrel for assemblyPart number 3376 7184 85Dimensions of 3376 7184 85Special spannerPart number 3376 7184 86Dimensions of 3376 7184 86© 2008 Atlas Copco Construction Tools AB | No. 3392 5151 01 | 2008-03-04
LWP 2<strong>Overhauling</strong> <strong>instructions</strong>Disassembly - assembly1. Disassembly: Dismount the four M6x25 insexscrews and washers. Assembly: Use thereverse order - and remember to place2 x washers at the insex screws3. Disassembly: Remove the coupling "dogshaft". Assembly: Mount the coupling "dogshaft" and make sure it fits into the shaft2. Disassembly: Dismount the hydraulic motor.Assembly: Mount the hydraulic motor andmake sure that the motor shaft fits into thecoupling shaft4. Disassembly: Dismount the four cap screwsM6x20 and washers. Assembly: Use thereverse order - and remember to place2 x washers at the cap screws© 2008 Atlas Copco Construction Tools AB | No. 3392 5151 01 | 2008-03-04
<strong>Overhauling</strong> <strong>instructions</strong>LWP 25. Disassembly: Dismount the bearing housingfrom the pump housing. If necessary, usea soft hammer to loosen. Assembly: Placethe gasket between the bearing and thepump housing8. Disassembly: Remove the insex screwM8x16 and the washer from the blade.Assembly: Mount the insex screw M8x16 andthe washer (use Loctite or similar)6. Disassembly: Remove the bearing housing.Assembly: Place the bearing housing9. Disassembly: Remove the blade by usingtwo screwdrivers or a puller. Assembly:Mount the blade and ensure correct fitting(key) at the shaft7. Disassembly: To keep the shaft in place,the special spanner (service tool) can beused. Alternatively, a screwdriver can beused to hold the blade. Assembly: Use thereverse order10. Disassembly: Remove the circlip J47 fromthe bearing housing. Assembly: Mount thecirclip J47 into the bearing housing© 2008 Atlas Copco Construction Tools AB | No. 3392 5151 01 | 2008-03-04
LWP 2<strong>Overhauling</strong> <strong>instructions</strong>11. Disassembly: Remove the water protectionseal. Assembly: Mount the water protectionseal14. Disassembly: Remove the roll pin ø3x20with a punch. Assembly: Mount the roll pinø3x20 with a hammer12. Disassembly: Remove the circlip J47,below the water protection seal, from thebearing housing. Assembly: Mount thecirclip J47 into the bearing housing15. Disassembly: Mount the seal retainer withthe lip seal onto the shaft by using mandrelfor lip seal (service tool 3376 7184 35) toensure that the lip seal is mounted withoutany damage. Assembly: Remove the sealretainer with lip seal13. Disassembly: Remove the bearingcarefully by means of a mandrel and ahammer. Assembly: Mount the bearingcarefully into the bearing housing© 2008 Atlas Copco Construction Tools AB | No. 3392 5151 01 | 2008-03-04
<strong>Overhauling</strong> <strong>instructions</strong>LWP 216. Disassembly: Remove the high-pressurelip seal from the seal retainer by means ofa screwdriver or similar. Assembly: Mountthe lip seal into the seal retainer by meansof a mandrel ø30 (service tool) or similar18. Disassembly: Turn the shaft and bearingaround and remove the circlip A20.Assembly: Turn the shaft and bearingaround and mount the circlip A20. Themandrel ø20.6 (service tool) is useful formounting O-rings onto the shaft17. Disassembly: Remove the circlip A20 fromthe shaft upper part above the bearing ø20high-pressure. Assembly: Mount one circlipA20 above the bearing ø20 high-pressure.The mandrel ø20.6 (service tool) is usefulfor mounting O-rings onto the shaft19. Disassembly: Remove the bearing ø20high-pressure with light strokes from a softhammer. Assembly: Mount the shaft intothe ø20 bearing with light strokes from asoft hammer. Secure fully back up of thebearing when mounting the shaft10© 2008 Atlas Copco Construction Tools AB | No. 3392 5151 01 | 2008-03-04
LWP 2<strong>Overhauling</strong> <strong>instructions</strong>20. Main parts of the bearing housing© 2008 Atlas Copco Construction Tools AB | No. 3392 5151 01 | 2008-03-0411
Any unauthorized use or copying of the contents or any part thereof is prohibited.This applies in particular to trademarks, model denominations, part numbers anddrawings.© 2008 Atlas Copco Construction Tools AB, Stockholm, Sweden | No. 3392 5151 01 | 2008-03-04www.atlascopco.<strong>com</strong>