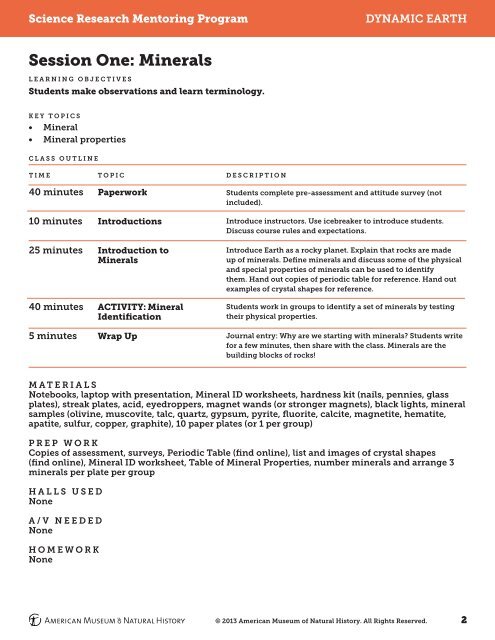
Science Research Mentoring Program<strong>Dynamic</strong> <strong>Earth</strong>Session One: Mineralslearning objectivesStudents make observations and learn terminology.key topics• Mineral• Mineral propertiesClass outlinetime40 minutes10 minutes25 minutes40 minutes5 minutesTOPICPaperworkIntroductionsIntroduction toMineralsACTIVITY: MineralIdentificationWrap UpdescriptionStudents complete pre-assessment and attitude survey (notincluded).Introduce instructors. Use icebreaker to introduce students.Discuss course rules and expectations.Introduce <strong>Earth</strong> as a rocky planet. Explain that rocks are madeup <strong>of</strong> minerals. Define minerals and discuss some <strong>of</strong> the physicaland special properties <strong>of</strong> minerals can be used to identifythem. Hand out copies <strong>of</strong> periodic table for reference. Hand outexamples <strong>of</strong> crystal shapes for reference.Students work in groups to identify a set <strong>of</strong> minerals by testingtheir physical properties.Journal entry: Why are we starting with minerals? Students writefor a few minutes, then share with the class. Minerals are thebuilding blocks <strong>of</strong> rocks!MATERIALSNotebooks, laptop with presentation, Mineral ID worksheets, hardness kit (nails, pennies, glassplates), streak plates, acid, eyedroppers, magnet wands (or stronger magnets), black lights, mineralsamples (olivine, muscovite, talc, quartz, gypsum, pyrite, fluorite, calcite, magnetite, hematite,apatite, sulfur, copper, graphite), 10 paper plates (or 1 per group)PREP WORKCopies <strong>of</strong> assessment, surveys, Periodic Table (find online), list and images <strong>of</strong> crystal shapes(find online), Mineral ID worksheet, Table <strong>of</strong> Mineral Properties, number minerals and arrange 3minerals per plate per groupHalls usedNoneA/V NeedeDNoneHOMEWORKNone© 2013 <strong>American</strong> <strong>Museum</strong> <strong>of</strong> <strong>Natural</strong> History. All Rights Reserved. 2
Science Research Mentoring Program<strong>Dynamic</strong> <strong>Earth</strong>Session One: MineralsACTIVITY: Mineral IdentificationBefore class: Set out one paper plate for each group. Draw lines on the plates to divide them into3-4 sections – one section for each mineral sample. See the list <strong>of</strong> suggested minerals below. Assigna number to each type <strong>of</strong> mineral. Write the number <strong>of</strong> the minerals on the plates as you distributeminerals to the plates. For example, one plate might have Mica (1), sulfur (8), and calcite (4), whileanother plate has Mica (1), calcite (5), and sulfur (8). Avoid putting more than one mineral from agiven class on any plate. I like to use the same number for each class, so that mica, quartz, talc, etc.are all (1). Then when revealing solutions, it’s easy to compare minerals in the same class. You justneed to specify which (1) samples are mica, and which are quartz.List <strong>of</strong> suggested minerals, by class (also see the Table <strong>of</strong> Properties):Silicates – olivine, muscovite, talc, quartzSulfates – gypsumSulfides – pyriteHalides – fluoriteCarbonates – calciteOxides – magnetite, hematitePhosphates – apatiteElements – sulfur, copper, graphiteStudents work in groups <strong>of</strong> 2-4, depending on availability <strong>of</strong> materials. Hand out pre-sortedminerals, worksheets, and materials (as needed).Read through introduction as a class. Discuss the properties tested in part (1) – color and luster.Show some examples (other than the minerals they’ll be identifying), either physical samples, orimages <strong>of</strong> minerals with various lusters. Give groups time to determine and record the properties fortheir samples.Define cleavage and crystal shape. Explain that students should rate cleavage as Perfect, Distinct,Good, Poor, Indistinct, or None. Show examples or describe ratings (perfect if it’s practically fallingapart as you pick it up, none if it looks like it would be very hard to break, and shows no lines <strong>of</strong>weakness). Show examples <strong>of</strong> crystal shapes, and encourage students to use their reference sheet.Give groups time to record these properties for each <strong>of</strong> their samples.Explain that the color <strong>of</strong> a mineral’s streak (powder form) can be different from the color <strong>of</strong> themineral. Show examples. Remind students to be careful with the more delicate samples. Give groupstime to record the streak <strong>of</strong> their samples.Discuss the Moh’s scales, and explain that students won’t be able to determine an exact hardness buta range <strong>of</strong> possible harnesses (for example, 2.5-3.5). Show a Moh’s scale that gives the hardness <strong>of</strong>each <strong>of</strong> the items they use in their hardness kit: fingernail, penny, glass, and steel nail. Give groupstime to determine and record the hardness <strong>of</strong> their samples.© 2013 <strong>American</strong> <strong>Museum</strong> <strong>of</strong> <strong>Natural</strong> History. All Rights Reserved. 3