

US $5.95 • Can $7.95 - O scale trains
US $5.95 • Can $7.95 - O scale trains
US $5.95 • Can $7.95 - O scale trains

You also want an ePaper? Increase the reach of your titles
YUMPU automatically turns print PDFs into web optimized ePapers that Google loves.
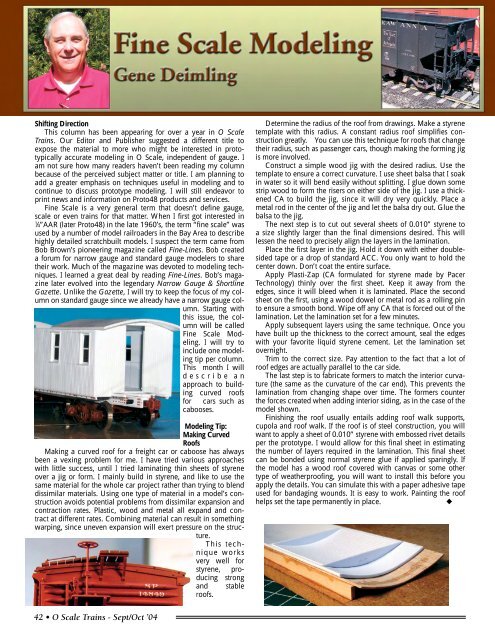
Shifting DirectionThis column has been appearing for over a year in O ScaleTrains. Our Editor and Publisher suggested a different title toexpose the material to more who might be interested in prototypicallyaccurate modeling in O Scale, independent of gauge. Iam not sure how many readers haven’t been reading my columnbecause of the perceived subject matter or title. I am planning toadd a greater emphasis on techniques useful in modeling and tocontinue to discuss prototype modeling. I will still endeavor toprint news and information on Proto48 products and services.Fine Scale is a very general term that doesn’t define gauge,<strong>scale</strong> or even <strong>trains</strong> for that matter. When I first got interested in1⁄4”AAR (later Proto48) in the late 1960’s, the term “fine <strong>scale</strong>” wasused by a number of model railroaders in the Bay Area to describehighly detailed scratchbuilt models. I suspect the term came fromBob Brown’s pioneering magazine called Fine-Lines. Bob createda forum for narrow gauge and standard gauge modelers to sharetheir work. Much of the magazine was devoted to modeling techniques.I learned a great deal by reading Fine-Lines. Bob’s magazinelater evolved into the legendary Narrow Gauge & ShortlineGazette. Unlike the Gazette, I will try to keep the focus of my columnon standard gauge since we already have a narrow gauge column.Starting withthis issue, the columnwill be calledFine Scale Modeling.I will try toinclude one modelingtip per column.This month I willd e s c r i b e a napproach to buildingcurved roofsfor cars such ascabooses.Modeling Tip:Making CurvedRoofsMaking a curved roof for a freight car or caboose has alwaysbeen a vexing problem for me. I have tried various approacheswith little success, until I tried laminating thin sheets of styreneover a jig or form. I mainly build in styrene, and like to use thesame material for the whole car project rather than trying to blenddissimilar materials. Using one type of material in a model’s constructionavoids potential problems from dissimilar expansion andcontraction rates. Plastic, wood and metal all expand and contractat different rates. Combining material can result in somethingwarping, since uneven expansion will exert pressure on the structure.This techniqueworksvery well forstyrene, producingstrongand stableroofs.Determine the radius of the roof from drawings. Make a styrenetemplate with this radius. A constant radius roof simplifies constructiongreatly. You can use this technique for roofs that changetheir radius, such as passenger cars, though making the forming jigis more involved.Construct a simple wood jig with the desired radius. Use thetemplate to ensure a correct curvature. I use sheet balsa that I soakin water so it will bend easily without splitting. I glue down somestrip wood to form the risers on either side of the jig. I use a thickenedCA to build the jig, since it will dry very quickly. Place ametal rod in the center of the jig and let the balsa dry out. Glue thebalsa to the jig.The next step is to cut out several sheets of 0.010” styrene toa size slightly larger than the final dimensions desired. This willlessen the need to precisely align the layers in the lamination.Place the first layer in the jig. Hold it down with either doublesidedtape or a drop of standard ACC. You only want to hold thecenter down. Don’t coat the entire surface.Apply Plasti-Zap (CA formulated for styrene made by PacerTechnology) thinly over the first sheet. Keep it away from theedges, since it will bleed when it is laminated. Place the secondsheet on the first, using a wood dowel or metal rod as a rolling pinto ensure a smooth bond. Wipe off any CA that is forced out of thelamination. Let the lamination set for a few minutes.Apply subsequent layers using the same technique. Once youhave built up the thickness to the correct amount, seal the edgeswith your favorite liquid styrene cement. Let the lamination setovernight.Trim to the correct size. Pay attention to the fact that a lot ofroof edges are actually parallel to the car side.The last step is to fabricate formers to match the interior curvature(the same as the curvature of the car end). This prevents thelamination from changing shape over time. The formers counterthe forces created when adding interior siding, as in the case of themodel shown.Finishing the roof usually entails adding roof walk supports,cupola and roof walk. If the roof is of steel construction, you willwant to apply a sheet of 0.010” styrene with embossed rivet detailsper the prototype. I would allow for this final sheet in estimatingthe number of layers required in the lamination. This final sheetcan be bonded using normal styrene glue if applied sparingly. Ifthe model has a wood roof covered with canvas or some othertype of weatherproofing, you will want to install this before youapply the details. You can simulate this with a paper adhesive tapeused for bandaging wounds. It is easy to work. Painting the roofhelps set the tape permanently in place.◆42 <strong>•</strong> O Scale Trains - Sept/Oct ’04


