

The Proteus Framebuilding Book - Proteus Bicycles
The Proteus Framebuilding Book - Proteus Bicycles
The Proteus Framebuilding Book - Proteus Bicycles

You also want an ePaper? Increase the reach of your titles
YUMPU automatically turns print PDFs into web optimized ePapers that Google loves.
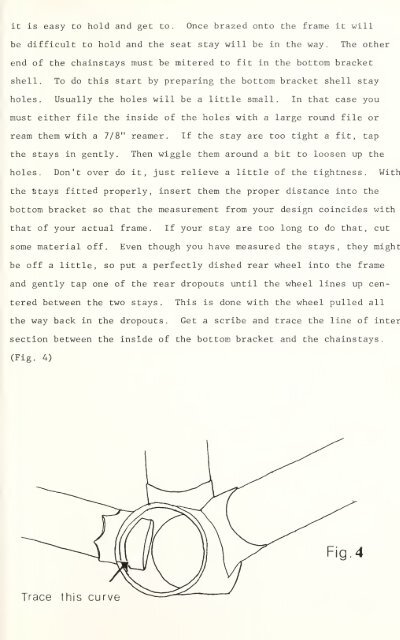
4it is easy to hold and get to. Once brazed onto the frame it willbe difficult to hold and the seat stay will be in the way. <strong>The</strong> otherend of the chainstays must be mitered to fit in the bottom bracketshell. To do this start by preparing the bottom bracket shell stayholes. Usually the holes will be a little small. In that case youmust either file the inside of the holes with a large round file orream them with a 7/8" reamer. If the stay are too tight a fit, tapthe stays in gently. <strong>The</strong>n wiggle them around a bit to loosen up theholes. Don't over do it, just relieve a little of the tightness. Withthe Stays fitted properly, insert them the proper distance into thebottom bracket so that the measurement from your design coincides withthat of your actual frame. If your stay are too long to do that, cutsome material off. Even though you have measured the stays, they mightbe off a little, so put a perfectly dished rear wheel into the frameand gently tap one of the rear dropouts until the wheel lines up centeredbetween the two stays. This is done with the wheel pulled allthe way back in the dropouts. Get a scribe and trace the line of intersection between the inside of the bottom bracket and the chainstays.(Fig. 4)Fig.Trace this curve