03 33 00 - 008 - PVC Waterstop - Garney Construction
03 33 00 - 008 - PVC Waterstop - Garney Construction
03 33 00 - 008 - PVC Waterstop - Garney Construction
You also want an ePaper? Increase the reach of your titles
YUMPU automatically turns print PDFs into web optimized ePapers that Google loves.
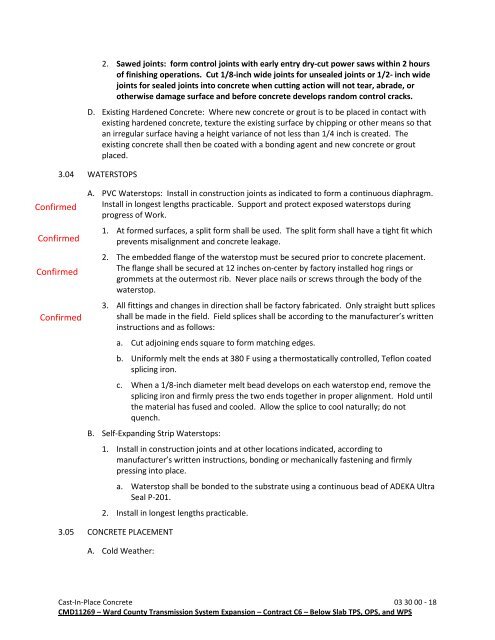
2. Sawed joints: form control joints with early entry dry-cut power saws within 2 hoursof finishing operations. Cut 1/8-inch wide joints for unsealed joints or 1/2- inch widejoints for sealed joints into concrete when cutting action will not tear, abrade, orotherwise damage surface and before concrete develops random control cracks.D. Existing Hardened Concrete: Where new concrete or grout is to be placed in contact withexisting hardened concrete, texture the existing surface by chipping or other means so thatan irregular surface having a height variance of not less than 1/4 inch is created. Theexisting concrete shall then be coated with a bonding agent and new concrete or groutplaced.3.04 WATERSTOPSA. <strong>PVC</strong> <strong>Waterstop</strong>s: Install in construction joints as indicated to form a continuous diaphragm.Install in longest lengths practicable. Support and protect exposed waterstops duringprogress of Work.1. At formed surfaces, a split form shall be used. The split form shall have a tight fit whichprevents misalignment and concrete leakage.2. The embedded flange of the waterstop must be secured prior to concrete placement.The flange shall be secured at 12 inches on-center by factory installed hog rings orgrommets at the outermost rib. Never place nails or screws through the body of thewaterstop.3. All fittings and changes in direction shall be factory fabricated. Only straight butt splicesshall be made in the field. Field splices shall be according to the manufacturer’s writteninstructions and as follows:a. Cut adjoining ends square to form matching edges.b. Uniformly melt the ends at 380 F using a thermostatically controlled, Teflon coatedsplicing iron.c. When a 1/8-inch diameter melt bead develops on each waterstop end, remove thesplicing iron and firmly press the two ends together in proper alignment. Hold untilthe material has fused and cooled. Allow the splice to cool naturally; do notquench.B. Self-Expanding Strip <strong>Waterstop</strong>s:1. Install in construction joints and at other locations indicated, according tomanufacturer’s written instructions, bonding or mechanically fastening and firmlypressing into place.a. <strong>Waterstop</strong> shall be bonded to the substrate using a continuous bead of ADEKA UltraSeal P-201.2. Install in longest lengths practicable.3.05 CONCRETE PLACEMENTA. Cold Weather:Cast-In-Place Concrete <strong>03</strong> 30 <strong>00</strong> - 18CMD11269 – Ward County Transmission System Expansion – Contract C6 – Below Slab TPS, OPS, and WPS


