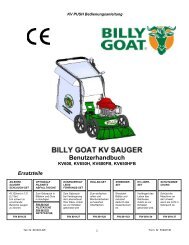
BILLY GOAT KD VACUUM
KD612 - Billy Goat
KD612 - Billy Goat
- No tags were found...

Create successful ePaper yourself
Turn your PDF publications into a flip-book with our unique Google optimized e-Paper software.
<strong>KD</strong> Owner’s Manual<br />
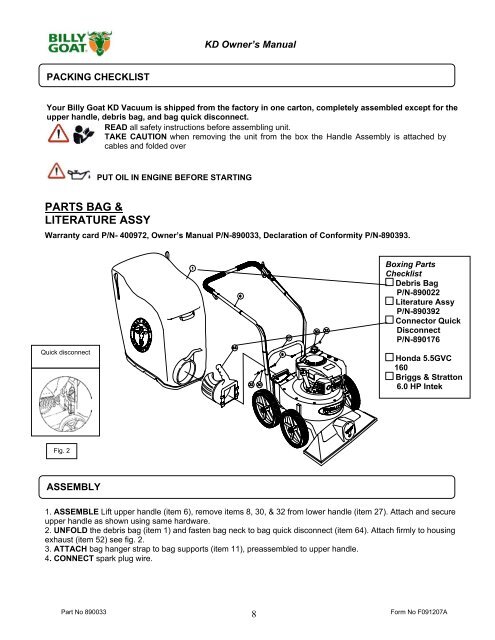
PACKING CHECKLIST<br />
Your Billy Goat <strong>KD</strong> Vacuum is shipped from the factory in one carton, completely assembled except for the<br />
upper handle, debris bag, and bag quick disconnect.<br />
READ all safety instructions before assembling unit.<br />
TAKE CAUTION when removing the unit from the box the Handle Assembly is attached by<br />
cables and folded over<br />
PUT OIL IN ENGINE BEFORE STARTING<br />
PARTS BAG &<br />
LITERATURE ASSY<br />
Warranty card P/N- 400972, Owner’s Manual P/N-890033, Declaration of Conformity P/N-890393.<br />
Quick disconnect<br />
Boxing Parts<br />
Checklist<br />
Debris Bag<br />
P/N-890022<br />
Literature Assy<br />
P/N-890392<br />
Connector Quick<br />
Disconnect<br />
P/N-890176<br />
Honda 5.5GVC<br />
160<br />
Briggs & Stratton<br />
6.0 HP Intek<br />
Fig. 2<br />
ASSEMBLY<br />
1. ASSEMBLE Lift upper handle (item 6), remove items 8, 30, & 32 from lower handle (item 27). Attach and secure<br />
upper handle as shown using same hardware.<br />
2. UNFOLD the debris bag (item 1) and fasten bag neck to bag quick disconnect (item 64). Attach firmly to housing<br />
exhaust (item 52) see fig. 2.<br />
3. ATTACH bag hanger strap to bag supports (item 11), preassembled to upper handle.<br />
4. CONNECT spark plug wire.<br />
Part No 890033<br />
8<br />
Form No F091207A