

BIS 261 DeVry All Week iLab

You also want an ePaper? Increase the reach of your titles
YUMPU automatically turns print PDFs into web optimized ePapers that Google loves.
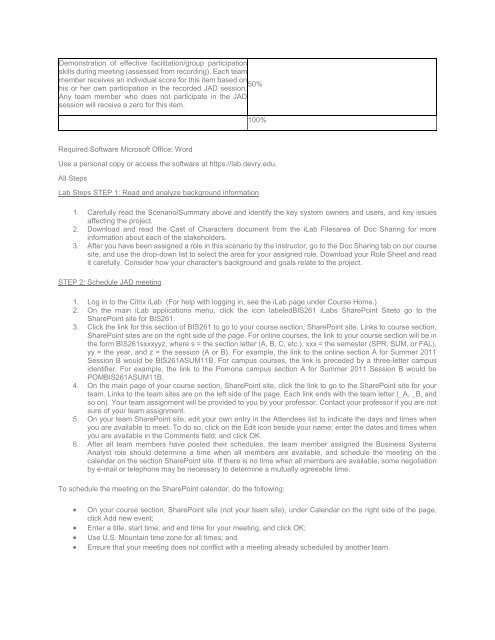
Demonstration of effective facilitation/group participation<br />
skills during meeting (assessed from recording). Each team<br />
member receives an individual score for this item based on<br />
50%<br />
his or her own participation in the recorded JAD session.<br />
Any team member who does not participate in the JAD<br />
session will receive a zero for this item.<br />
100%<br />
Required Software Microsoft Office: Word<br />
Use a personal copy or access the software at https://lab.devry.edu.<br />
<strong>All</strong> Steps<br />
Lab Steps STEP 1: Read and analyze background information<br />
1. Carefully read the Scenario/Summary above and identify the key system owners and users, and key issues<br />
affecting the project.<br />
2. Download and read the Cast of Characters document from the <strong>iLab</strong> Filesarea of Doc Sharing for more<br />
information about each of the stakeholders.<br />
3. After you have been assigned a role in this scenario by the instructor, go to the Doc Sharing tab on our course<br />
site, and use the drop-down list to select the area for your assigned role. Download your Role Sheet and read<br />
it carefully. Consider how your character's background and goals relate to the project.<br />
STEP 2: Schedule JAD meeting<br />
1. Log in to the Citrix <strong>iLab</strong>. (For help with logging in, see the <strong>iLab</strong> page under Course Home.)<br />
2. On the main <strong>iLab</strong> applications menu, click the icon labeled<strong>BIS</strong><strong>261</strong> <strong>iLab</strong>s SharePoint Siteto go to the<br />
SharePoint site for <strong>BIS</strong><strong>261</strong>.<br />
3. Click the link for this section of <strong>BIS</strong><strong>261</strong> to go to your course section, SharePoint site. Links to course section,<br />
SharePoint sites are on the right side of the page. For online courses, the link to your course section will be in<br />
the form <strong>BIS</strong><strong>261</strong>sxxxyyz, where s = the section letter (A, B, C, etc.), xxx = the semester (SPR, SUM, or FAL),<br />
yy = the year, and z = the session (A or B). For example, the link to the online section A for Summer 2011<br />
Session B would be <strong>BIS</strong><strong>261</strong>ASUM11B. For campus courses, the link is preceded by a three-letter campus<br />
identifier. For example, the link to the Pomona campus section A for Summer 2011 Session B would be<br />
POM<strong>BIS</strong><strong>261</strong>ASUM11B.<br />
4. On the main page of your course section, SharePoint site, click the link to go to the SharePoint site for your<br />
team. Links to the team sites are on the left side of the page. Each link ends with the team letter (_A, _B, and<br />
so on). Your team assignment will be provided to you by your professor. Contact your professor if you are not<br />
sure of your team assignment.<br />
5. On your team SharePoint site, edit your own entry in the Attendees list to indicate the days and times when<br />
you are available to meet. To do so, click on the Edit icon beside your name; enter the dates and times when<br />
you are available in the Comments field; and click OK.<br />
6. After all team members have posted their schedules, the team member assigned the Business Systems<br />
Analyst role should determine a time when all members are available, and schedule the meeting on the<br />
calendar on the section SharePoint site. If there is no time when all members are available, some negotiation<br />
by e-mail or telephone may be necessary to determine a mutually agreeable time.<br />
To schedule the meeting on the SharePoint calendar, do the following:<br />
<br />
<br />
<br />
<br />
On your course section, SharePoint site (not your team site), under Calendar on the right side of the page,<br />
click Add new event;<br />
Enter a title, start time, and end time for your meeting, and click OK;<br />
Use U.S. Mountain time zone for all times; and<br />
Ensure that your meeting does not conflict with a meeting already scheduled by another team.


