59937994-dcbfbf565cf540159a201115f02fca9e8637894d

Create successful ePaper yourself
Turn your PDF publications into a flip-book with our unique Google optimized e-Paper software.
Photographing mosaics<br />
in a museum<br />
This article looks at photographing mosaics in a museum setting.<br />
This is not about camera settings, lighting etc but more the basic<br />
considerations.<br />
How are mosaics usually displayed? The most common option,<br />
due to the space involved, is to find them stuck up on the walls.<br />
No, it's not ideal but sometimes this is the only way to get them on<br />
display, especially if the museum does not have mosaics as its<br />
main focus.<br />
The disadvantages of this is that you do not get to see them as they<br />
were meant to be seen in the room they were placed in originally.<br />
The advantage is if they are mounted on a wall then you can get<br />
really close, close enough to see the individual tesserae. Well, the<br />
bits you can reach without having to bring your own stepladder!<br />
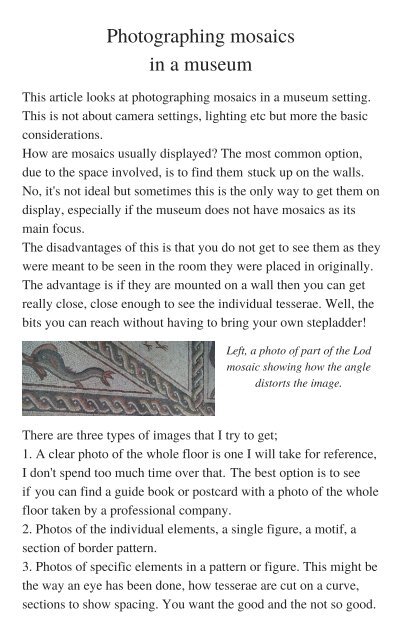
Left, a photo of part of the Lod<br />
mosaic showing how the angle<br />
distorts the image.<br />
There are three types of images that I try to get;<br />
1. A clear photo of the whole floor is one I will take for reference,<br />
I don't spend too much time over that. The best option is to see<br />
if you can find a guide book or postcard with a photo of the whole<br />
floor taken by a professional company.<br />
2. Photos of the individual elements, a single figure, a motif, a<br />
section of border pattern.<br />
3. Photos of specific elements in a pattern or figure. This might be<br />
the way an eye has been done, how tesserae are cut on a curve,<br />
sections to show spacing. You want the good and the not so good.