Trent Polack's OpenGL Game Programming Tutorials
Trent Polack's OpenGL Game Programming Tutorials
Trent Polack's OpenGL Game Programming Tutorials

Create successful ePaper yourself
Turn your PDF publications into a flip-book with our unique Google optimized e-Paper software.
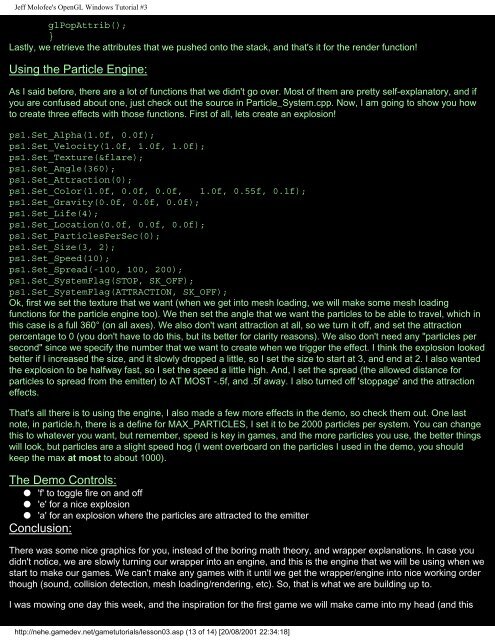
Jeff Molofee's <strong>OpenGL</strong> Windows Tutorial #3<br />
glPopAttrib();<br />
}<br />
Lastly, we retrieve the attributes that we pushed onto the stack, and that's it for the render function!<br />
Using the Particle Engine:<br />
As I said before, there are a lot of functions that we didn't go over. Most of them are pretty self-explanatory, and if<br />
you are confused about one, just check out the source in Particle_System.cpp. Now, I am going to show you how<br />
to create three effects with those functions. First of all, lets create an explosion!<br />
ps1.Set_Alpha(1.0f, 0.0f);<br />
ps1.Set_Velocity(1.0f, 1.0f, 1.0f);<br />
ps1.Set_Texture(&flare);<br />
ps1.Set_Angle(360);<br />
ps1.Set_Attraction(0);<br />
ps1.Set_Color(1.0f, 0.0f, 0.0f, 1.0f, 0.55f, 0.1f);<br />
ps1.Set_Gravity(0.0f, 0.0f, 0.0f);<br />
ps1.Set_Life(4);<br />
ps1.Set_Location(0.0f, 0.0f, 0.0f);<br />
ps1.Set_ParticlesPerSec(0);<br />
ps1.Set_Size(3, 2);<br />
ps1.Set_Speed(10);<br />
ps1.Set_Spread(-100, 100, 200);<br />
ps1.Set_SystemFlag(STOP, SK_OFF);<br />
ps1.Set_SystemFlag(ATTRACTION, SK_OFF);<br />
Ok, first we set the texture that we want (when we get into mesh loading, we will make some mesh loading<br />
functions for the particle engine too). We then set the angle that we want the particles to be able to travel, which in<br />
this case is a full 360° (on all axes). We also don't want attraction at all, so we turn it off, and set the attraction<br />
percentage to 0 (you don't have to do this, but its better for clarity reasons). We also don't need any "particles per<br />
second" since we specify the number that we want to create when we trigger the effect. I think the explosion looked<br />
better if I increased the size, and it slowly dropped a little, so I set the size to start at 3, and end at 2. I also wanted<br />
the explosion to be halfway fast, so I set the speed a little high. And, I set the spread (the allowed distance for<br />
particles to spread from the emitter) to AT MOST -.5f, and .5f away. I also turned off 'stoppage' and the attraction<br />
effects.<br />
That's all there is to using the engine, I also made a few more effects in the demo, so check them out. One last<br />
note, in particle.h, there is a define for MAX_PARTICLES, I set it to be 2000 particles per system. You can change<br />
this to whatever you want, but remember, speed is key in games, and the more particles you use, the better things<br />
will look, but particles are a slight speed hog (I went overboard on the particles I used in the demo, you should<br />
keep the max at most to about 1000).<br />
The Demo Controls:<br />
● 'f' to toggle fire on and off<br />
● 'e' for a nice explosion<br />
● 'a' for an explosion where the particles are attracted to the emitter<br />
Conclusion:<br />
There was some nice graphics for you, instead of the boring math theory, and wrapper explanations. In case you<br />
didn't notice, we are slowly turning our wrapper into an engine, and this is the engine that we will be using when we<br />
start to make our games. We can't make any games with it until we get the wrapper/engine into nice working order<br />
though (sound, collision detection, mesh loading/rendering, etc). So, that is what we are building up to.<br />
I was mowing one day this week, and the inspiration for the first game we will make came into my head (and this<br />
http://nehe.gamedev.net/gametutorials/lesson03.asp (13 of 14) [20/08/2001 22:34:18]