

QUILTsocial Issue 12
Welcome to another extraordinary QUILTsocial issue! Don't miss the 11 essential tips for quilting on a domestic machine. See which machine features help you to accomplish beautiful quilting results. We also look at how we can get even more creative, if that's possible, by using FABRIC FUN Fabric Markers to enhance your quilting, make it look like it were applique, make your own 'printed' fabric and add dimension, all using these fabric markers! We're taking a close look at the features of the Husqvarna Viking Designer Ruby deLuxe and Brother Dreamweaver XE, which you don't want to miss. In exploring the features, we also explore what's important to know when quilting a machine embroidered piece and a hand embroidered piece - what's the difference? Find out in this issue! Included are several quilting projects using Northcott fabrics, including one of Banyan Batiks latest, Mary Batik. Make sure you scroll to the very end there's a drop dead gorgeous quilt called Birds of Paradise by none other than Elaine Theriault. The pattern is reminiscent of the exotic birds.
Welcome to another extraordinary QUILTsocial issue! Don't miss the 11 essential tips for quilting on a domestic machine. See which machine features help you to accomplish beautiful quilting results. We also look at how we can get even more creative, if that's possible, by using FABRIC FUN Fabric Markers to enhance your quilting, make it look like it were applique, make your own 'printed' fabric and add dimension, all using these fabric markers!
We're taking a close look at the features of the Husqvarna Viking Designer Ruby deLuxe and Brother Dreamweaver XE, which you don't want to miss. In exploring the features, we also explore what's important to know when quilting a machine embroidered piece and a hand embroidered piece - what's the difference? Find out in this issue!
Included are several quilting projects using Northcott fabrics, including one of Banyan Batiks latest, Mary Batik. Make sure you scroll to the very end there's a drop dead gorgeous quilt called Birds of Paradise by none other than Elaine Theriault. The pattern is reminiscent of the exotic birds.
- No tags were found...

Create successful ePaper yourself
Turn your PDF publications into a flip-book with our unique Google optimized e-Paper software.
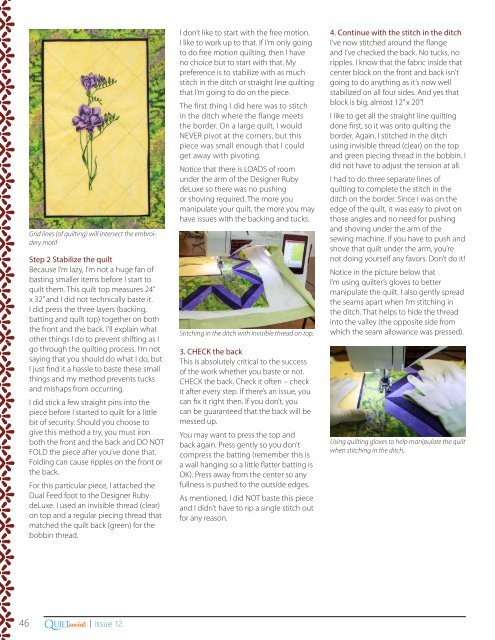
Grid lines (of quilting) will intersect the embroidery<br />
motif<br />
Step 2 Stabilize the quilt<br />
Because I’m lazy, I’m not a huge fan of<br />
basting smaller items before I start to<br />
quilt them. This quilt top measures 24’’<br />
x 32’’ and I did not technically baste it.<br />
I did press the three layers (backing,<br />
batting and quilt top) together on both<br />
the front and the back. I’ll explain what<br />
other things I do to prevent shifting as I<br />
go through the quilting process. I’m not<br />
saying that you should do what I do, but<br />
I just find it a hassle to baste these small<br />
things and my method prevents tucks<br />
and mishaps from occurring.<br />
I did stick a few straight pins into the<br />
piece before I started to quilt for a little<br />
bit of security. Should you choose to<br />
give this method a try, you must iron<br />
both the front and the back and DO NOT<br />
FOLD the piece after you’ve done that.<br />
Folding can cause ripples on the front or<br />
the back.<br />
For this particular piece, I attached the<br />
Dual Feed foot to the Designer Ruby<br />
deLuxe. I used an invisible thread (clear)<br />
on top and a regular piecing thread that<br />
matched the quilt back (green) for the<br />
bobbin thread.<br />
I don’t like to start with the free motion.<br />
I like to work up to that. If I’m only going<br />
to do free motion quilting, then I have<br />
no choice but to start with that. My<br />
preference is to stabilize with as much<br />
stitch in the ditch or straight line quilting<br />
that I’m going to do on the piece.<br />
The first thing I did here was to stitch<br />
in the ditch where the flange meets<br />
the border. On a large quilt, I would<br />
NEVER pivot at the corners, but this<br />
piece was small enough that I could<br />
get away with pivoting.<br />
Notice that there is LOADS of room<br />
under the arm of the Designer Ruby<br />
deLuxe so there was no pushing<br />
or shoving required. The more you<br />
manipulate your quilt, the more you may<br />
have issues with the backing and tucks.<br />
Stitching in the ditch with invisible thread on top.<br />
3. CHECK the back<br />
This is absolutely critical to the success<br />
of the work whether you baste or not.<br />
CHECK the back. Check it often – check<br />
it after every step. If there’s an issue, you<br />
can fix it right then. If you don’t, you<br />
can be guaranteed that the back will be<br />
messed up.<br />
You may want to press the top and<br />
back again. Press gently so you don’t<br />
compress the batting (remember this is<br />
a wall hanging so a little flatter batting is<br />
OK). Press away from the center so any<br />
fullness is pushed to the outside edges.<br />
As mentioned, I did NOT baste this piece<br />
and I didn’t have to rip a single stitch out<br />
for any reason.<br />
4. Continue with the stitch in the ditch<br />
I’ve now stitched around the flange<br />
and I’ve checked the back. No tucks, no<br />
ripples. I know that the fabric inside that<br />
center block on the front and back isn’t<br />
going to do anything as it’s now well<br />
stabilized on all four sides. And yes that<br />
block is big, almost <strong>12</strong>’’ x 20’’!<br />
I like to get all the straight line quilting<br />
done first, so it was onto quilting the<br />
border. Again, I stitched in the ditch<br />
using invisible thread (clear) on the top<br />
and green piecing thread in the bobbin. I<br />
did not have to adjust the tension at all.<br />
I had to do three separate lines of<br />
quilting to complete the stitch in the<br />
ditch on the border. Since I was on the<br />
edge of the quilt, it was easy to pivot on<br />
those angles and no need for pushing<br />
and shoving under the arm of the<br />
sewing machine. If you have to push and<br />
shove that quilt under the arm, you’re<br />
not doing yourself any favors. Don’t do it!<br />
Notice in the picture below that<br />
I’m using quilter’s gloves to better<br />
manipulate the quilt. I also gently spread<br />
the seams apart when I’m stitching in<br />
the ditch. That helps to hide the thread<br />
into the valley (the opposite side from<br />
which the seam allowance was pressed).<br />
Using quilting gloves to help manipulate the quilt<br />
when stitching in the ditch.<br />
Q<br />
46 .com| issue <strong>12</strong><br />
UILTsocial


