SVC200
Side view cameras with turn signals
Side view cameras with turn signals

Create successful ePaper yourself
Turn your PDF publications into a flip-book with our unique Google optimized e-Paper software.
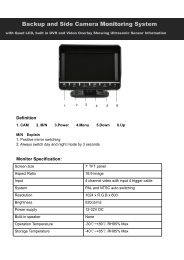
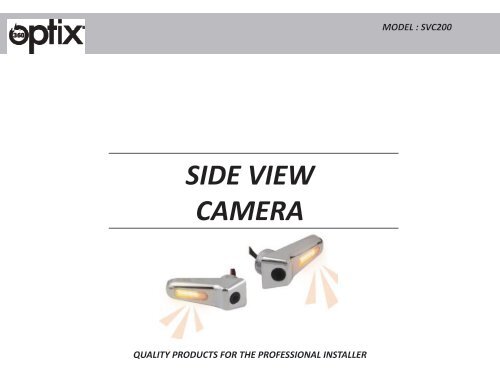
MODEL : <strong>SVC200</strong><br />
SIDE VIEW<br />
CAMERA<br />
QUALITY PRODUCTS FOR THE PROFESSIONAL INSTALLER
MODEL : <strong>SVC200</strong><br />
Table of Contents<br />
INTRODUCTION 3<br />
Contents<br />
SIDE MOUNT 4<br />
QUICK START/INSTALLATION 5
MODEL : <strong>SVC200</strong><br />
INTRODUCTION<br />
Congratulations on your purchase of the Optix “Side View Camera”. This camera kit is used for side view<br />
monitoring. Camera also has built in amber lighting for extra safety/awareness when changing lanes. This<br />
camera kit will allow you to safely monitor the sides of the vehicle and blindspots with ease.<br />
Contents<br />
2 – Side view cameras with built in turn signals<br />
2 – RCA video cables<br />
2 – 3M Double sided adhesive tape
MODEL : <strong>SVC200</strong><br />
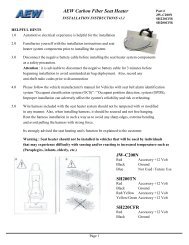
Side Mount<br />
This unit is mounted on the sides of the vehicle. Each camera has individual power<br />
input for turn signals and power for camera. When activating, it is important to<br />
have a time delay relay when powering up cameras with the turn signals. If you<br />
would rather have them on at all times while driving, connect red to 12V accesory /<br />
ignition power and ground to chassis.
MODEL : <strong>SVC200</strong><br />
QUICK START/INSTALLATION<br />
1. Inspect the area for suitable mounting location (ensure<br />
camera cable is clear of any moving parts). We<br />
recommend testing the location for optimum viewing<br />
angle.<br />
2. After testing the location, drill a hole matching the<br />
cut out of the provided template.<br />
3. Each camera is labeled so there is no confusion on<br />
left or right.<br />
4. Using the appropriate camera (left or right), apply<br />
3M tape to camera and route the wires into the vehicle<br />
through an OEM wire grommet or drill a hole and protect<br />
accordingly.<br />
5. Use the provided nut to properly mount the camera<br />
on to the vehicle.<br />
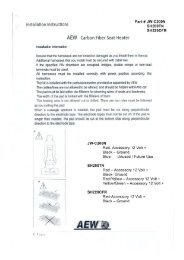
Red positive for Camera<br />
Black Ground<br />
-<br />
+<br />
Video<br />
Red positive for Light<br />
Black Ground<br />
-<br />
+<br />
6. Wire the camera and turn signal. For turn signal,<br />
black wire to ground and red to the corresponding turn<br />
signal positive wire. For camera, black to ground and<br />
red to 12v Acc / Ign..<br />
Accele Electronics will not be responsible for damages caused to your vehicle<br />
due to improper installation. For complete owners manual please visit<br />
https://www.yumpu.com/en/document/read/62832670/svc200 Thank you<br />
for being a valued customer of ACCELE ELECTRONICS.