- Page 1 and 2: PCLaw® 11.0 Administration Guide
- Page 3 and 4: Contents How to Use this Guide ....
- Page 5 and 6: Change an Existing Task Code ......
- Page 7 and 8: Intended Audience This guide is int
- Page 9 and 10: Backup and Restore Data PCLaw allow
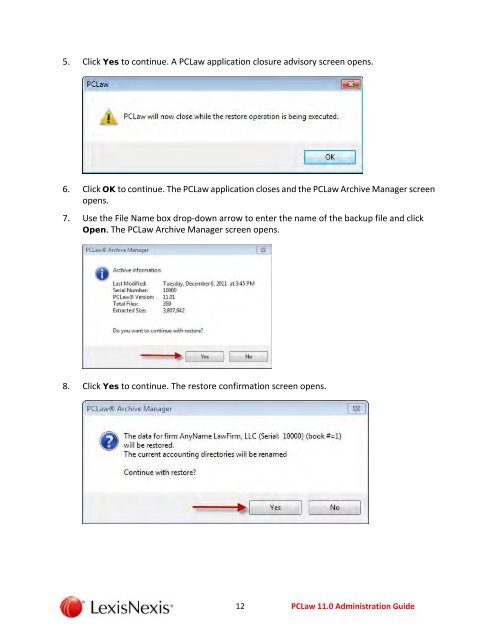
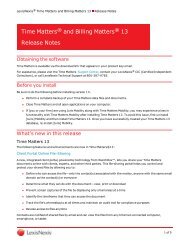
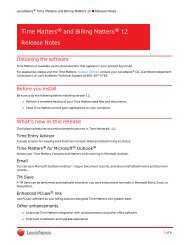
- Page 11 and 12: 6. Click OK to continue. The PCLaw
- Page 13: Restore Data 1. Open the PCLaw appl
- Page 17 and 18: Create a New User in PCLaw 1. Open
- Page 19 and 20: Setting Up Groups All users in PCLa
- Page 21 and 22: Add a User to a Group 1. Go to Opti
- Page 23 and 24: User Selection and Restrictions 1.
- Page 25 and 26: Matter Manager Access and Setup for
- Page 27 and 28: Time/Fees Access and Setup for User
- Page 29 and 30: View User Rights To determine the r
- Page 31 and 32: Remove a User From a Group To remov
- Page 33 and 34: Change User Password To change a pa
- Page 35 and 36: Create a New Credit Card User To cr
- Page 37 and 38: Configure a Credit Card User’s Ac
- Page 39 and 40: Security Preferences Enabling Advan
- Page 41 and 42: PCLaw Application Updates The PCLaw
- Page 43 and 44: PCLaw Manual Updates PCLaw software
- Page 45 and 46: Upgrade the Server Take the followi
- Page 47 and 48: 6. Click OK to close the User Monit
- Page 49 and 50: 13. Click Go for either option, to
- Page 51 and 52: 22. Locate your Data folder and cli
- Page 53 and 54: System Settings and Setup It is imp
- Page 55 and 56: Data Entry System Settings To compl
- Page 57 and 58: Banking Quick Check Layout To setup
- Page 59 and 60: 9. Enter the appropriate data for e
- Page 61 and 62: 5. Enter settings as appropriate fo
- Page 63 and 64: Matter System Settings To establish
- Page 65 and 66:
Billing System Settings To enter th
- Page 67 and 68:
6. Select a phrase from the list or
- Page 69 and 70:
5. Select a phrase from the list an
- Page 71 and 72:
6. Click Yes to confirm the deletio
- Page 73 and 74:
4. Select the appropriate checkboxe
- Page 75 and 76:
Check Pattern System Settings To es
- Page 77 and 78:
4. Click the Change button for the
- Page 79 and 80:
Other System Settings Setup To esta
- Page 81 and 82:
Configure Remote Client Server Sett
- Page 83 and 84:
Outlook Connection Settings Via the
- Page 85 and 86:
8. Select a timekeeper from the lis
- Page 87 and 88:
Workstation Settings and Setup Work
- Page 89 and 90:
Calendar Setup for Individual Works
- Page 91 and 92:
Miscellaneous Settings and Setup Op
- Page 93 and 94:
4. Click the associated Change butt
- Page 95 and 96:
Lawyers and Rates To track the time
- Page 97 and 98:
4. Enter the new lawyer’s nicknam
- Page 99 and 100:
4. Change the lawyer information as
- Page 101 and 102:
4. Click the Yes button to continue
- Page 103 and 104:
4. Click the Accounting tab. The Ch
- Page 105 and 106:
4. Click the Special Fields tab. Th
- Page 107 and 108:
4. Click the Budget Figures tab. Th
- Page 109 and 110:
Types of Law To classify Matters, a
- Page 111 and 112:
Change a Type of Law Information To
- Page 113 and 114:
Explanation Codes Explanation codes
- Page 115 and 116:
4. Enter a nickname for the code in
- Page 117 and 118:
5. Select the fields to change and
- Page 119 and 120:
Task Codes Task codes can be used b
- Page 121 and 122:
Change an Existing Task Code To cha
- Page 123 and 124:
Template Editor To modify the appea
- Page 125 and 126:
Bank Account Setup The default bank
- Page 127 and 128:
4. Select the account type to be ad
- Page 129 and 130:
4. Change the information in the fi
- Page 131 and 132:
4. Click Yes to continue. The Bank
- Page 133 and 134:
Reactivate a Bank Account To reacti
- Page 135 and 136:
4. Click the Configure Merchant Acc
- Page 137 and 138:
Add a G/L Account Use the following
- Page 139 and 140:
Change G/L Account Information Use
- Page 141 and 142:
Delete a G/L Account Use the follow
- Page 143 and 144:
Department Codes Department codes c
- Page 145 and 146:
Change an Existing Department Code
- Page 147 and 148:
4. Highlight the Department Code to
- Page 149 and 150:
Add a New Vendor Use the following
- Page 151 and 152:
Change Vendor Information Use the f
- Page 153 and 154:
Vendor Deactivation Use the followi
- Page 155 and 156:
Verify Data Integrity Data integrit
- Page 157 and 158:
PCLaw Mobility PCLaw ® Mobility is
- Page 159 and 160:
PCLaw Mobility Installation Checkli
- Page 161 and 162:
3. Click Configure to continue. The
- Page 163 and 164:
5. On the Connections Settings tab,
- Page 165:
3. On the Users tab, select a user