Setting up a new PDA - Frames
Setting up a new PDA - Frames
Setting up a new PDA - Frames

You also want an ePaper? Increase the reach of your titles
YUMPU automatically turns print PDFs into web optimized ePapers that Google loves.
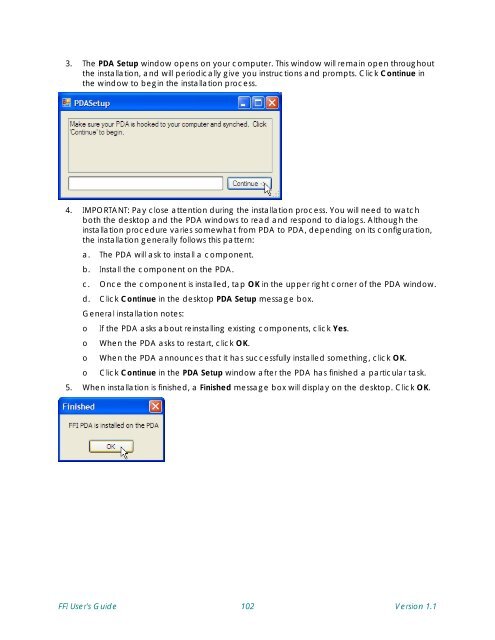
3. The <strong>PDA</strong> Set<strong>up</strong> window opens on your computer. This window will remain open throughout<br />
the installation, and will periodically give you instructions and prompts. Click Continue in<br />
the window to begin the installation process.<br />
4. IMPORTANT: Pay close attention during the installation process. You will need to watch<br />
both the desktop and the <strong>PDA</strong> windows to read and respond to dialogs. Although the<br />
installation procedure varies somewhat from <strong>PDA</strong> to <strong>PDA</strong>, depending on its configuration,<br />
the installation generally follows this pattern:<br />
a. The <strong>PDA</strong> will ask to install a component.<br />
b. Install the component on the <strong>PDA</strong>.<br />
c. Once the component is installed, tap OK in the <strong>up</strong>per right corner of the <strong>PDA</strong> window.<br />
d. Click Continue in the desktop <strong>PDA</strong> Set<strong>up</strong> message box.<br />
General installation notes:<br />
o If the <strong>PDA</strong> asks about reinstalling existing components, click Yes.<br />
o When the <strong>PDA</strong> asks to restart, click OK.<br />
o When the <strong>PDA</strong> announces that it has successfully installed something, click OK.<br />
o Click Continue in the <strong>PDA</strong> Set<strong>up</strong> window after the <strong>PDA</strong> has finished a particular task.<br />
5. When installation is finished, a Finished message box will display on the desktop. Click OK.<br />
FFI User's Guide 102 Version 1.1