WhatsUp Gold Database Migration Guide - Ipswitch Documentation ...
WhatsUp Gold Database Migration Guide - Ipswitch Documentation ...
WhatsUp Gold Database Migration Guide - Ipswitch Documentation ...
Create successful ePaper yourself
Turn your PDF publications into a flip-book with our unique Google optimized e-Paper software.
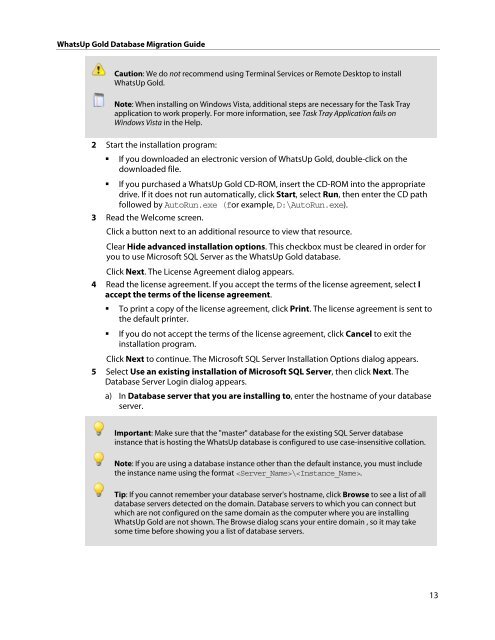
<strong>WhatsUp</strong> <strong>Gold</strong> <strong>Database</strong> <strong>Migration</strong> <strong>Guide</strong><br />
Caution: We do not recommend using Terminal Services or Remote Desktop to install<br />
<strong>WhatsUp</strong> <strong>Gold</strong>.<br />
Note: When installing on Windows Vista, additional steps are necessary for the Task Tray<br />
application to work properly. For more information, see Task Tray Application fails on<br />
Windows Vista in the Help.<br />
2 Start the installation program:<br />
� If you downloaded an electronic version of <strong>WhatsUp</strong> <strong>Gold</strong>, double-click on the<br />
downloaded file.<br />
� If you purchased a <strong>WhatsUp</strong> <strong>Gold</strong> CD-ROM, insert the CD-ROM into the appropriate<br />
drive. If it does not run automatically, click Start, select Run, then enter the CD path<br />
followed by AutoRun.exe (for example, D:\AutoRun.exe).<br />
3 Read the Welcome screen.<br />
Click a button next to an additional resource to view that resource.<br />
Clear Hide advanced installation options. This checkbox must be cleared in order for<br />
you to use Microsoft SQL Server as the <strong>WhatsUp</strong> <strong>Gold</strong> database.<br />
Click Next. The License Agreement dialog appears.<br />
4 Read the license agreement. If you accept the terms of the license agreement, select I<br />
accept the terms of the license agreement.<br />
� To print a copy of the license agreement, click Print. The license agreement is sent to<br />
the default printer.<br />
� If you do not accept the terms of the license agreement, click Cancel to exit the<br />
installation program.<br />
Click Next to continue. The Microsoft SQL Server Installation Options dialog appears.<br />
5 Select Use an existing installation of Microsoft SQL Server, then click Next. The<br />
<strong>Database</strong> Server Login dialog appears.<br />
a) In <strong>Database</strong> server that you are installing to, enter the hostname of your database<br />
server.<br />
Important: Make sure that the "master" database for the existing SQL Server database<br />
instance that is hosting the <strong>WhatsUp</strong> database is configured to use case-insensitive collation.<br />
Note: If you are using a database instance other than the default instance, you must include<br />
the instance name using the format \.<br />
Tip: If you cannot remember your database server's hostname, click Browse to see a list of all<br />
database servers detected on the domain. <strong>Database</strong> servers to which you can connect but<br />
which are not configured on the same domain as the computer where you are installing<br />
<strong>WhatsUp</strong> <strong>Gold</strong> are not shown. The Browse dialog scans your entire domain , so it may take<br />
some time before showing you a list of database servers.<br />
13


