2-in-1 Fabric Steamer & Iron - Air & Water
2-in-1 Fabric Steamer & Iron - Air & Water
2-in-1 Fabric Steamer & Iron - Air & Water
You also want an ePaper? Increase the reach of your titles
YUMPU automatically turns print PDFs into web optimized ePapers that Google loves.
ENGLISH<br />
6 Top Innovations, Inc.<br />
PRODUCT INFORMATION<br />
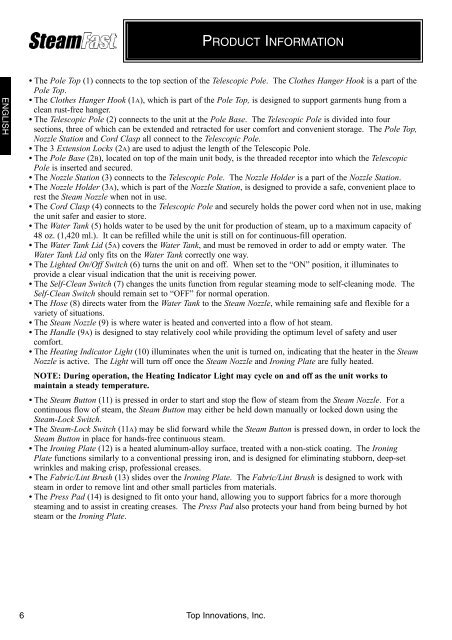
• The Pole Top (1) connects to the top section of the Telescopic Pole. The Clothes Hanger Hook is a part of the<br />
Pole Top.<br />
• The Clothes Hanger Hook (1A), which is part of the Pole Top, is designed to support garments hung from a<br />
clean rust-free hanger.<br />
• The Telescopic Pole (2) connects to the unit at the Pole Base. The Telescopic Pole is divided <strong>in</strong>to four<br />
sections, three of which can be extended and retracted for user comfort and convenient storage. The Pole Top,<br />
Nozzle Station and Cord Clasp all connect to the Telescopic Pole.<br />
• The 3 Extension Locks (2A) are used to adjust the length of the Telescopic Pole.<br />
• The Pole Base (2B), located on top of the ma<strong>in</strong> unit body, is the threaded receptor <strong>in</strong>to which the Telescopic<br />
Pole is <strong>in</strong>serted and secured.<br />
• The Nozzle Station (3) connects to the Telescopic Pole. The Nozzle Holder is a part of the Nozzle Station.<br />
• The Nozzle Holder (3A), which is part of the Nozzle Station, is designed to provide a safe, convenient place to<br />
rest the Steam Nozzle when not <strong>in</strong> use.<br />
• The Cord Clasp (4) connects to the Telescopic Pole and securely holds the power cord when not <strong>in</strong> use, mak<strong>in</strong>g<br />
the unit safer and easier to store.<br />
• The <strong>Water</strong> Tank (5) holds water to be used by the unit for production of steam, up to a maximum capacity of<br />
48 oz. (1,420 ml.). It can be refilled while the unit is still on for cont<strong>in</strong>uous-fill operation.<br />
• The <strong>Water</strong> Tank Lid (5A) covers the <strong>Water</strong> Tank, and must be removed <strong>in</strong> order to add or empty water. The<br />
<strong>Water</strong> Tank Lid only fits on the <strong>Water</strong> Tank correctly one way.<br />
• The Lighted On/Off Switch (6) turns the unit on and off. When set to the “ON” position, it illum<strong>in</strong>ates to<br />
provide a clear visual <strong>in</strong>dication that the unit is receiv<strong>in</strong>g power.<br />
• The Self-Clean Switch (7) changes the units function from regular steam<strong>in</strong>g mode to self-clean<strong>in</strong>g mode. The<br />
Self-Clean Switch should rema<strong>in</strong> set to “OFF” for normal operation.<br />
• The Hose (8) directs water from the <strong>Water</strong> Tank to the Steam Nozzle, while rema<strong>in</strong><strong>in</strong>g safe and flexible for a<br />
variety of situations.<br />
• The Steam Nozzle (9) is where water is heated and converted <strong>in</strong>to a flow of hot steam.<br />
• The Handle (9A) is designed to stay relatively cool while provid<strong>in</strong>g the optimum level of safety and user<br />
comfort.<br />
• The Heat<strong>in</strong>g Indicator Light (10) illum<strong>in</strong>ates when the unit is turned on, <strong>in</strong>dicat<strong>in</strong>g that the heater <strong>in</strong> the Steam<br />
Nozzle is active. The Light will turn off once the Steam Nozzle and <strong>Iron</strong><strong>in</strong>g Plate are fully heated.<br />
NOTE: Dur<strong>in</strong>g operation, the Heat<strong>in</strong>g Indicator Light may cycle on and off as the unit works to<br />
ma<strong>in</strong>ta<strong>in</strong> a steady temperature.<br />
• The Steam Button (11) is pressed <strong>in</strong> order to start and stop the flow of steam from the Steam Nozzle. For a<br />
cont<strong>in</strong>uous flow of steam, the Steam Button may either be held down manually or locked down us<strong>in</strong>g the<br />
Steam-Lock Switch.<br />
• The Steam-Lock Switch (11A) may be slid forward while the Steam Button is pressed down, <strong>in</strong> order to lock the<br />
Steam Button <strong>in</strong> place for hands-free cont<strong>in</strong>uous steam.<br />
• The <strong>Iron</strong><strong>in</strong>g Plate (12) is a heated alum<strong>in</strong>um-alloy surface, treated with a non-stick coat<strong>in</strong>g. The <strong>Iron</strong><strong>in</strong>g<br />
Plate functions similarly to a conventional press<strong>in</strong>g iron, and is designed for elim<strong>in</strong>at<strong>in</strong>g stubborn, deep-set<br />
wr<strong>in</strong>kles and mak<strong>in</strong>g crisp, professional creases.<br />
• The <strong>Fabric</strong>/L<strong>in</strong>t Brush (13) slides over the <strong>Iron</strong><strong>in</strong>g Plate. The <strong>Fabric</strong>/L<strong>in</strong>t Brush is designed to work with<br />
steam <strong>in</strong> order to remove l<strong>in</strong>t and other small particles from materials.<br />
• The Press Pad (14) is designed to fit onto your hand, allow<strong>in</strong>g you to support fabrics for a more thorough<br />
steam<strong>in</strong>g and to assist <strong>in</strong> creat<strong>in</strong>g creases. The Press Pad also protects your hand from be<strong>in</strong>g burned by hot<br />
steam or the <strong>Iron</strong><strong>in</strong>g Plate.


