Owner's Manual Manual del Propietario - Ppe-pressure-washer ...
Owner's Manual Manual del Propietario - Ppe-pressure-washer ...
Owner's Manual Manual del Propietario - Ppe-pressure-washer ...
You also want an ePaper? Increase the reach of your titles
YUMPU automatically turns print PDFs into web optimized ePapers that Google loves.
Section 3: Assembly<br />
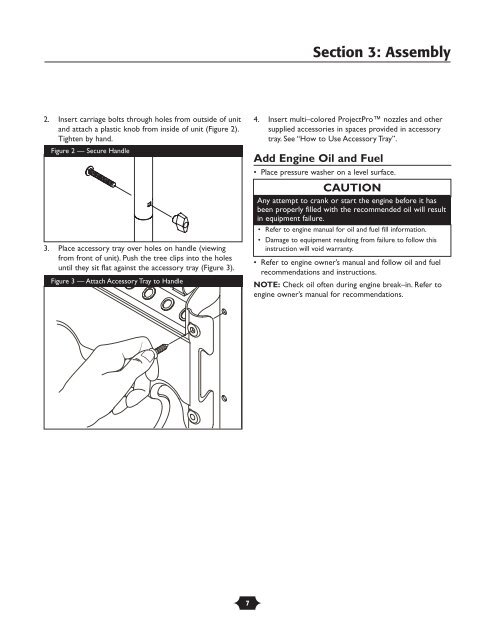
2. Insert carriage bolts through holes from outside of unit<br />
and attach a plastic knob from inside of unit (Figure 2).<br />
Tighten by hand.<br />
Figure 2 — Secure Handle<br />
3. Place accessory tray over holes on handle (viewing<br />
from front of unit). Push the tree clips into the holes<br />
until they sit flat against the accessory tray (Figure 3).<br />
Figure 3 — Attach Accessory Tray to Handle<br />
4. Insert multi–colored ProjectPro nozzles and other<br />
supplied accessories in spaces provided in accessory<br />
tray. See “How to Use Accessory Tray”.<br />
Add Engine Oil and Fuel<br />
• Place <strong>pressure</strong> <strong>washer</strong> on a level surface.<br />
CAUTION<br />
Any attempt to crank or start the engine before it has<br />
been properly filled with the recommended oil will result<br />
in equipment failure.<br />
• Refer to engine manual for oil and fuel fill information.<br />
• Damage to equipment resulting from failure to follow this<br />
instruction will void warranty.<br />
• Refer to engine owner’s manual and follow oil and fuel<br />
recommendations and instructions.<br />
NOTE: Check oil often during engine break–in. Refer to<br />
engine owner’s manual for recommendations.<br />
7


