Owner's Manual Manual del Propietario - Ppe-pressure-washer ...
Owner's Manual Manual del Propietario - Ppe-pressure-washer ...
Owner's Manual Manual del Propietario - Ppe-pressure-washer ...

You also want an ePaper? Increase the reach of your titles
YUMPU automatically turns print PDFs into web optimized ePapers that Google loves.
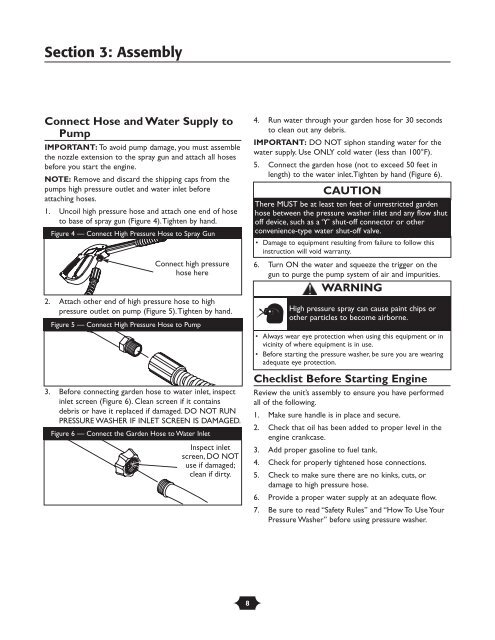
Section 3: Assembly<br />
Connect Hose and Water Supply to<br />
Pump<br />
IMPORTANT: To avoid pump damage, you must assemble<br />
the nozzle extension to the spray gun and attach all hoses<br />
before you start the engine.<br />
NOTE: Remove and discard the shipping caps from the<br />
pumps high <strong>pressure</strong> outlet and water inlet before<br />
attaching hoses.<br />
1. Uncoil high <strong>pressure</strong> hose and attach one end of hose<br />
to base of spray gun (Figure 4).Tighten by hand.<br />
Figure 4 — Connect High Pressure Hose to Spray Gun<br />
Connect high <strong>pressure</strong><br />
hose here<br />
2. Attach other end of high <strong>pressure</strong> hose to high<br />
<strong>pressure</strong> outlet on pump (Figure 5).Tighten by hand.<br />
Figure 5 — Connect High Pressure Hose to Pump<br />
3. Before connecting garden hose to water inlet, inspect<br />
inlet screen (Figure 6). Clean screen if it contains<br />
debris or have it replaced if damaged. DO NOT RUN<br />
PRESSURE WASHER IF INLET SCREEN IS DAMAGED.<br />
Figure 6 — Connect the Garden Hose to Water Inlet<br />
Inspect inlet<br />
screen, DO NOT<br />
use if damaged;<br />
clean if dirty.<br />
4. Run water through your garden hose for 30 seconds<br />
to clean out any debris.<br />
IMPORTANT: DO NOT siphon standing water for the<br />
water supply. Use ONLY cold water (less than 100°F).<br />
5. Connect the garden hose (not to exceed 50 feet in<br />
length) to the water inlet.Tighten by hand (Figure 6).<br />
CAUTION<br />
There MUST be at least ten feet of unrestricted garden<br />
hose between the <strong>pressure</strong> <strong>washer</strong> inlet and any flow shut<br />
off device, such as a ‘Y’ shut-off connector or other<br />
convenience-type water shut-off valve.<br />
• Damage to equipment resulting from failure to follow this<br />
instruction will void warranty.<br />
6. Turn ON the water and squeeze the trigger on the<br />
gun to purge the pump system of air and impurities.<br />
WARNING<br />
High <strong>pressure</strong> spray can cause paint chips or<br />
other particles to become airborne.<br />
• Always wear eye protection when using this equipment or in<br />
vicinity of where equipment is in use.<br />
• Before starting the <strong>pressure</strong> <strong>washer</strong>, be sure you are wearing<br />
adequate eye protection.<br />
Checklist Before Starting Engine<br />
Review the unit’s assembly to ensure you have performed<br />
all of the following.<br />
1. Make sure handle is in place and secure.<br />
2. Check that oil has been added to proper level in the<br />
engine crankcase.<br />
3. Add proper gasoline to fuel tank.<br />
4. Check for properly tightened hose connections.<br />
5. Check to make sure there are no kinks, cuts, or<br />
damage to high <strong>pressure</strong> hose.<br />
6. Provide a proper water supply at an adequate flow.<br />
7. Be sure to read “Safety Rules” and “How To Use Your<br />
Pressure Washer” before using <strong>pressure</strong> <strong>washer</strong>.<br />
8