You also want an ePaper? Increase the reach of your titles
YUMPU automatically turns print PDFs into web optimized ePapers that Google loves.
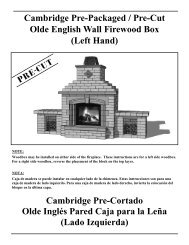
Cambridge Pre-Packaged / Pre-Cut<br />
MaytRx <strong>Fireplace</strong> Kit<br />
2011<br />
Flush with Rear<br />
3” Overhang<br />
3” Overhang<br />
4.5”x 18” 4.5”x 12” 4.5”x 10”<br />
4” Overhang<br />
Layer 10:<br />
Note: 3” <strong>Maytrx</strong> caps used on this course<br />
Piece Count = (4) 18” Large caps, (4) Column<br />
caps, (4) 12”x12” Cut cap stones, (1) 4.5”x10”<br />
Cut cap stone, (1) 4.5”x12” Cut cap stone, (1)<br />
4.5”x18” Large cap cut stone<br />
Install a 3” overhang on the left and right side,<br />
4” overhang on the front and flush on back.<br />
Apply concrete adhesive and install caps according<br />
to the photo.<br />
21<br />
Capa 10:<br />
*Por Favor Note que <strong>Maytrx</strong> 3” casquillos es usados<br />
en este curso<br />
Numero de Piezas = (4)18” Casquillos grandes, (4)<br />
Casquillos de columna, (4) 12”x12” Piedras cortadas<br />
de casquillo, (1) 4.5”x10” Casquillo cortado,<br />
(1) 4.5”x12” Casquillo cortado,(1) 4.5”x18” Casquillo<br />
cortado<br />
Instale de modo que haya una proyección 3”<br />
proyección en el lado izquierdo y derecho, 4” en el<br />
frente, del resante parte posterior.<br />
Aplique el pegamento concreto e instálelo por la<br />
foto.


