Manual - Jma.es
Manual - Jma.es
Manual - Jma.es
- No tags were found...
Create successful ePaper yourself
Turn your PDF publications into a flip-book with our unique Google optimized e-Paper software.
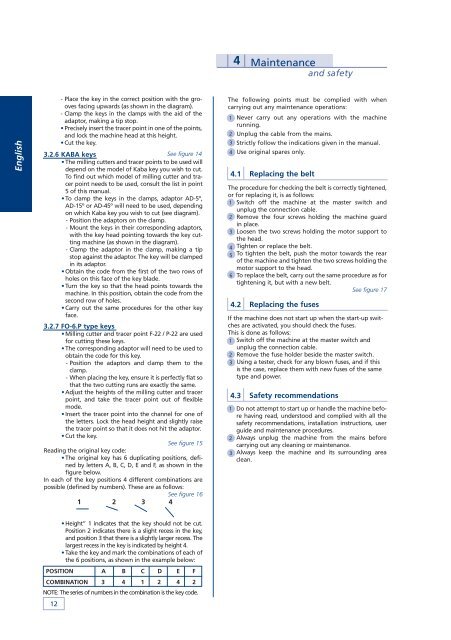
4Maintenanceand safetyEnglish- Place the key in the correct position with the groov<strong>es</strong>facing upwards (as shown in the diagram).- Clamp the keys in the clamps with the aid of theadaptor, making a tip stop.• Precisely insert the tracer point in one of the points,and lock the machine head at this height.• Cut the key.3.2.6 KABA keysSee figure 14• The milling cutters and tracer points to be used willdepend on the model of Kaba key you wish to cut.To find out which model of milling cutter and tracerpoint needs to be used, consult the list in point5 of this manual.• To clamp the keys in the clamps, adaptor AD-5º,AD-15º or AD-45º will need to be used, dependingon which Kaba key you wish to cut (see diagram).- Position the adaptors on the clamp.- Mount the keys in their corr<strong>es</strong>ponding adaptors,with the key head pointing towards the key cuttingmachine (as shown in the diagram).- Clamp the adaptor in the clamp, making a tipstop against the adaptor. The key will be clampedin its adaptor.• Obtain the code from the first of the two rows ofhol<strong>es</strong> on this face of the key blade.• Turn the key so that the head points towards themachine. In this position, obtain the code from th<strong>es</strong>econd row of hol<strong>es</strong>.• Carry out the same procedur<strong>es</strong> for the other keyface.3.2.7 FO-6.P type keys• Milling cutter and tracer point F-22 / P-22 are usedfor cutting th<strong>es</strong>e keys.• The corr<strong>es</strong>ponding adaptor will need to be used toobtain the code for this key.- Position the adaptors and clamp them to theclamp.- When placing the key, ensure it is perfectly flat sothat the two cutting runs are exactly the same.• Adjust the heights of the milling cutter and tracerpoint, and take the tracer point out of flexiblemode.• Insert the tracer point into the channel for one ofthe letters. Lock the head height and slightly raisethe tracer point so that it do<strong>es</strong> not hit the adaptor.• Cut the key.See figure 15Reading the original key code:• The original key has 6 duplicating positions, definedby letters A, B, C, D, E and F, as shown in thefigure below.In each of the key positions 4 different combinations arepossible (defined by numbers). Th<strong>es</strong>e are as follows:See figure 161 2 3 4The following points must be complied with whencarrying out any maintenance operations:1 Never carry out any operations with the machinerunning.2 Unplug the cable from the mains.3 Strictly follow the indications given in the manual.4 Use original spar<strong>es</strong> only.4.1Replacing the beltThe procedure for checking the belt is correctly tightened,or for replacing it, is as follows:1 Switch off the machine at the master switch andunplug the connection cable.2 Remove the four screws holding the machine guardin place.3 Loosen the two screws holding the motor support tothe head.4 Tighten or replace the belt.5 To tighten the belt, push the motor towards the rearof the machine and tighten the two screws holding themotor support to the head.6 To replace the belt, carry out the same procedure as fortightening it, but with a new belt.See figure 174.2Replacing the fus<strong>es</strong>If the machine do<strong>es</strong> not start up when the start-up switch<strong>es</strong>are activated, you should check the fus<strong>es</strong>.This is done as follows:1 Switch off the machine at the master switch andunplug the connection cable.2 Remove the fuse holder b<strong>es</strong>ide the master switch.3 Using a t<strong>es</strong>ter, check for any blown fus<strong>es</strong>, and if thisis the case, replace them with new fus<strong>es</strong> of the sametype and power.4.3123Safety recommendationsDo not attempt to start up or handle the machine beforehaving read, understood and complied with all th<strong>es</strong>afety recommendations, installation instructions, userguide and maintenance procedur<strong>es</strong>.Always unplug the machine from the mains beforecarrying out any cleaning or maintenance.Always keep the machine and its surrounding areaclean.12• Height” 1 indicat<strong>es</strong> that the key should not be cut.Position 2 indicat<strong>es</strong> there is a slight rec<strong>es</strong>s in the key,and position 3 that there is a slightly larger rec<strong>es</strong>s. Thelarg<strong>es</strong>t rec<strong>es</strong>s in the key is indicated by height 4.• Take the key and mark the combinations of each ofthe 6 positions, as shown in the example below:POSITION A B C D E FCOMBINATION 3 4 1 2 4 2NOTE: The seri<strong>es</strong> of numbers in the combination is the key code.


