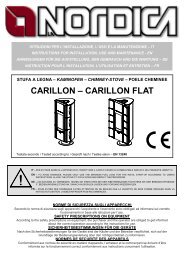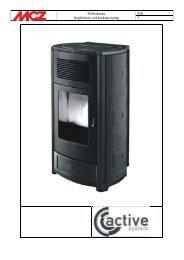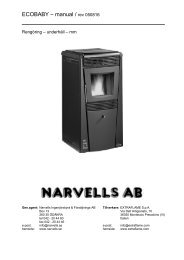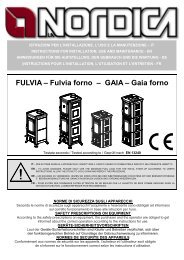
Isetta 07 - Isotta 07 cerchi / Isotta Forno - Narvells
Isetta 07 - Isotta 07 cerchi / Isotta Forno - Narvells
Isetta 07 - Isotta 07 cerchi / Isotta Forno - Narvells

You also want an ePaper? Increase the reach of your titles
YUMPU automatically turns print PDFs into web optimized ePapers that Google loves.
9. LIGHTING<br />
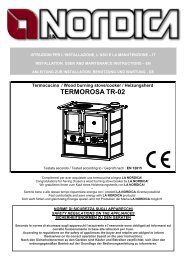
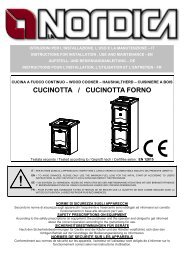
GIULIETTA – ISETTA-<strong>07</strong> – ISOTTA-<strong>07</strong> – ISOTTA FORNO – VIOLA – VIOLETTA<br />
IMPORTANT: The first time that the appliance is lit, there will be an odour given off (due to the drying of the<br />
adhesives of the junction chord), which disappears after a short use. It must be ensured, in any case, a good<br />
ventilation of the environment. Upon the first ignition we suggest loading a reduced quantity of fuel and slightly<br />
increasing the calorific value of the equipment.<br />
To perform a correct first lighting of the products treated with paints for high temperature, it is necessary to know the<br />
following information:<br />
• the construction materials of the involved products are not homogeneous, as matter of fact there are<br />
simultaneously parts in cast iron and steel.<br />
• the temperature to which the body of the product is subject is not homogeneous: from area to area, variable<br />
temperatures within the range of 300°C - 500 °C are detected;<br />
• during its life, the product is subject to alternated lighting and extinguishing cycles in the same day, as well as<br />
to cycles of intense use or of absolute standstill when season changes;<br />
• the new appliance, before being considered seasoned has to be subject to many start cycles to allow all<br />
materials and paints to complete the various elastic stresses;<br />
• in detail, initially it is possible to remark the emission of smells typical of metals subject to great thermal<br />
stress, as well as of wet paint. This paint, although during the manufacture it is backed at 250 °C fo r some<br />
hours, must exceed many times and for a given period of time the temperature of 350 °C before becoming<br />
completely embedded in the metallic surfaces.<br />
Therefore, it is extremely relevant to take these easy steps during the lighting:<br />
1. Make sure that a strong air change is assured in the room where the appliance is installed.<br />
2. During the first starts, do not load excessively the combustion chamber (about half the quantity indicated in<br />
the instructions manual) and keep the product continuously ON for at least 6-10 hours with the registers less<br />
open than the value indicated in the instructions manual.<br />
3. Repeat this operation for at least 4-5 or more times, according to your possibilities.<br />
4. Then load more and more fuel (following in any case the provisions contained in the installation booklet<br />
concerning maximum load) and, if possible, keep the lighting periods long avoiding, at least in this initial<br />
phase, short ON/OFF cycles.<br />
5. During the first starts, no object should be leaned on the appliance and in detail on enamelled<br />
surfaces. Enamelled surfaces must not be touched during heating.<br />
6. Once the «break-in» has been completed, it is possible to use the product as the motor of a car, avoiding<br />
abrupt heating with excessive loads.<br />
To light the fire, it is suggested using small wood pieces together with paper or other traded lighting means. It is<br />
FORBIDDEN to use any liquid substance as for ex. alcohol, gasoline, oil and similar.<br />
Operation with wood :<br />
Open the secondary air control Picture 2, Pos. A , A1), open the thermostat (B , B1), open the ignition control (C),<br />
light up the fire.<br />
After about 10 minutes, when the fire is lighted, close the thermostat (B, B1) and the ignition control (C) and adjust<br />
the combustion course with the controls (A, A1).<br />
The openings for air (primary and secondary) must be opened together just a little (you must open the eventual<br />
butterfly valve placed on the pipe of smokes exhaust). When the wood starts burning, adjust the air for combustion<br />
according to the instructions on paragraph 10.<br />
Never overload the stove (compare the technical table - max. quantity of loadable fuel).<br />
Too much fuel and too much air for the combustion may cause overheating and then damage the stove, as a<br />
consequence some scratches in the lower front part of the stove could happen.<br />
The warranty does not cover the damages due to overheating of the equipment.<br />
10. NORMAL OPERATION<br />
IMPORTANT: due to the fact the door of the hearth has a remarkable size, we suggest you to open the door very<br />
slowly, to avoid the exit of smokes.<br />
For safety reasons the door of the hearth can be opened only for the loading of the fuel. The hearth door<br />
must always remain closed during operation or rest.<br />
Before opening the hearth door, open the ignition control (C), load the fuel, close the door and after about 5 or 10<br />
minutes close the control (C).<br />
With the registers placed on the front of the appliance it is adjusted the emission of heat of the stove. They must be<br />
opened according to the calorific need. The best combustion (with minimum emissions) is reached when, loading the<br />
wood, most of the air for the combustion passes through the register of secondary air.<br />
Never overload the stove (compare the technical table - max. quantity of loadable fuel).<br />
Too much fuel and too much air for the combustion may cause overheating and then damage the stove, as a<br />
consequence some scratches in the lower front part of the stove could happen. The warranty does not cover<br />
the damages due to overheating of the equipment.<br />
22 1195300 Rev.08 – EN