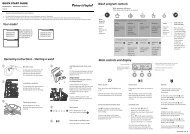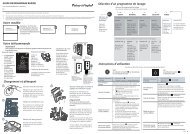
Installation instructions - Fisher & Paykel
Installation instructions - Fisher & Paykel
Installation instructions - Fisher & Paykel

You also want an ePaper? Increase the reach of your titles
YUMPU automatically turns print PDFs into web optimized ePapers that Google loves.
Care and cleaning<br />
23 US<br />
CA<br />
(EN)<br />
Important!<br />
Before cleaning, be certain the burners are turned off and the whole cooktop is cool.<br />
Do not use a steam cleaner to clean your cooktop.<br />
Use soapy water and a soft sponge or cloth to clean the cooktop, rinse with clean water and<br />
dry thoroughly. Clean the cooktop regularly, before spills become burnt on. Soaking stubborn<br />
stains under the soapy cloth for a few minutes will help make them easier to remove. Grates are<br />
dishwasher safe. If stubborn soil remains, follow the recommended cleaning methods outlined<br />
below.<br />
Always use the mildest cleaner that will do the job. Use clean, soft cloths, sponges or paper<br />
towels.<br />
Clean brushed stainless steel finishes in the direction of the grain.<br />
Dry thoroughly to avoid water marks.<br />
Do not clean cooktop parts in any self-cleaning oven.<br />
After cleaning, replace all cooktop parts in their proper position before using the cooktop.<br />
Rinse and wipe away all cleaner residue as—when heated—the cleaners can permanently stain<br />
the cooktop.<br />
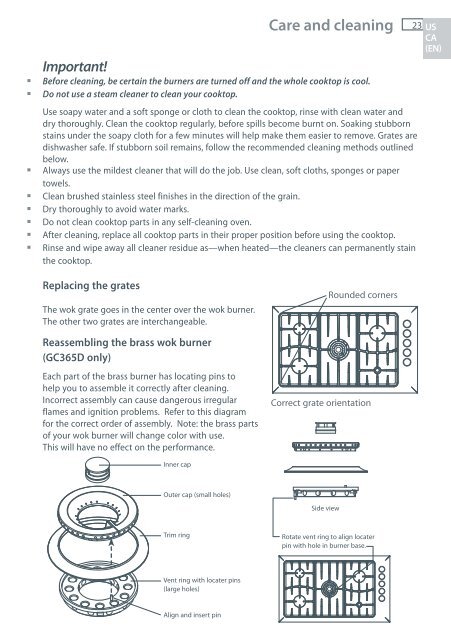
Replacing the grates<br />
The wok grate goes in the center over the wok burner.<br />
The other two grates are interchangeable.<br />
Reassembling the brass wok burner<br />
(GC365D only)<br />
Each part of the brass burner has locating pins to<br />
help you to assemble it correctly after cleaning.<br />
Incorrect assembly can cause dangerous irregular<br />
flames and ignition problems. Refer to this diagram<br />
for the correct order of assembly. Note: the brass parts<br />
of your wok burner will change color with use.<br />
This will have no effect on the performance.<br />
Inner cap<br />
Outer cap (small holes)<br />
Trim ring<br />
Vent ring with locater pins<br />
(large holes)<br />
Align and insert pin<br />
Rounded corners<br />
Correct grate orientation<br />
Side view<br />
Rotate vent ring to align locater<br />
pin with hole in burner base.