Einbauanleitung zu Elektro-Einbausatz 736399
Einbauanleitung zu Elektro-Einbausatz 736399
Einbauanleitung zu Elektro-Einbausatz 736399

Create successful ePaper yourself
Turn your PDF publications into a flip-book with our unique Google optimized e-Paper software.
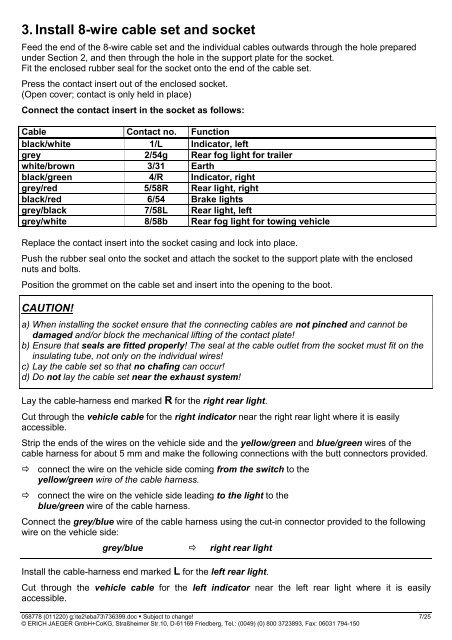
3. Install 8-wire cable set and socket<br />
Feed the end of the 8-wire cable set and the individual cables outwards through the hole prepared<br />
under Section 2, and then through the hole in the support plate for the socket.<br />
Fit the enclosed rubber seal for the socket onto the end of the cable set.<br />
Press the contact insert out of the enclosed socket.<br />
(Open cover; contact is only held in place)<br />
Connect the contact insert in the socket as follows:<br />
Cable Contact no. Function<br />
black/white 1/L Indicator, left<br />
grey 2/54g Rear fog light for trailer<br />
white/brown 3/31 Earth<br />
black/green 4/R Indicator, right<br />
grey/red 5/58R Rear light, right<br />
black/red 6/54 Brake lights<br />
grey/black 7/58L Rear light, left<br />
grey/white 8/58b Rear fog light for towing vehicle<br />
Replace the contact insert into the socket casing and lock into place.<br />
Push the rubber seal onto the socket and attach the socket to the support plate with the enclosed<br />
nuts and bolts.<br />
Position the grommet on the cable set and insert into the opening to the boot.<br />
CAUTION!<br />
a) When installing the socket ensure that the connecting cables are not pinched and cannot be<br />
damaged and/or block the mechanical lifting of the contact plate!<br />
b) Ensure that seals are fitted properly! The seal at the cable outlet from the socket must fit on the<br />
insulating tube, not only on the individual wires!<br />
c) Lay the cable set so that no chafing can occur!<br />
d) Do not lay the cable set near the exhaust system!<br />
Lay the cable-harness end marked R for the right rear light.<br />
Cut through the vehicle cable for the right indicator near the right rear light where it is easily<br />
accessible.<br />
Strip the ends of the wires on the vehicle side and the yellow/green and blue/green wires of the<br />
cable harness for about 5 mm and make the following connections with the butt connectors provided.<br />
<br />
connect the wire on the vehicle side coming from the switch to the<br />
yellow/green wire of the cable harness.<br />
connect the wire on the vehicle side leading to the light to the<br />
blue/green wire of the cable harness.<br />
Connect the grey/blue wire of the cable harness using the cut-in connector provided to the following<br />
wire on the vehicle side:<br />
grey/blue right rear light<br />
Install the cable-harness end marked L for the left rear light.<br />
Cut through the vehicle cable for the left indicator near the left rear light where it is easily<br />
accessible.<br />
058778 (011220) g:\te2\eba73\<strong>736399</strong>.doc Subject to change! 7/25<br />
© ERICH JAEGER GmbH+CoKG, Straßheimer Str.10, D-61169 Friedberg, Tel.: (0049) (0) 800 3723893, Fax: 06031 794-150