Manual de instrucciones - Triton Tools
Manual de instrucciones - Triton Tools
Manual de instrucciones - Triton Tools
You also want an ePaper? Increase the reach of your titles
YUMPU automatically turns print PDFs into web optimized ePapers that Google loves.
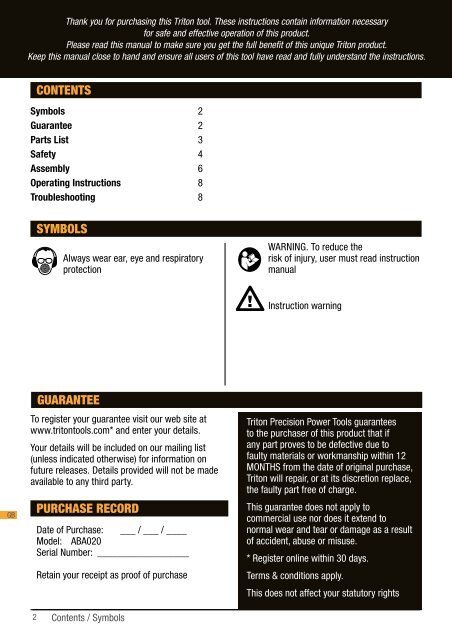
Thank you for purchasing this <strong>Triton</strong> tool. These instructions contain information necessary<br />
for safe and effective operation of this product.<br />
Please read this manual to make sure you get the full benefit of this unique <strong>Triton</strong> product.<br />
Keep this manual close to hand and ensure all users of this tool have read and fully un<strong>de</strong>rstand the instructions.<br />
PARTS LIST<br />
A. Base bracket (1) B. Pivot Mounting Bracket (1) C. Slotted Strap (1)<br />
CONTENTS<br />
Symbols 2<br />
Guarantee 2<br />
Parts List 3<br />
Safety 4<br />
Assembly 6<br />
Operating Instructions 8<br />
Troubleshooting 8<br />
D. Band Clamps (2)<br />
E. Saw Motor Bracket (1) F. Rubber Cushion<br />
Strip (1)<br />
SYMBOLS<br />
Always wear ear, eye and respiratory<br />
protection<br />
WARNING. To reduce the<br />
risk of injury, user must read instruction<br />
manual<br />
Instruction warning<br />
FASTENER BAG<br />
G. T-Knob (1)<br />
L. ¼” Nyloc Nut (1)<br />
H. ¼” x ¾” Coach Bolts (2)<br />
M. ¾” O.D. x 5/16” I.D. Flat<br />
Washer (1)<br />
GB<br />
GUARANTEE<br />
To register your guarantee visit our web site at<br />
www.tritontools.com* and enter your <strong>de</strong>tails.<br />
Your <strong>de</strong>tails will be inclu<strong>de</strong>d on our mailing list<br />
(unless indicated otherwise) for information on<br />
future releases. Details provi<strong>de</strong>d will not be ma<strong>de</strong><br />
available to any third party.<br />
PURCHASE RECORD<br />
Date of Purchase: ___ / ___ / ____<br />
Mo<strong>de</strong>l: ABA020<br />
Serial Number: __________________<br />
Retain your receipt as proof of purchase<br />
<strong>Triton</strong> Precision Power <strong>Tools</strong> guarantees<br />
to the purchaser of this product that if<br />
any part proves to be <strong>de</strong>fective due to<br />
faulty materials or workmanship within 12<br />
MONTHS from the date of original purchase,<br />
<strong>Triton</strong> will repair, or at its discretion replace,<br />
the faulty part free of charge.<br />
This guarantee does not apply to<br />
commercial use nor does it extend to<br />
normal wear and tear or damage as a result<br />
of acci<strong>de</strong>nt, abuse Hand-Held or misuse. Operation<br />
* Register online within 30 days.<br />
Terms & conditions apply.<br />
This does not affect your statutory rights<br />
I. ¼” x ½” Coach Bolts (3)<br />
J. ¼” Nuts (4)<br />
K. ¼” Spring Washers (4)<br />
N. ¾” O.D. x ¼” I.D. Flat<br />
Washer (1)<br />
O. ¼” Wing Nut (1)<br />
NOTES<br />
• This saw stabilising bracket has been specifically <strong>de</strong>signed for saws that pivot at the front<br />
for bla<strong>de</strong> height changes (for example, Makita, Hitachi, Black & Decker and Skil saws). The<br />
bracket can be fitted to vertical lift saws, but benefits will be limited to increased stability<br />
when the saw is tilted for bevel cutting, or raised for rebates etc. With vertical lift saws,<br />
resetting of the bracket is required on each occasion the bla<strong>de</strong> height is altered or the saw<br />
tilted.<br />
• Begin with your Workcentre in the crosscut mo<strong>de</strong>, with the sli<strong>de</strong> chassis in the bearing<br />
channels. Set your saw at full cutting <strong>de</strong>pth, with the saw’s quadrant at 0° (normal 90°<br />
crosscutting position).<br />
GB<br />
2 Contents / Symbols<br />
Parts List 3


