TS 100 R Manuel d'utilisation et d'entretien Operator's ... - Husqvarna
TS 100 R Manuel d'utilisation et d'entretien Operator's ... - Husqvarna
TS 100 R Manuel d'utilisation et d'entretien Operator's ... - Husqvarna

You also want an ePaper? Increase the reach of your titles
YUMPU automatically turns print PDFs into web optimized ePapers that Google loves.
English<br />
28<br />
12 Adjusting the traverse<br />
• Adjusting the way the carriage slides on the<br />
rail (SEE FIGS. 7a & 7b).<br />
- This operation requires a No. 4 Allen key and a<br />
flat No. 13 spanner.<br />
- Adjustment is made in the horizontal plane by<br />
tightening eccentric screws H and in the vertical<br />
plane by tightening eccentric screws I<br />
- To adjust the eccentric screws: place the Allen<br />
key in the screw's hexagonal hole and use the<br />
flat spanner to loosen the tightening nut J<br />
slightly. Tighten the eccentric screw with the<br />
Allen key until the bearing is adjusted correctly.<br />
R<strong>et</strong>ighten the nut and check that the carriage<br />
slides correctly.<br />
R<strong>et</strong>ighten the two eccentric screws in<br />
the same plane at the same time.<br />
To s<strong>et</strong> the vertical plane, pass the<br />
Allen key on the one hand through the<br />
height-adjustment plate (24) and on<br />
the other through the hole behind the<br />
switch.<br />
13 Important advice<br />
• Tighten all the nuts and bolts regularly.<br />
• When storing the machine, we recommend<br />
removing the blade and storing it carefully.<br />
• Check that there is sufficient water supply during<br />
operation.<br />
• Tighten the blade firmly.<br />
• Make sure the contact faces of the flanges, blade<br />
and axle are clean.<br />
The manufacturer declines all<br />
responsibility for loss or damage<br />
resulting from misuse or any<br />
modification, alteration or powering<br />
that does not conform to the<br />
manufacturer's original specifications.<br />
The noise level of this machine is<br />
measured according to the S 31.069<br />
standard.<br />
At the work station, the sound<br />
pressure level may exceed 85 db (A)<br />
In this case individual protection<br />
measures must be taken.<br />
14 Repairs<br />
S<br />
A<br />
V<br />
15 Spare parts<br />
Contact your supplier who is entirely at<br />
your service to carry out repairs in the<br />
shortest time at the best possible price.<br />
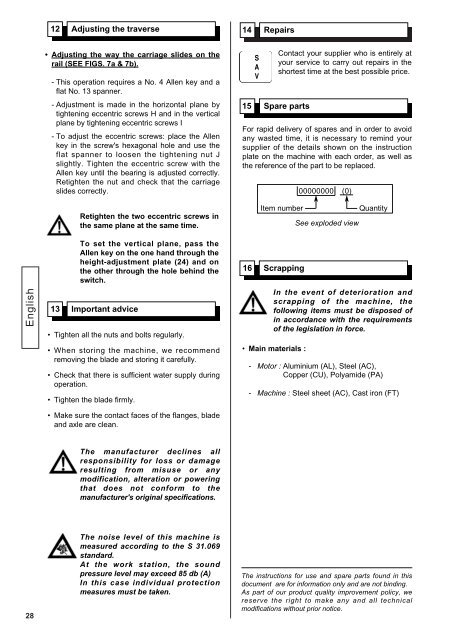
For rapid delivery of spares and in order to avoid<br />
any wasted time, it is necessary to remind your<br />
supplier of the d<strong>et</strong>ails shown on the instruction<br />
plate on the machine with each order, as well as<br />
the reference of the part to be replaced.<br />
16 Scrapping<br />
In the event of d<strong>et</strong>erioration and<br />
scrapping of the machine, the<br />
following items must be disposed of<br />
in accordance with the requirements<br />
of the legislation in force.<br />
• Main materials :<br />
00000000 (0)<br />
Item number Quantity<br />
See exploded view<br />
- Motor : Aluminium (AL), Steel (AC),<br />
Motor : Copper (CU), Polyamide (PA)<br />
- Machine : Steel she<strong>et</strong> (AC), Cast iron (FT)<br />
The instructions for use and spare parts found in this<br />
document are for information only and are not binding.<br />
As part of our product quality improvement policy, we<br />
reserve the right to make any and all technical<br />
modifications without prior notice.