4 7 7 6 1 2 5 8 14 13 10 9 11 12 3 English 5 ... - Black & Decker
4 7 7 6 1 2 5 8 14 13 10 9 11 12 3 English 5 ... - Black & Decker
4 7 7 6 1 2 5 8 14 13 10 9 11 12 3 English 5 ... - Black & Decker
You also want an ePaper? Increase the reach of your titles
YUMPU automatically turns print PDFs into web optimized ePapers that Google loves.
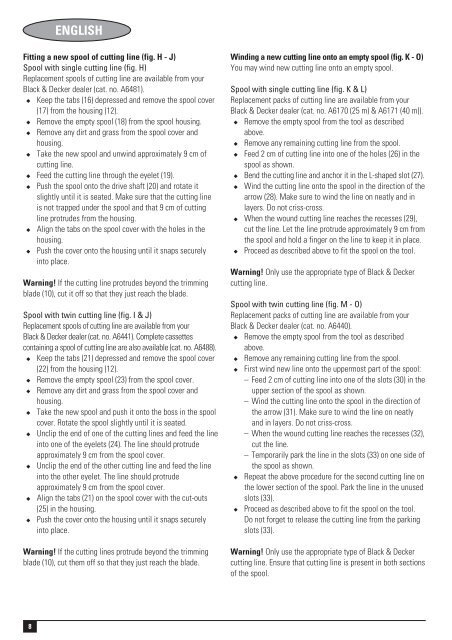
ENGLISHFitting a new spool of cutting line (fig. H - J)Spool with single cutting line (fig. H)Replacement spools of cutting line are available from your<strong>Black</strong> & <strong>Decker</strong> dealer (cat. no. A6481).◆ Keep the tabs (16) depressed and remove the spool cover(17) from the housing (<strong>12</strong>).◆ Remove the empty spool (18) from the spool housing.◆ Remove any dirt and grass from the spool cover andhousing.◆ Take the new spool and unwind approximately 9 cm ofcutting line.◆ Feed the cutting line through the eyelet (19).◆ Push the spool onto the drive shaft (20) and rotate itslightly until it is seated. Make sure that the cutting lineis not trapped under the spool and that 9 cm of cuttingline protrudes from the housing.◆ Align the tabs on the spool cover with the holes in thehousing.◆ Push the cover onto the housing until it snaps securelyinto place.Warning! If the cutting line protrudes beyond the trimmingblade (<strong>10</strong>), cut it off so that they just reach the blade.Spool with twin cutting line (fig. I & J)Replacement spools of cutting line are available from your<strong>Black</strong> & <strong>Decker</strong> dealer (cat. no. A6441). Complete cassettescontaining a spool of cutting line are also available (cat. no. A6488).◆ Keep the tabs (21) depressed and remove the spool cover(22) from the housing (<strong>12</strong>).◆ Remove the empty spool (23) from the spool cover.◆ Remove any dirt and grass from the spool cover andhousing.◆ Take the new spool and push it onto the boss in the spoolcover. Rotate the spool slightly until it is seated.◆ Unclip the end of one of the cutting lines and feed the lineinto one of the eyelets (24). The line should protrudeapproximately 9 cm from the spool cover.◆ Unclip the end of the other cutting line and feed the lineinto the other eyelet. The line should protrudeapproximately 9 cm from the spool cover.◆ Align the tabs (21) on the spool cover with the cut-outs(25) in the housing.◆ Push the cover onto the housing until it snaps securelyinto place.Warning! If the cutting lines protrude beyond the trimmingblade (<strong>10</strong>), cut them off so that they just reach the blade.Winding a new cutting line onto an empty spool (fig. K - O)You may wind new cutting line onto an empty spool.Spool with single cutting line (fig. K & L)Replacement packs of cutting line are available from your<strong>Black</strong> & <strong>Decker</strong> dealer (cat. no. A6170 (25 m) & A6171 (40 m)).◆ Remove the empty spool from the tool as describedabove.◆ Remove any remaining cutting line from the spool.◆ Feed 2 cm of cutting line into one of the holes (26) in thespool as shown.◆ Bend the cutting line and anchor it in the L-shaped slot (27).◆ Wind the cutting line onto the spool in the direction of thearrow (28). Make sure to wind the line on neatly and inlayers. Do not criss-cross.◆ When the wound cutting line reaches the recesses (29),cut the line. Let the line protrude approximately 9 cm fromthe spool and hold a finger on the line to keep it in place.◆ Proceed as described above to fit the spool on the tool.Warning! Only use the appropriate type of <strong>Black</strong> & <strong>Decker</strong>cutting line.Spool with twin cutting line (fig. M - O)Replacement packs of cutting line are available from your<strong>Black</strong> & <strong>Decker</strong> dealer (cat. no. A6440).◆ Remove the empty spool from the tool as describedabove.◆ Remove any remaining cutting line from the spool.◆ First wind new line onto the uppermost part of the spool:– Feed 2 cm of cutting line into one of the slots (30) in theupper section of the spool as shown.– Wind the cutting line onto the spool in the direction ofthe arrow (31). Make sure to wind the line on neatlyand in layers. Do not criss-cross.– When the wound cutting line reaches the recesses (32),cut the line.– Temporarily park the line in the slots (33) on one side ofthe spool as shown.◆ Repeat the above procedure for the second cutting line onthe lower section of the spool. Park the line in the unusedslots (33).◆ Proceed as described above to fit the spool on the tool.Do not forget to release the cutting line from the parkingslots (33).Warning! Only use the appropriate type of <strong>Black</strong> & <strong>Decker</strong>cutting line. Ensure that cutting line is present in both sectionsof the spool.8


