Monteringsanvisning Ronda 160 - Nordpeis
Monteringsanvisning Ronda 160 - Nordpeis
Monteringsanvisning Ronda 160 - Nordpeis
- No tags were found...

You also want an ePaper? Increase the reach of your titles
YUMPU automatically turns print PDFs into web optimized ePapers that Google loves.
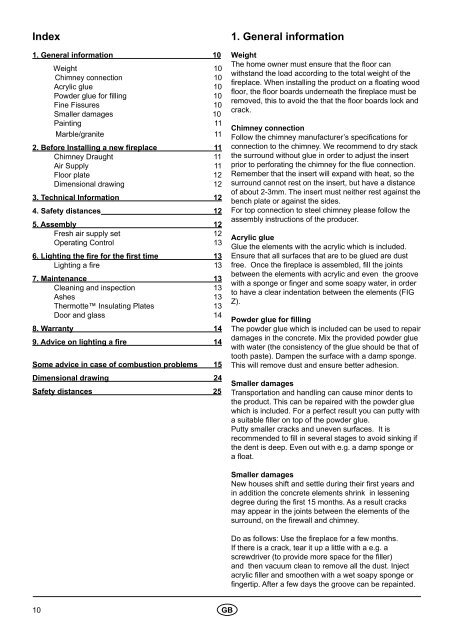
Index1. General information 10Weight 10Chimney connection 10Acrylic glue 10Powder glue for filling 10Fine Fissures 10Smaller damages 10Painting 11Marble/granite 112. Before Installing a new fireplace 11Chimney Draught 11Air Supply 11Floor plate 12Dimensional drawing 123. Technical Information 124. Safety distances125. Assembly 12Fresh air supply set 12Operating Control 136. Lighting the fire for the first time 13Lighting a fire 137. Maintenance 13Cleaning and inspection 13Ashes 13Thermotte Insulating Plates 13Door and glass 148. Warranty 149. Advice on lighting a fire 14Some advice in case of combustion problems 15Dimensional drawing 24Safety distances 251. General informationWeightThe home owner must ensure that the floor canwithstand the load according to the total weight of thefireplace. When installing the product on a floating woodfloor, the floor boards underneath the fireplace must beremoved, this to avoid the that the floor boards lock andcrack.Chimney connectionFollow the chimney manufacturer’s specifications forconnection to the chimney. We recommend to dry stackthe surround without glue in order to adjust the insertprior to perforating the chimney for the flue connection.Remember that the insert will expand with heat, so thesurround cannot rest on the insert, but have a distanceof about 2-3mm. The insert must neither rest against thebench plate or against the sides.For top connection to steel chimney please follow theassembly instructions of the producer.Acrylic glueGlue the elements with the acrylic which is included.Ensure that all surfaces that are to be glued are dustfree. Once the fireplace is assembled, fill the jointsbetween the elements with acrylic and even the groovewith a sponge or finger and some soapy water, in orderto have a clear indentation between the elements (FIGZ).Powder glue for fillingThe powder glue which is included can be used to repairdamages in the concrete. Mix the provided powder gluewith water (the consistency of the glue should be that oftooth paste). Dampen the surface with a damp sponge.This will remove dust and ensure better adhesion.Smaller damagesTransportation and handling can cause minor dents tothe product. This can be repaired with the powder gluewhich is included. For a perfect result you can putty witha suitable filler on top of the powder glue.Putty smaller cracks and uneven surfaces. It isrecommended to fill in several stages to avoid sinking ifthe dent is deep. Even out with e.g. a damp sponge ora float.Smaller damagesNew houses shift and settle during their first years andin addition the concrete elements shrink in lesseningdegree during the first 15 months. As a result cracksmay appear in the joints between the elements of thesurround, on the firewall and chimney.Do as follows: Use the fireplace for a few months.If there is a crack, tear it up a little with a e.g. ascrewdriver (to provide more space for the filler)and then vacuum clean to remove all the dust. Injectacrylic filler and smoothen with a wet soapy sponge orfingertip. After a few days the groove can be repainted.10 GB