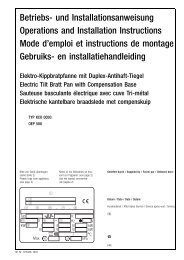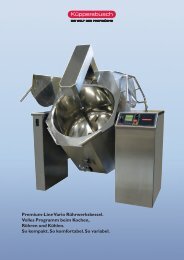
WEF 224 - Küppersbusch
WEF 224 - Küppersbusch
WEF 224 - Küppersbusch

Erfolgreiche ePaper selbst erstellen
Machen Sie aus Ihren PDF Publikationen ein blätterbares Flipbook mit unserer einzigartigen Google optimierten e-Paper Software.
Using the appliance<br />
Warning!<br />
!<br />
!<br />
!<br />
!<br />
!<br />
!<br />
Beware of inexpert handling!<br />
Old and dirty oil or frying fat can represent a real fire hazard; make<br />
sure only new oil or frying fat are used each time you start frying.<br />
The food you intend to fry should always be dry; wet food causes the<br />
oil to foam and overflow.<br />
Frying excessively large quantities of food at a time also causes the oil<br />
to foam; never exceed 1.5 kg.<br />
If the level of oil in the bath falls below the low level mark stamped on<br />
it, the risk of fire will increase.<br />
Never leave the appliance on without any oil in it. The lid delivered<br />
with the appliance should always be kept within easy reach. In case of<br />
fire, it should be used to douse the flames.<br />
Ignition<br />
Check that the oil drain release is closed. Fill the bath with oil up to the level<br />
marked. Turn on the main switch upstream of the appliance. Turn the knob<br />
from ‘0’ to any temperature between 100°C and 195°C; the pilot lights will<br />
come on. The green light means that the appliance is on, while the orange<br />
one indicates that the resistances are on. As soon as the required temperature<br />
is reached, the orange light will go off. To turn the appliance off, simply<br />
turn the knob back to '0'.<br />
Emptying the bath<br />
First of all a suitable bowl for emptying the oil into should be found. The<br />
bowl should be heat-resistant and designed not to allow the oil to spill when<br />
the bath is being emptied, since this could be very dangerous. A bowl with<br />
these requisites is available separately as an optinal extra from our sales<br />
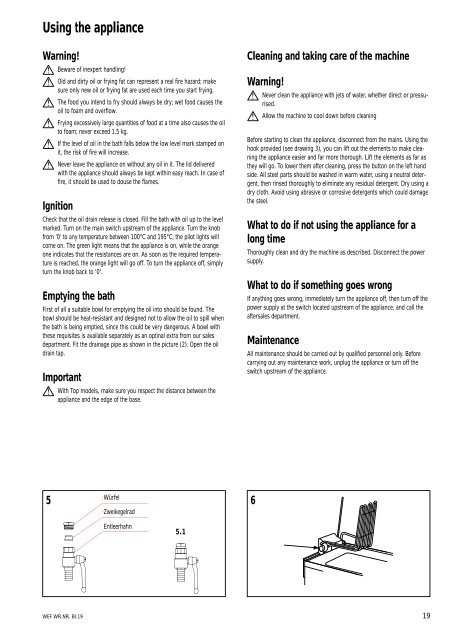
department. Fit the drainage pipe as shown in the picture (2). Open the oil<br />
drain tap.<br />
Important<br />
!<br />
5<br />
With Top models, make sure you respect the distance between the<br />
appliance and the edge of the base.<br />
<strong>WEF</strong> WR.NR. BI.19<br />
H Würfel = Dado<br />
G Zweikegelrad = Bicono<br />
F= Entleerhahn<br />
Scarico<br />
5.1<br />
Cleaning and taking care of the machine<br />
Warning!<br />
!<br />
!<br />
Never clean the appliance with jets of water, whether direct or pressurised.<br />
Allow the machine to cool down before cleaning<br />
Before starting to clean the appliance, disconnect from the mains. Using the<br />
hook provided (see drawing 3), you can lift out the elements to make cleaning<br />
the appliance easier and far more thorough. Lift the elements as far as<br />
they will go. To lower them after cleaning, press the button on the left hand<br />
side. All steel parts should be washed in warm water, using a neutral detergent,<br />
then rinsed thoroughly to eliminate any residual detergent. Dry using a<br />
dry cloth. Avoid using abrasive or corrosive detergents which could damage<br />
the steel.<br />
What to do if not using the appliance for a<br />
long time<br />
Thoroughly clean and dry the machine as described. Disconnect the power<br />
supply.<br />
What to do if something goes wrong<br />
If anything goes wrong, immediately turn the appliance off, then turn off the<br />
power supply at the switch located upstream of the appliance, and call the<br />
aftersales department.<br />
Maintenance<br />
All maintenance should be carried out by qualified personnel only. Before<br />
carrying out any maintenance work, unplug the appliance or turn off the<br />
switch upstream of the appliance.<br />
6<br />
19