ZUBEHÖR für das proGAV - Christoph Miethke GmbH & Co. KG
ZUBEHÖR für das proGAV - Christoph Miethke GmbH & Co. KG
ZUBEHÖR für das proGAV - Christoph Miethke GmbH & Co. KG

Sie wollen auch ein ePaper? Erhöhen Sie die Reichweite Ihrer Titel.
YUMPU macht aus Druck-PDFs automatisch weboptimierte ePaper, die Google liebt.
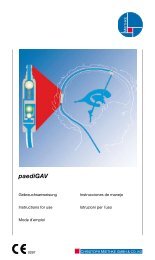
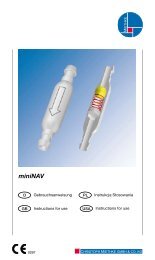
TOOLS for <strong>proGAV</strong><br />
Adjusting the proGaV<br />
Each proGaV is calibrated under strict<br />
quality control procedures.<br />
The presetting of the adjustable unit is<br />
5 cmH2O, but it must be checked before<br />
implantation. The setting is changed in<br />
the following steps:<br />
1. The valve is located under the skin (fig.<br />
13).<br />
fig. 13: Locating the valve<br />
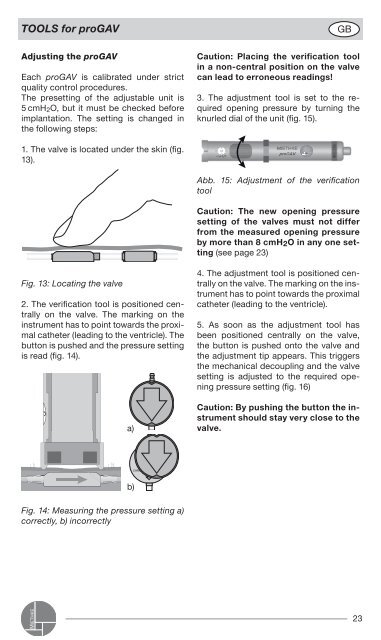
2. The verification tool is positioned centrally<br />
on the valve. The marking on the<br />
instrument has to point towards the proximal<br />
catheter (leading to the ventricle). The<br />
button is pushed and the pressure setting<br />
is read (fig. 14).<br />
fig. 14: measuring the pressure setting a)<br />
correctly, b) incorrectly<br />
a)<br />
p r o G A V<br />
0...20<br />
CHRISTOPH MIETHKE<br />
b)<br />
GB<br />
Caution: Placing the verification tool<br />
in a non-central position on the valve<br />
can lead to erroneous readings!<br />
3. The adjustment tool is set to the required<br />
opening pressure by turning the<br />
knurled dial of the unit (fig. 15).<br />
abb. 15: adjustment of the verification<br />
tool<br />
Caution: The new opening pressure<br />
setting of the valves must not differ<br />
from the measured opening pressure<br />
by more than 8 cmH2O in any one setting<br />
(see page 23)<br />
4. The adjustment tool is positioned centrally<br />
on the valve. The marking on the instrument<br />
has to point towards the proximal<br />
catheter (leading to the ventricle).<br />
5. As soon as the adjustment tool has<br />
been positioned centrally on the valve,<br />
the button is pushed onto the valve and<br />
the adjustment tip appears. This triggers<br />
the mechanical decoupling and the valve<br />
setting is adjusted to the required opening<br />
pressure setting (fig. 16)<br />
Caution: By pushing the button the instrument<br />
should stay very close to the<br />
valve.<br />
2