Bedienungsanleitung RolloTube X-line - Rademacher
Bedienungsanleitung RolloTube X-line - Rademacher
Bedienungsanleitung RolloTube X-line - Rademacher
Sie wollen auch ein ePaper? Erhöhen Sie die Reichweite Ihrer Titel.
YUMPU macht aus Druck-PDFs automatisch weboptimierte ePaper, die Google liebt.
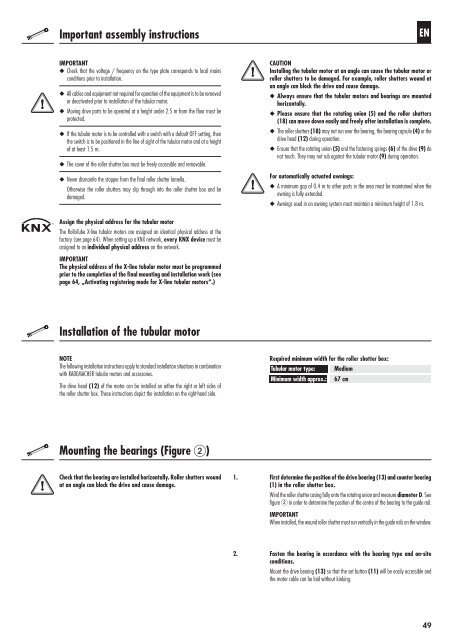
Important assembly instructions<br />
IMPORTANT<br />
◆ Check that the voltage / frequency on the type plate corresponds to local mains<br />
conditions prior to installation.<br />
◆ All cables and equipment not required for operation of the equipment is to be removed<br />
or deactivated prior to installation of the tubular motor.<br />
◆ Moving drive parts to be operated at a height under 2.5 m from the floor must be<br />
protected.<br />
◆ If the tubular motor is to be controlled with a switch with a default OFF setting, then<br />
the switch is to be positioned in the <strong>line</strong> of sight of the tubular motor and at a height<br />
of at least 1.5 m.<br />
◆ The cover of the roller shutter box must be freely accessible and removable.<br />
◆ Never dismantle the stopper from the final roller shutter lamella.<br />
Otherwise the roller shutters may slip through into the roller shutter box and be<br />
damaged.<br />
Assign the physical address for the tubular motor<br />
The <strong>RolloTube</strong> X-<strong>line</strong> tubular motors are assigned an identical physical address at the<br />
factory (see page 64). When setting up a KNX network, every KNX device must be<br />
assigned to an individual physical address on the network.<br />
IMPORTANT<br />
The physical address of the X-<strong>line</strong> tubular motor must be programmed<br />
prior to the completion of the final mounting and installation work (see<br />
page 64, „Activating registering mode for X-<strong>line</strong> tubular motors“.)<br />
Installation of the tubular motor<br />
NOTE<br />
The following installation instructions apply to standard installation situations in combination<br />
with RADEMACHER tubular motors and accessories.<br />
The drive head (12) of the motor can be installed on either the right or left sides of<br />
the roller shutter box. These instructions depict the installation on the right-hand side.<br />
Mounting the bearings (Figure )<br />
Check that the bearing are installed horizontally. Roller shutters wound<br />
at an angle can block the drive and cause damage.<br />
1.<br />
2.<br />
EN<br />
CAUTION<br />
Installing the tubular motor at an angle can cause the tubular motor or<br />
roller shutters to be damaged. For example, roller shutters wound at<br />
an angle can block the drive and cause damage.<br />
◆ Always ensure that the tubular motors and bearings are mounted<br />
horizontally.<br />
◆ Please ensure that the rotating union (5) and the roller shutters<br />
(18) can move down easily and freely after installation is complete.<br />
◆ The roller shutters (18) may not run over the bearing, the bearing capsule (4) or the<br />
drive head (12) during operation.<br />
◆ Ensure that the rotating union (5) and the fastening springs (6) of the drive (9) do<br />
not touch. They may not rub against the tubular motor (9) during operation.<br />
For automatically actuated awnings:<br />
◆ A minimum gap of 0.4 m to other parts in the area must be maintained when the<br />
awning is fully extended.<br />
◆ Awnings used in an awning system must maintain a minimum height of 1.8 m.<br />
Required minimum width for the roller shutter box:<br />
Tubular motor type: Medium<br />
Minimum width approx.: 67 cm<br />
First determine the position of the drive bearing (13) and counter bearing<br />
(1) in the roller shutter box.<br />
Wind the roller shutter casing fully onto the rotating union and measure diameter D. See<br />
figure in order to determine the position of the centre of the bearing to the guide rail.<br />
IMPORTANT<br />
When installed, the wound roller shutter must run vertically in the guide rails on the window.<br />
Fasten the bearing in accordance with the bearing type and on-site<br />
conditions.<br />
Mount the drive bearing (13) so that the set button (11) will be easily accessible and<br />
the motor cable can be laid without kinking.<br />
49


