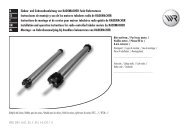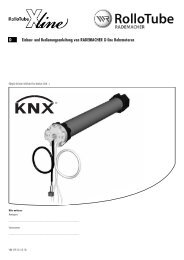
Bedienungsanleitung RolloTube X-line - Rademacher
Bedienungsanleitung RolloTube X-line - Rademacher
Bedienungsanleitung RolloTube X-line - Rademacher

Erfolgreiche ePaper selbst erstellen
Machen Sie aus Ihren PDF Publikationen ein blätterbares Flipbook mit unserer einzigartigen Google optimierten e-Paper Software.
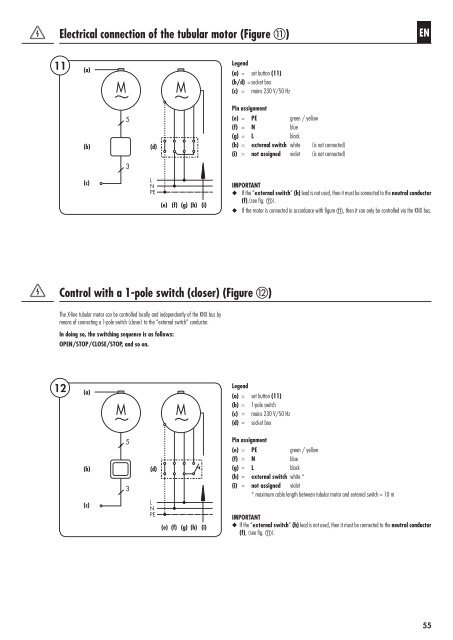
Electrical connection of the tubular motor (Figure k)<br />
11 (a)<br />
(b)<br />
(c)<br />
12 (a)<br />
(b)<br />
(c)<br />
(d)<br />
(d)<br />
(e) (f) (g) (h) (i)<br />
(e) (f) (g) (h) (i)<br />
Legend<br />
(a) = set button (11)<br />
(b/d) = socket box<br />
(c) = mains 230 V/50 Hz<br />
Control with a 1-pole switch (closer) (Figure l)<br />
The X-<strong>line</strong> tubular motor can be controlled locally and independently of the KNX bus by<br />
means of connecting a 1-pole switch (closer) to the “external switch” conductor.<br />
In doing so, the switching sequence is as follows:<br />
OPEN/STOP/CLOSE/STOP, and so on.<br />
Pin assignment<br />
(e) = PE green / yellow<br />
(f) = N blue<br />
(g) = L black<br />
(h) = external switch white (is not connected)<br />
(i) = not assigned violet (is not connected)<br />
EN<br />
IMPORTANT<br />
◆ If the “external switch” (h) lead is not used, then it must be connected to the neutral conductor<br />
(f),(see fig. k).<br />
◆ If the motor is connected in accordance with figure k, then it can only be controlled via the KNX bus.<br />
Legend<br />
(a) = set button (11)<br />
(b) = 1-pole switch<br />
(c) = mains 230 V/50 Hz<br />
(d) = socket box<br />
Pin assignment<br />
(e) = PE green / yellow<br />
(f) = N blue<br />
(g) = L black<br />
(h) = external switch white *<br />
(i) = not assigned violet<br />
* maximum cable length between tubular motor and external switch = 10 m<br />
IMPORTANT<br />
◆ If the “external switch” (h) lead is not used, then it must be connected to the neutral conductor<br />
(f), (see fig. k).<br />
55