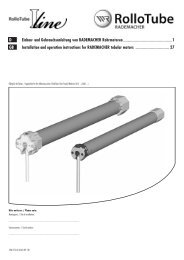
Bedienungsanleitung RolloTube X-line - Rademacher
Bedienungsanleitung RolloTube X-line - Rademacher
Bedienungsanleitung RolloTube X-line - Rademacher

Sie wollen auch ein ePaper? Erhöhen Sie die Reichweite Ihrer Titel.
YUMPU macht aus Druck-PDFs automatisch weboptimierte ePaper, die Google liebt.
1.<br />
52<br />
5.b<br />
5.c<br />
5.d<br />
5.e<br />
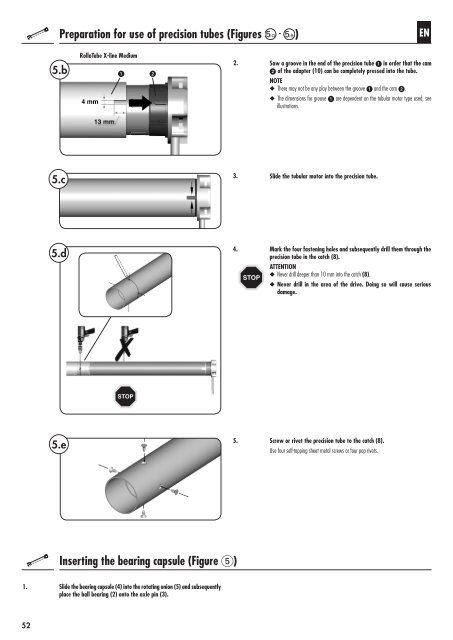
Preparation for use of precision tubes (Figures - )<br />
<strong>RolloTube</strong> X-<strong>line</strong> Medium<br />
1<br />
STOP<br />
Inserting the bearing capsule (Figure )<br />
Slide the bearing capsule (4) into the rotating union (5) and subsequently<br />
place the ball bearing (2) onto the axle pin (3).<br />
<br />
STOP<br />
EN<br />
2. Saw a groove in the end of the precision tube 1 in order that the cam<br />
of the adapter (10) can be completely pressed into the tube.<br />
3.<br />
4.<br />
5.<br />
NOTE<br />
◆ There may not be any play between the groove 1 and the cam .<br />
◆ The dimensions for groove 1 are dependent on the tubular motor type used, see<br />
illustrations.<br />
Slide the tubular motor into the precision tube.<br />
Mark the four fastening holes and subsequently drill them through the<br />
precision tube in the catch (8).<br />
ATTENTION<br />
◆ Never drill deeper than 10 mm into the catch (8).<br />
◆ Never drill in the area of the drive. Doing so will cause serious<br />
damage.<br />
Screw or rivet the precision tube to the catch (8).<br />
Use four self-tapping sheet metal screws or four pop rivets.