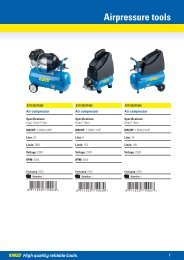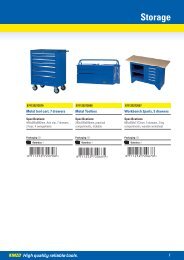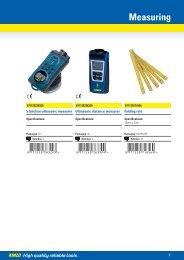
Intertek - kinzo
Intertek - kinzo
Intertek - kinzo

Erfolgreiche ePaper selbst erstellen
Machen Sie aus Ihren PDF Publikationen ein blätterbares Flipbook mit unserer einzigartigen Google optimierten e-Paper Software.
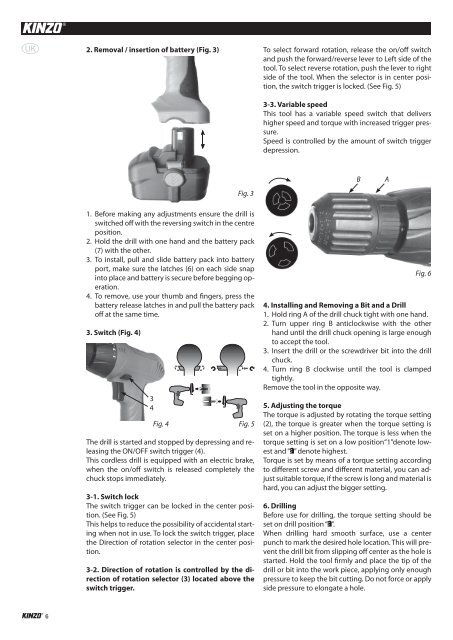
A 2. Removal / insertion of battery (Fig. 3)<br />
To select forward rotation, release the on/off switch<br />
and push the forward/reverse lever to Left side of the<br />
tool. To select reverse rotation, push the lever to right<br />
side of the tool. When the selector is in center position,<br />
the switch trigger is locked. (See Fig. 5)<br />
3-3. Variable speed<br />
This tool has a variable speed switch that delivers<br />
higher speed and torque with increased trigger pressure.<br />
Speed is controlled by the amount of switch trigger<br />
depression.<br />
Fig. 3<br />
B<br />
A<br />
1. Before making any adjustments ensure the drill is<br />
switched off with the reversing switch in the centre<br />
position.<br />
2. Hold the drill with one hand and the battery pack<br />
(7) with the other.<br />
3. To install, pull and slide battery pack into battery<br />
port, make sure the latches (6) on each side snap<br />
into place and battery is secure before begging operation.<br />
4. To remove, use your thumb and fingers, press the<br />
battery release latches in and pull the battery pack<br />
off at the same time.<br />
3. Switch (Fig. 4)<br />
3<br />
4<br />
Fig. 4 Fig. 5<br />
The drill is started and stopped by depressing and releasing<br />
the ON/OFF switch trigger (4).<br />
This cordless drill is equipped with an electric brake,<br />
when the on/off switch is released completely the<br />
chuck stops immediately.<br />
3-1. Switch lock<br />
The switch trigger can be locked in the center position.<br />
(See Fig. 5)<br />
This helps to reduce the possibility of accidental starting<br />
when not in use. To lock the switch trigger, place<br />
the Direction of rotation selector in the center position.<br />
3-2. Direction of rotation is controlled by the direction<br />
of rotation selector (3) located above the<br />
switch trigger.<br />
Fig. 6<br />
4. Installing and Removing a Bit and a Drill<br />
1. Hold ring A of the drill chuck tight with one hand.<br />
2. Turn upper ring B anticlockwise with the other<br />
hand until the drill chuck opening is large enough<br />
to accept the tool.<br />
3. Insert the drill or the screwdriver bit into the drill<br />
chuck.<br />
4. Turn ring B clockwise until the tool is clamped<br />
tightly.<br />
Remove the tool in the opposite way.<br />
5. Adjusting the torque<br />
The torque is adjusted by rotating the torque setting<br />
(2), the torque is greater when the torque setting is<br />
set on a higher position. The torque is less when the<br />
torque setting is set on a low position“1”denote lowest<br />
and “ ” denote highest.<br />
Torque is set by means of a torque setting according<br />
to different screw and different material, you can adjust<br />
suitable torque, if the screw is long and material is<br />
hard, you can adjust the bigger setting.<br />
6. Drilling<br />
Before use for drilling, the torque setting should be<br />
set on drill position “ ”.<br />
When drilling hard smooth surface, use a center<br />
punch to mark the desired hole location. This will prevent<br />
the drill bit from slipping off center as the hole is<br />
started. Hold the tool firmly and place the tip of the<br />
drill or bit into the work piece, applying only enough<br />
pressure to keep the bit cutting. Do not force or apply<br />
side pressure to elongate a hole.<br />
6<br />
71775 Manual.indd 6 30-12-10 10:18