
Erfolgreiche ePaper selbst erstellen
Machen Sie aus Ihren PDF Publikationen ein blätterbares Flipbook mit unserer einzigartigen Google optimierten e-Paper Software.
AÉROGRAPHE<br />
« MASTER CLASS » –<br />
CONSEILS POUR L'ASSEM-<br />
BLAGE<br />
F GB<br />
● Remettez la buse en place dans le corps de l'aérographe<br />
et vissez la tête de pulvérisation.<br />
● Positionnez la gâchette correctement dans le corps de<br />
l'aérographe. Si vous sentez une résistance élastique, c'est<br />
que la position est correcte.<br />
● Tenez la gâchette d'un doigt en position et de l'autre main<br />
mettez en place la tige tubulaire. La languette en forme de S<br />
doit être alors poussée vers l'avant dans le corps de l'aérographe.<br />
La partie supérieure de la languette doit sortir de la<br />
fente se trouvant dans le corps de l'aérographe. (Illustr. 1)<br />
● Actionnez la gâchette vers l'arrière. Vous maintiendrez<br />
ainsi la languette en S à sa place correcte. (Illustr. 2)<br />
● Placez maintenant le ressort du tube de l'aiguille et vissez<br />
la tige tubulaire. Plus la tige est vissée dans le corps de<br />
l'aérographe, plus vous sentez de résistance au niveau de la<br />
gâchette. Au bout de 15 à 20 tours, vous pouvez lâcher<br />
lentement la gâchette.<br />
● Vissez maintenant complètement la tige tubulaire.<br />
● Introduisez l'aiguille avec le plus grand soin de l'arrière<br />
vers l'avant (Illustr. 3), vissez à fond le support de l'aiguille et<br />
installer le manche.<br />
AVERTISSEMENTS IMPOR-<br />
TANTS<br />
1. Exécutez vos premiers essais uniquement avec de<br />
l'eau. Vous apprendrez ainsi à bien sentir votre aérographe<br />
et à bien l'utiliser.<br />
2. Ne mettez jamais en contact la zone de la valve à<br />
air avec du diluant. Le joint intégré gonflerait et<br />
deviendrait inutilisable.<br />
3. Les autres rondelles d'étanchéité ne devront pas<br />
non plus rester en contact prolongé avec des nettoyants<br />
ou du diluant. Les joints gonflés sont inutilisables<br />
et ne peuvent en partie être remplacés que par<br />
un spécialiste.<br />
17<br />
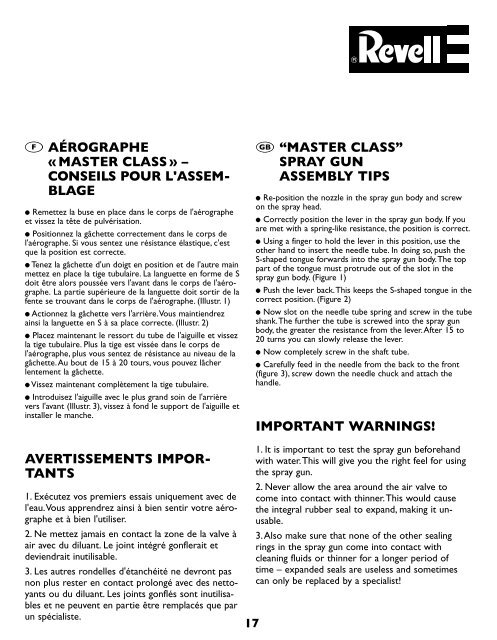
“MASTER CLASS”<br />
<strong>SPR</strong>AY GUN<br />
ASSEMBLY TIPS<br />
● Re-position the nozzle in the spray gun body and screw<br />
on the spray head.<br />
● Correctly position the lever in the spray gun body. If you<br />
are met with a spring-like resistance, the position is correct.<br />
● Using a finger to hold the lever in this position, use the<br />
other hand to insert the needle tube. In doing so, push the<br />
S-shaped tongue forwards into the spray gun body. The top<br />
part of the tongue must protrude out of the slot in the<br />
spray gun body. (Figure 1)<br />
● Push the lever back. This keeps the S-shaped tongue in the<br />
correct position. (Figure 2)<br />
● Now slot on the needle tube spring and screw in the tube<br />
shank. The further the tube is screwed into the spray gun<br />
body, the greater the resistance from the lever. After 15 to<br />
20 turns you can slowly release the lever.<br />
● Now completely screw in the shaft tube.<br />
● Carefully feed in the needle from the back to the front<br />
(figure 3), screw down the needle chuck and attach the<br />
handle.<br />
IMPORTANT WARNINGS!<br />
1. It is important to test the spray gun beforehand<br />
with water. This will give you the right feel for using<br />
the spray gun.<br />
2. Never allow the area around the air valve to<br />
come into contact with thinner. This would cause<br />
the integral rubber seal to expand, making it un -<br />
usable.<br />
3. Also make sure that none of the other sealing<br />
rings in the spray gun come into contact with<br />
cleaning fluids or thinner for a longer period of<br />
time – expanded seals are useless and sometimes<br />
can only be replaced by a specialist!