Installation and Use - Friedland
Installation and Use - Friedland
Installation and Use - Friedland

Erfolgreiche ePaper selbst erstellen
Machen Sie aus Ihren PDF Publikationen ein blätterbares Flipbook mit unserer einzigartigen Google optimierten e-Paper Software.
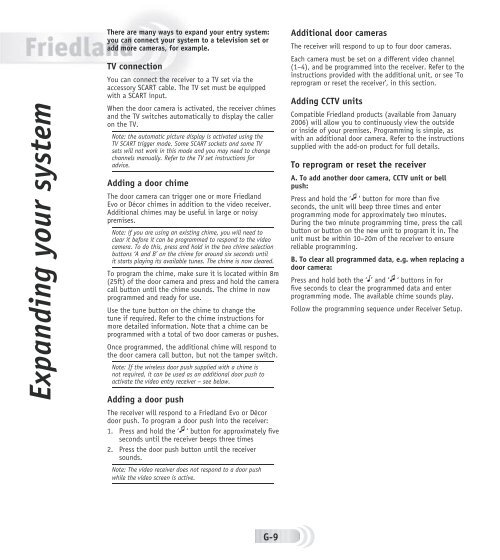
Exp<strong>and</strong>ing your system<br />
There are many ways to exp<strong>and</strong> your entry system:<br />
you can connect your system to a television set or<br />
add more cameras, for example.<br />
TV connection<br />
You can connect the receiver to a TV set via the<br />
accessory SCART cable. The TV set must be equipped<br />
with a SCART input.<br />
When the door camera is activated, the receiver chimes<br />
<strong>and</strong> the TV switches automatically to display the caller<br />
on the TV.<br />
Note: the automatic picture display is activated using the<br />
TV SCART trigger mode. Some SCART sockets <strong>and</strong> some TV<br />
sets will not work in this mode <strong>and</strong> you may need to change<br />
channels manually. Refer to the TV set instructions for<br />
advice.<br />
Adding a door chime<br />
The door camera can trigger one or more Friedl<strong>and</strong><br />
Evo or Décor chimes in addition to the video receiver.<br />
Additional chimes may be useful in large or noisy<br />
premises.<br />
Note: if you are using an existing chime, you will need to<br />
clear it before it can be programmed to respond to the video<br />
camera. To do this, press <strong>and</strong> hold in the two chime selection<br />
buttons ‘A <strong>and</strong> B’ on the chime for around six seconds until<br />
it starts playing its available tunes. The chime is now cleared.<br />
To program the chime, make sure it is located within 8m<br />
(25ft) of the door camera <strong>and</strong> press <strong>and</strong> hold the camera<br />
call button until the chime sounds. The chime in now<br />
programmed <strong>and</strong> ready for use.<br />
<strong>Use</strong> the tune button on the chime to change the<br />
tune if required. Refer to the chime instructions for<br />
more detailed information. Note that a chime can be<br />
programmed with a total of two door cameras or pushes.<br />
Once programmed, the additional chime will respond to<br />
the door camera call button, but not the tamper switch.<br />
Note: If the wireless door push supplied with a chime is<br />
not required, it can be used as an additional door push to<br />
activate the video entry receiver – see below.<br />
Adding a door push<br />
The receiver will respond to a Friedl<strong>and</strong> Evo or Décor<br />
door push. To program a door push into the receiver:<br />
1. Press <strong>and</strong> hold the ‘ ‘ button for approximately fi ve<br />
seconds until the receiver beeps three times<br />
2. Press the door push button until the receiver<br />
sounds.<br />
Note: The video receiver does not respond to a door push<br />
while the video screen is active.<br />
G-9<br />
Additional door cameras<br />
The receiver will respond to up to four door cameras.<br />
Each camera must be set on a different video channel<br />
(1–4), <strong>and</strong> be programmed into the receiver. Refer to the<br />
instructions provided with the additional unit, or see ‘To<br />
reprogram or reset the receiver’, in this section.<br />
Adding CCTV units<br />
Compatible Friedl<strong>and</strong> products (available from January<br />
2006) will allow you to continuously view the outside<br />
or inside of your premises. Programming is simple, as<br />
with an additional door camera. Refer to the instructions<br />
supplied with the add-on product for full details.<br />
To reprogram or reset the receiver<br />
A. To add another door camera, CCTV unit or bell<br />
push:<br />
Press <strong>and</strong> hold the ‘ ‘ button for more than fi ve<br />
seconds, the unit will beep three times <strong>and</strong> enter<br />
programming mode for approximately two minutes.<br />
During the two minute programming time, press the call<br />
button or button on the new unit to program it in. The<br />
unit must be within 10–20m of the receiver to ensure<br />
reliable programming.<br />
B. To clear all programmed data, e.g. when replacing a<br />
door camera:<br />
Press <strong>and</strong> hold both the ‘ ’ <strong>and</strong> ‘ ‘ buttons in for<br />
fi ve seconds to clear the programmed data <strong>and</strong> enter<br />
programming mode. The available chime sounds play.<br />
Follow the programming sequence under Receiver Setup.