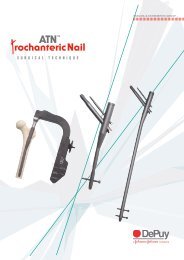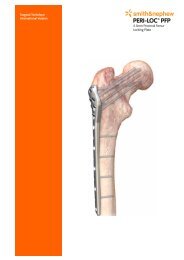
Exeter trauma stem hip hemiarthroplasty
Exeter trauma stem hip hemiarthroplasty
Exeter trauma stem hip hemiarthroplasty

Create successful ePaper yourself
Turn your PDF publications into a flip-book with our unique Google optimized e-Paper software.
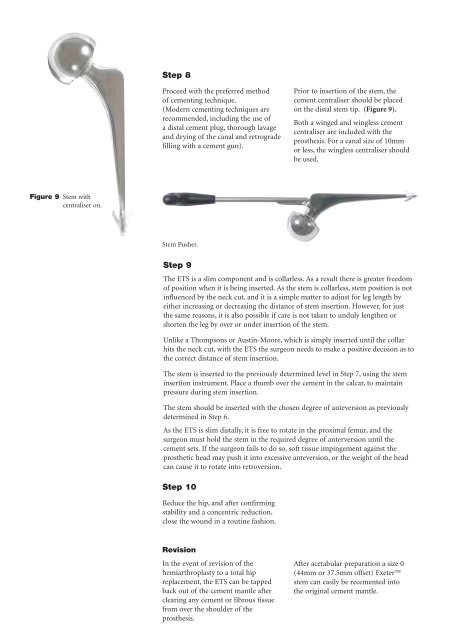
Figure 9 Stem with<br />
centraliser on.<br />
Step 8<br />
Proceed with the preferred method<br />
of cementing technique.<br />
(Modern cementing techniques are<br />
recommended, including the use of<br />
a distal cement plug, thorough lavage<br />
and drying of the canal and retrograde<br />
filling with a cement gun).<br />
Stem Pusher.<br />
Step 9<br />
Revision<br />
In the event of revision of the<br />
<strong>hemiarthroplasty</strong> to a total <strong>hip</strong><br />
replacement, the ETS can be tapped<br />
back out of the cement mantle after<br />
clearing any cement or fibrous tissue<br />
from over the shoulder of the<br />
prosthesis.<br />
Prior to insertion of the <strong>stem</strong>, the<br />
cement centraliser should be placed<br />
on the distal <strong>stem</strong> tip. (Figure 9).<br />
Both a winged and wingless cement<br />
centraliser are included with the<br />
prosthesis. For a canal size of 10mm<br />
or less, the wingless centraliser should<br />
be used.<br />
The ETS is a slim component and is collarless. As a result there is greater freedom<br />
of position when it is being inserted. As the <strong>stem</strong> is collarless, <strong>stem</strong> position is not<br />
influenced by the neck cut, and it is a simple matter to adjust for leg length by<br />
either increasing or decreasing the distance of <strong>stem</strong> insertion. However, for just<br />
the same reasons, it is also possible if care is not taken to unduly lengthen or<br />
shorten the leg by over or under insertion of the <strong>stem</strong>.<br />
Unlike a Thompsons or Austin-Moore, which is simply inserted until the collar<br />
hits the neck cut, with the ETS the surgeon needs to make a positive decision as to<br />
the correct distance of <strong>stem</strong> insertion.<br />
The <strong>stem</strong> is inserted to the previously determined level in Step 7, using the <strong>stem</strong><br />
insertion instrument. Place a thumb over the cement in the calcar, to maintain<br />
pressure during <strong>stem</strong> insertion.<br />
The <strong>stem</strong> should be inserted with the chosen degree of anteversion as previously<br />
determined in Step 6.<br />
As the ETS is slim distally, it is free to rotate in the proximal femur, and the<br />
surgeon must hold the <strong>stem</strong> in the required degree of anterversion until the<br />
cement sets. If the surgeon fails to do so, soft tissue impingement against the<br />
prosthetic head may push it into excessive anteversion, or the weight of the head<br />
can cause it to rotate into retroversion.<br />
Step 10<br />
Reduce the <strong>hip</strong>, and after confirming<br />
stability and a concentric reduction,<br />
close the wound in a routine fashion.<br />
After acetabular preparation a size 0<br />
(44mm or 37.5mm offset) <strong>Exeter</strong><br />
<strong>stem</strong> can easily be recemented into<br />
the original cement mantle.