

Ramsey Electronics 2012 Catalog - Home
Ramsey Electronics 2012 Catalog - Home
Ramsey Electronics 2012 Catalog - Home

You also want an ePaper? Increase the reach of your titles
YUMPU automatically turns print PDFs into web optimized ePapers that Google loves.
Shop online at www.ramseykits.com<br />
Call Toll Free 800-446-2295<br />
Kit Building Guide 89<br />
DIODES<br />
If a kit uses one diode or a number of the same kind of diode you are in luck. Just be sure to understand<br />
the difference between the cathode (banded) end and the anode before installing. If the kit uses several different diodes it is<br />
necessary to identify each of them correctly. Believe it or not, there ARE printed markings on even tiny diodes. You'll need a<br />
magnifying glass even if you claim perfect 20-20 vision! If you are unsure about correct diode identification, please ask for<br />
help.<br />
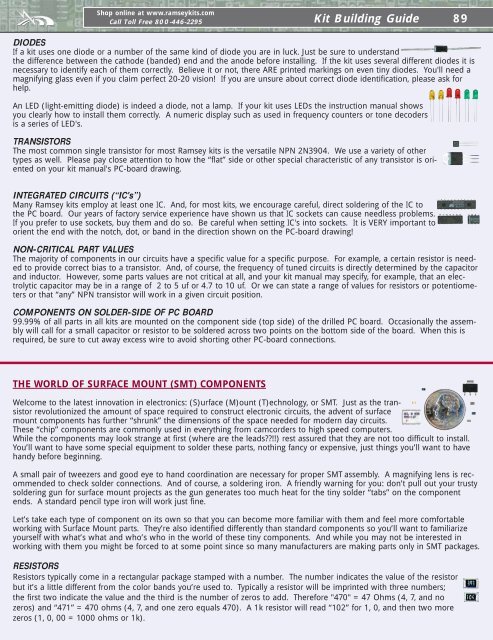
An LED (light-emitting diode) is indeed a diode, not a lamp. If your kit uses LEDs the instruction manual shows<br />
you clearly how to install them correctly. A numeric display such as used in frequency counters or tone decoders<br />
is a series of LED's.<br />
TRANSISTORS<br />
The most common single transistor for most <strong>Ramsey</strong> kits is the versatile NPN 2N3904. We use a variety of other<br />
types as well. Please pay close attention to how the “flat” side or other special characteristic of any transistor is oriented<br />
on your kit manual's PC-board drawing.<br />
INTEGRATED CIRCUITS (“IC's”)<br />
Many <strong>Ramsey</strong> kits employ at least one IC. And, for most kits, we encourage careful, direct soldering of the IC to<br />
the PC board. Our years of factory service experience have shown us that IC sockets can cause needless problems.<br />
If you prefer to use sockets, buy them and do so. Be careful when setting IC's into sockets. It is VERY important to<br />
orient the end with the notch, dot, or band in the direction shown on the PC-board drawing!<br />
NON-CRITICAL PART VALUES<br />
The majority of components in our circuits have a specific value for a specific purpose. For example, a certain resistor is needed<br />
to provide correct bias to a transistor. And, of course, the frequency of tuned circuits is directly determined by the capacitor<br />
and inductor. However, some parts values are not critical at all, and your kit manual may specify, for example, that an electrolytic<br />
capacitor may be in a range of 2 to 5 uf or 4.7 to 10 uf. Or we can state a range of values for resistors or potentiometers<br />
or that “any” NPN transistor will work in a given circuit position.<br />
COMPONENTS ON SOLDER-SIDE OF PC BOARD<br />
99.99% of all parts in all kits are mounted on the component side (top side) of the drilled PC board. Occasionally the assembly<br />
will call for a small capacitor or resistor to be soldered across two points on the bottom side of the board. When this is<br />
required, be sure to cut away excess wire to avoid shorting other PC-board connections.<br />
THE WORLD OF SURFACE MOUNT (SMT) COMPONENTS<br />
Welcome to the latest innovation in electronics: (S)urface (M)ount (T)echnology, or SMT. Just as the transistor<br />
revolutionized the amount of space required to construct electronic circuits, the advent of surface<br />
mount components has further “shrunk” the dimensions of the space needed for modern day circuits.<br />
These “chip” components are commonly used in everything from camcorders to high speed computers.<br />
While the components may look strange at first (where are the leads??!!) rest assured that they are not too difficult to install.<br />
You’ll want to have some special equipment to solder these parts, nothing fancy or expensive, just things you’ll want to have<br />
handy before beginning.<br />
A small pair of tweezers and good eye to hand coordination are necessary for proper SMT assembly. A magnifying lens is recommended<br />
to check solder connections. And of course, a soldering iron. A friendly warning for you: don’t pull out your trusty<br />
soldering gun for surface mount projects as the gun generates too much heat for the tiny solder “tabs” on the component<br />
ends. A standard pencil type iron will work just fine.<br />
Let’s take each type of component on its own so that you can become more familiar with them and feel more comfortable<br />
working with Surface Mount parts. They’re also identified differently than standard components so you’ll want to familiarize<br />
yourself with what’s what and who’s who in the world of these tiny components. And while you may not be interested in<br />
working with them you might be forced to at some point since so many manufacturers are making parts only in SMT packages.<br />
RESISTORS<br />
Resistors typically come in a rectangular package stamped with a number. The number indicates the value of the resistor<br />
but it’s a little different from the color bands you’re used to. Typically a resistor will be imprinted with three numbers;<br />
the first two indicate the value and the third is the number of zeros to add. Therefore "470" = 47 Ohms (4, 7, and no<br />
zeros) and “471” = 470 ohms (4, 7, and one zero equals 470). A 1k resistor will read “102” for 1, 0, and then two more<br />
zeros (1, 0, 00 = 1000 ohms or 1k).