Table of Contents - OsteoMed
Table of Contents - OsteoMed
Table of Contents - OsteoMed

You also want an ePaper? Increase the reach of your titles
YUMPU automatically turns print PDFs into web optimized ePapers that Google loves.
1st Mtp/MpJ Joint fusion plate with transfixation Hole<br />
(324-1280, 324-1281, 324-1284, 324-1285, 324-1286, 324-1287)<br />
Note: Multiplanar fluoroscopy is recommended throughout screw and plating procedures.<br />
1. Expose and reduce the surgical site.<br />
2. Debride the base <strong>of</strong> the phalanx and the metatarsal head to bleeding bone. If desired, a<br />
range <strong>of</strong> spherical reamer sizes in a secondary block is available.<br />
Note: Instructions for using the reamers can be found on p. 23.<br />
3. Position the toe with desired dorsiflexion and valgus angle, and bring the phalanx and<br />
metatarsal in close apposition. K-wires may be used to hold the bones in close proximity.<br />
Note: The two larger 1st MPJ/MTP fusion plates are pre-contoured with 10˚ dorsiflexion and<br />
10˚ hallux valgus. The smallest 1st MPJ/MTP fusion plate is pre-contoured with 10˚<br />
dorsiflexion. Additional contouring can be achieved using the plate benders. Each<br />
plate is available in left and right configurations.<br />
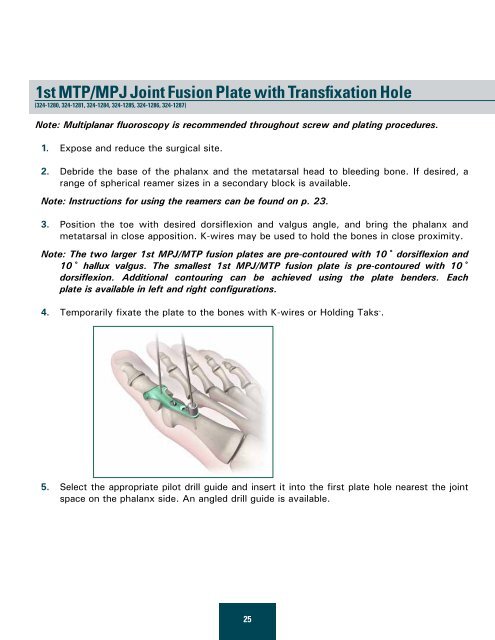
4. Temporarily fixate the plate to the bones with K-wires or Holding Taks .<br />
5. Select the appropriate pilot drill guide and insert it into the first plate hole nearest the joint<br />
space on the phalanx side. An angled drill guide is available.<br />
25