INSTALLATION GUIDE Installationsanleitung - SMC
INSTALLATION GUIDE Installationsanleitung - SMC
INSTALLATION GUIDE Installationsanleitung - SMC

You also want an ePaper? Increase the reach of your titles
YUMPU automatically turns print PDFs into web optimized ePapers that Google loves.
3<br />
3-2<br />
Installing the Switch<br />
Equipment Checklist<br />
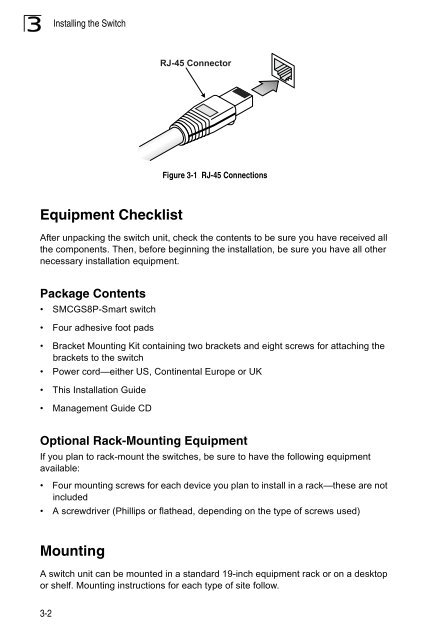
Figure 3-1 RJ-45 Connections<br />
After unpacking the switch unit, check the contents to be sure you have received all<br />
the components. Then, before beginning the installation, be sure you have all other<br />
necessary installation equipment.<br />
Package Contents<br />
• <strong>SMC</strong>GS8P-Smart switch<br />
• Four adhesive foot pads<br />
• Bracket Mounting Kit containing two brackets and eight screws for attaching the<br />
brackets to the switch<br />
• Power cord—either US, Continental Europe or UK<br />
• This Installation Guide<br />
• Management Guide CD<br />
Optional Rack-Mounting Equipment<br />
If you plan to rack-mount the switches, be sure to have the following equipment<br />
available:<br />
• Four mounting screws for each device you plan to install in a rack—these are not<br />
included<br />
• A screwdriver (Phillips or flathead, depending on the type of screws used)<br />
Mounting<br />
RJ-45 Connector<br />
A switch unit can be mounted in a standard 19-inch equipment rack or on a desktop<br />
or shelf. Mounting instructions for each type of site follow.