PageScope Job Spooler Ver.1.0 - konica minolta canada
PageScope Job Spooler Ver.1.0 - konica minolta canada
PageScope Job Spooler Ver.1.0 - konica minolta canada

You also want an ePaper? Increase the reach of your titles
YUMPU automatically turns print PDFs into web optimized ePapers that Google loves.
Installing/Uninstalling the <strong>PageScope</strong> <strong>Job</strong> <strong>Spooler</strong> Server 2<br />
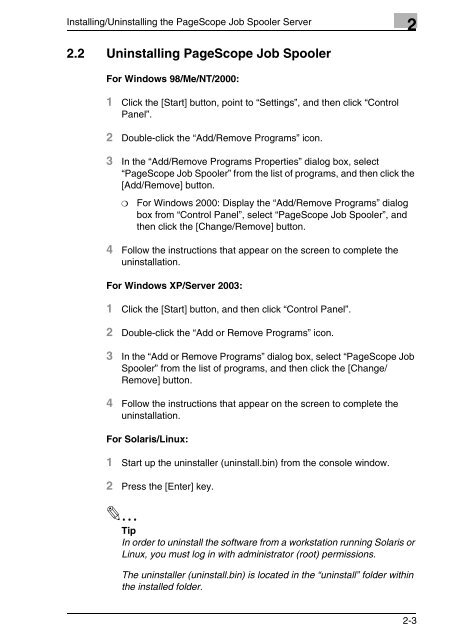
2.2 Uninstalling <strong>PageScope</strong> <strong>Job</strong> <strong>Spooler</strong><br />
For Windows 98/Me/NT/2000:<br />
1 Click the [Start] button, point to “Settings”, and then click “Control<br />
Panel”.<br />
2 Double-click the “Add/Remove Programs” icon.<br />
3 In the “Add/Remove Programs Properties” dialog box, select<br />
“<strong>PageScope</strong> <strong>Job</strong> <strong>Spooler</strong>” from the list of programs, and then click the<br />
[Add/Remove] button.<br />
❍ For Windows 2000: Display the “Add/Remove Programs” dialog<br />
box from “Control Panel”, select “<strong>PageScope</strong> <strong>Job</strong> <strong>Spooler</strong>”, and<br />
then click the [Change/Remove] button.<br />
4 Follow the instructions that appear on the screen to complete the<br />
uninstallation.<br />
For Windows XP/Server 2003:<br />
1 Click the [Start] button, and then click “Control Panel”.<br />
2 Double-click the “Add or Remove Programs” icon.<br />
3 In the “Add or Remove Programs” dialog box, select “<strong>PageScope</strong> <strong>Job</strong><br />
<strong>Spooler</strong>” from the list of programs, and then click the [Change/<br />
Remove] button.<br />
4 Follow the instructions that appear on the screen to complete the<br />
uninstallation.<br />
For Solaris/Linux:<br />
1 Start up the uninstaller (uninstall.bin) from the console window.<br />
2 Press the [Enter] key.<br />
✎<br />
Tip<br />
In order to uninstall the software from a workstation running Solaris or<br />
Linux, you must log in with administrator (root) permissions.<br />
The uninstaller (uninstall.bin) is located in the “uninstall” folder within<br />
the installed folder.<br />
2-3