Muqarnas in Blender: Modelling and Rendering - pille
Muqarnas in Blender: Modelling and Rendering - pille
Muqarnas in Blender: Modelling and Rendering - pille
You also want an ePaper? Increase the reach of your titles
YUMPU automatically turns print PDFs into web optimized ePapers that Google loves.
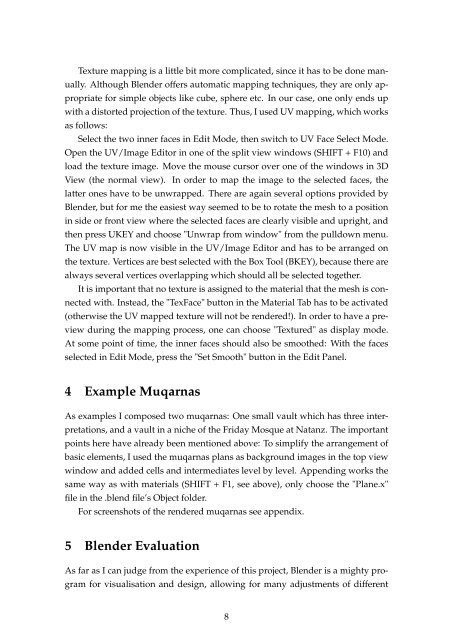
Texture mapp<strong>in</strong>g is a little bit more complicated, s<strong>in</strong>ce it has to be done man-<br />
ually. Although <strong>Blender</strong> offers automatic mapp<strong>in</strong>g techniques, they are only ap-<br />
propriate for simple objects like cube, sphere etc. In our case, one only ends up<br />
with a distorted projection of the texture. Thus, I used UV mapp<strong>in</strong>g, which works<br />
as follows:<br />
Select the two <strong>in</strong>ner faces <strong>in</strong> Edit Mode, then switch to UV Face Select Mode.<br />
Open the UV/Image Editor <strong>in</strong> one of the split view w<strong>in</strong>dows (SHIFT + F10) <strong>and</strong><br />
load the texture image. Move the mouse cursor over one of the w<strong>in</strong>dows <strong>in</strong> 3D<br />
View (the normal view). In order to map the image to the selected faces, the<br />
latter ones have to be unwrapped. There are aga<strong>in</strong> several options provided by<br />
<strong>Blender</strong>, but for me the easiest way seemed to be to rotate the mesh to a position<br />
<strong>in</strong> side or front view where the selected faces are clearly visible <strong>and</strong> upright, <strong>and</strong><br />
then press UKEY <strong>and</strong> choose "Unwrap from w<strong>in</strong>dow" from the pulldown menu.<br />
The UV map is now visible <strong>in</strong> the UV/Image Editor <strong>and</strong> has to be arranged on<br />
the texture. Vertices are best selected with the Box Tool (BKEY), because there are<br />
always several vertices overlapp<strong>in</strong>g which should all be selected together.<br />
It is important that no texture is assigned to the material that the mesh is con-<br />
nected with. Instead, the "TexFace" button <strong>in</strong> the Material Tab has to be activated<br />
(otherwise the UV mapped texture will not be rendered!). In order to have a pre-<br />
view dur<strong>in</strong>g the mapp<strong>in</strong>g process, one can choose "Textured" as display mode.<br />
At some po<strong>in</strong>t of time, the <strong>in</strong>ner faces should also be smoothed: With the faces<br />
selected <strong>in</strong> Edit Mode, press the "Set Smooth" button <strong>in</strong> the Edit Panel.<br />
4 Example <strong>Muqarnas</strong><br />
As examples I composed two muqarnas: One small vault which has three <strong>in</strong>ter-<br />
pretations, <strong>and</strong> a vault <strong>in</strong> a niche of the Friday Mosque at Natanz. The important<br />
po<strong>in</strong>ts here have already been mentioned above: To simplify the arrangement of<br />
basic elements, I used the muqarnas plans as background images <strong>in</strong> the top view<br />
w<strong>in</strong>dow <strong>and</strong> added cells <strong>and</strong> <strong>in</strong>termediates level by level. Append<strong>in</strong>g works the<br />
same way as with materials (SHIFT + F1, see above), only choose the "Plane.x"<br />
file <strong>in</strong> the .blend file’s Object folder.<br />
For screenshots of the rendered muqarnas see appendix.<br />
5 <strong>Blender</strong> Evaluation<br />
As far as I can judge from the experience of this project, <strong>Blender</strong> is a mighty pro-<br />
gram for visualisation <strong>and</strong> design, allow<strong>in</strong>g for many adjustments of different<br />
8


