warning - This is a secure site - Whirlpool
warning - This is a secure site - Whirlpool
warning - This is a secure site - Whirlpool

You also want an ePaper? Increase the reach of your titles
YUMPU automatically turns print PDFs into web optimized ePapers that Google loves.
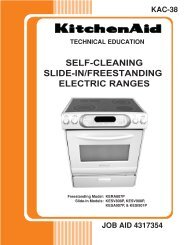
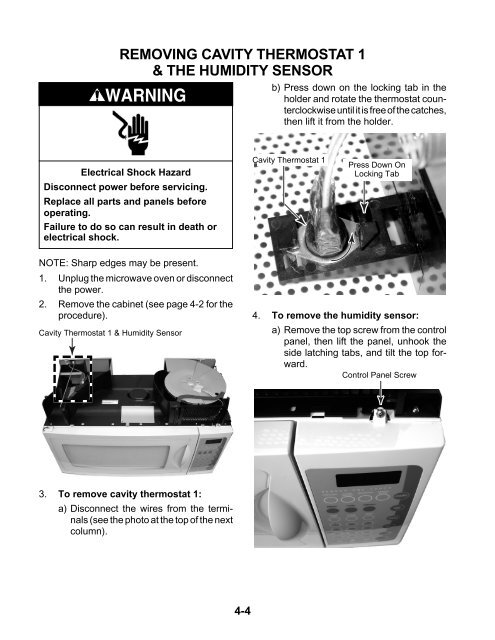
REMOVING CAVITY THERMOSTAT 1<br />
& THE HUMIDITY SENSOR<br />
WARNING<br />
Electrical Shock Hazard<br />
D<strong>is</strong>connect power before servicing.<br />
Replace all parts and panels before<br />
operating.<br />
Failure to do so can result in death or<br />
electrical shock.<br />
NOTE: Sharp edges may be present.<br />
1. Unplug the microwave oven or d<strong>is</strong>connect<br />
the power.<br />
2. Remove the cabinet (see page 4-2 for the<br />
procedure).<br />
Cavity Thermostat 1 & Humidity Sensor<br />
3. To remove cavity thermostat 1:<br />
a) D<strong>is</strong>connect the wires from the terminals<br />
(see the photo at the top of the next<br />
column).<br />
4-4<br />
b) Press down on the locking tab in the<br />
holder and rotate the thermostat counterclockw<strong>is</strong>e<br />
until it <strong>is</strong> free of the catches,<br />
then lift it from the holder.<br />
Cavity Thermostat 1<br />
Press Down On<br />
Locking Tab<br />
4. To remove the humidity sensor:<br />
a) Remove the top screw from the control<br />
panel, then lift the panel, unhook the<br />
side latching tabs, and tilt the top forward.<br />
Control Panel Screw