Hotsy 558-559_0111 - ETS Company Pressure Washers and More
Hotsy 558-559_0111 - ETS Company Pressure Washers and More
Hotsy 558-559_0111 - ETS Company Pressure Washers and More

You also want an ePaper? Increase the reach of your titles
YUMPU automatically turns print PDFs into web optimized ePapers that Google loves.
DANGER: Some gases are heavier than air <strong>and</strong> will<br />
spill out on the floor in the 2 to 3 minutes required for<br />
the safety pilot valve to close off gas supply. Therefore,<br />
always provide adequate space <strong>and</strong> ventilation<br />
around these units.<br />
To Start<br />
WARNING: Risk of injection or severe injury - Keep<br />
clear of nozzle - DO NOT direct discharge stream at<br />
persons - This machine is to be used only by qualified<br />
operators.<br />
AVERTISSEMENT: RISQUE D’INJECTION ET DE<br />
BLESSURES GRAVES. SE TENIR À L’ÉCART DU JET.<br />
NE PAS DIRIGER LE JET DE SORTIE VERS D’AUTRES<br />
PERSONNES. CONFIER L’UTILISATION DE CE<br />
MATÉRIEL À UN OPÉRATEUR QUALIFIÉ.<br />
WARNING: Wear eye, ear, h<strong>and</strong>, foot, <strong>and</strong> skin protection<br />
at all times while operating pressure washer.<br />
IMPORTANT: The water must be turned on before starting.<br />
Running the pump dry will cause damage <strong>and</strong><br />
void warranty.<br />
IMPORTANT: Do not allow the machine to run in<br />
bypass for more than 10 minutes at any one time or<br />
damage to pump may occur.<br />
1. Connect electrical cord <strong>and</strong> test GFCI device.<br />
2. Turn water on.<br />
NOTE: The pilot indicator light on the control box will<br />
ONLY indicate the presence of the pilot while the<br />
machine is in operation. This light will be off when<br />
the machine is not running.<br />
NOTE: The pilot may require repeated attempts to<br />
ignite following initial installation or replacement of<br />
the natural gas supply. The delay in ignition is due to<br />
trapped air in the gas supply/pilot line.<br />
3. Open gas supply valve.<br />
4. Turn the gas valve ON/OFF knob to pilot position.<br />
5. Fully depress gas ON/OFF knob <strong>and</strong> hold in. Immediately<br />
push the ignitor button down <strong>and</strong> repeat until<br />
the pilot ignites. If the pilot fails to ignite within 30<br />
seconds, release the gas control knob, depress<br />
slightly <strong>and</strong> turn to the OFF position. Wait 15 minutes<br />
<strong>and</strong> repeat steps 4 <strong>and</strong> 5.<br />
6. Once pilot has ignited, continue to depress the gas<br />
control knob for an additional 60 seconds before<br />
releasing.<br />
7. Turn gas control knob to the ON position.<br />
8. Hold w<strong>and</strong> firmly, release trigger of trigger gun <strong>and</strong><br />
turn pump switch ON. Squeeze trigger of trigger gun<br />
<strong>and</strong> allow air to purge from system.<br />
9. If HOT water is desired, adjust the thermostat to the<br />
proper temperature <strong>and</strong> turn burner switch ON.<br />
Squeeze trigger of trigger gun. The pilot will automatically<br />
light, quickly followed by the firing of the burner<br />
ring. When the trigger of the trigger gun is released<br />
or when the thermostat temperature setting is<br />
reached, the burner will automatically turn off.<br />
IMPORTANT: If ignition or flame failure is experienced,<br />
discontinue use of pressure washer at once. Turn off<br />
burner <strong>and</strong> shut off fuel supply. Have cause of failure<br />
corrected by an authorized service technician before<br />
use of pressure washer is continued.<br />
To Clean<br />
WARNING: Risk of injection or severe injury - Keep<br />
clear of nozzle - DO NOT direct discharge stream at<br />
persons - This machine is to be used only by qualified<br />
operators.<br />
AVERTISSEMENT: RISQUE D’INJECTION ET DE<br />
BLESSURES GRAVES. SE TENIR À L’ÉCART DU JET.<br />
NE PAS DIRIGER LE JET DE SORTIE VERS D’AUTRES<br />
PERSONNES. CONFIER L’UTILISATION DE CE<br />
MATÉRIEL À UN OPÉRATEUR QUALIFIÉ.<br />
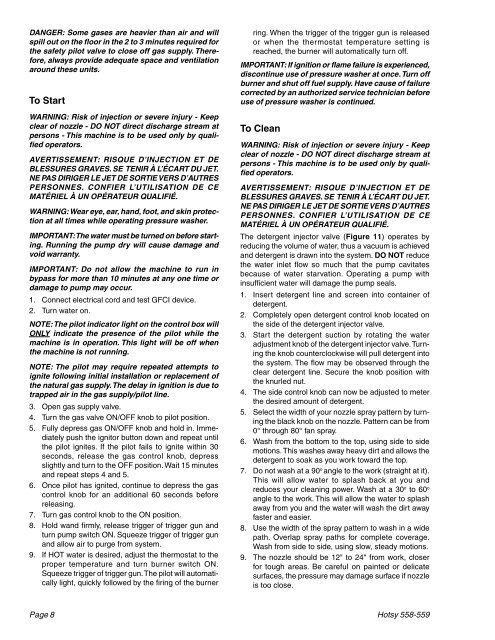
The detergent injector valve (Figure 11) operates by<br />
reducing the volume of water, thus a vacuum is achieved<br />
<strong>and</strong> detergent is drawn into the system. DO NOT reduce<br />
the water inlet flow so much that the pump cavitates<br />
because of water starvation. Operating a pump with<br />
insufficient water will damage the pump seals.<br />
1. Insert detergent line <strong>and</strong> screen into container of<br />
detergent.<br />
2. Completely open detergent control knob located on<br />
the side of the detergent injector valve.<br />
3. Start the detergent suction by rotating the water<br />
adjustment knob of the detergent injector valve. Turning<br />
the knob counterclockwise will pull detergent into<br />
the system. The flow may be observed through the<br />
clear detergent line. Secure the knob position with<br />
the knurled nut.<br />
4. The side control knob can now be adjusted to meter<br />
the desired amount of detergent.<br />
5. Select the width of your nozzle spray pattern by turning<br />
the black knob on the nozzle. Pattern can be from<br />
0° through 80° fan spray.<br />
6. Wash from the bottom to the top, using side to side<br />
motions. This washes away heavy dirt <strong>and</strong> allows the<br />
detergent to soak as you work toward the top.<br />
7. Do not wash at a 90o angle to the work (straight at it).<br />
This will allow water to splash back at you <strong>and</strong><br />
reduces your cleaning power. Wash at a 30o to 60o angle to the work. This will allow the water to splash<br />
away from you <strong>and</strong> the water will wash the dirt away<br />
faster <strong>and</strong> easier.<br />
8. Use the width of the spray pattern to wash in a wide<br />
path. Overlap spray paths for complete coverage.<br />
Wash from side to side, using slow, steady motions.<br />
9. The nozzle should be 12" to 24" from work, closer<br />
for tough areas. Be careful on painted or delicate<br />
surfaces, the pressure may damage surface if nozzle<br />
is too close.<br />
Page 8 <strong>Hotsy</strong> <strong>558</strong>-<strong>559</strong>