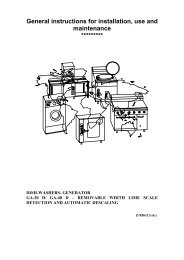
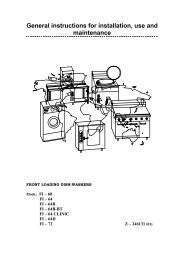
General instructions for installation, use and maintenance of ... - fagor
General instructions for installation, use and maintenance of ... - fagor
General instructions for installation, use and maintenance of ... - fagor

You also want an ePaper? Increase the reach of your titles
YUMPU automatically turns print PDFs into web optimized ePapers that Google loves.
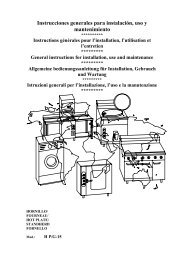
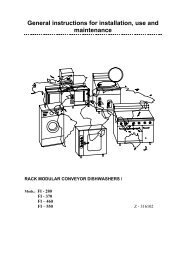
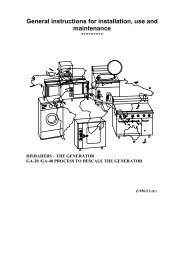
1.1 POSITIONING<br />
1.- INSTALLATION<br />
Positioning <strong>and</strong> electrical <strong>installation</strong> must be always carried out by an AUTHORISED TECHNICIAN,<br />
in compliance with the st<strong>and</strong>ards <strong>of</strong> each country.<br />
a) It is essential to install an extractor hood <strong>for</strong> correct functioning.<br />
b) Install the appliance in well-ventilated premises.<br />
c) Level <strong>and</strong> adjust the height <strong>of</strong> the appliance (Fig. 1).<br />
1.2 GAS CONNECTION<br />
It is essential to have a mains tap <strong>and</strong> a pressure regulator to carry out the gas connection properly,<br />
<strong>and</strong> it is also advisable to <strong>use</strong> a blocking key <strong>for</strong> each appliance.<br />
For LP, natural gas, or city gas, the appliance mains supply should be per<strong>for</strong>med as shown in (Fig. 3-<br />
Fig. 3 bis).<br />
The gas intake <strong>and</strong> its location on the appliance are shown by the letter "G".<br />
1.3. CONVERSION FOR DIFFERENT TYPES OF GAS.<br />
If the appliance is set up <strong>for</strong> a type <strong>of</strong> gas different to that available in your <strong>installation</strong>,<br />
proceed as follows:<br />
Stop gas permeation system into the appliance, if connected. (Any conversion work on the<br />
appliance's<br />
Should always be carried out by an AUTHORISED SERVICE ENGINEER).<br />
CONVERTING HOB AND OVEN BURNERS.<br />
a) Remove the door <strong>of</strong> the oven (The position <strong>of</strong> the injector is shown letter I, behind the door, left<br />
lower part.<br />
b) Replace the injectors "I" (Fig. 5), depending on the gas to be <strong>use</strong>d (table 5).<br />
c) Burner air adjustement.<br />
Place the Venturi "V" (Fig. 5) to the "H" setting, as shown table 5 <strong>and</strong> depending on the gas to be<br />
<strong>use</strong>d.<br />
CONVERTING THE PILOT LIGHTS<br />
a) Remove the plug "A" (Fig.2).<br />
b) For LPG. <strong>and</strong> NATURAL GAS replace the injector "B" tightening it fully. For TOWN GAS, turn in one<br />
direction or another until a stable flame is achieved (Fig. 2)<br />
c) Turn the air regulator "C" until the flame stabilizes (Fig. 2).