Thermo Top C - Giordano Benicchi
Thermo Top C - Giordano Benicchi
Thermo Top C - Giordano Benicchi
You also want an ePaper? Increase the reach of your titles
YUMPU automatically turns print PDFs into web optimized ePapers that Google loves.
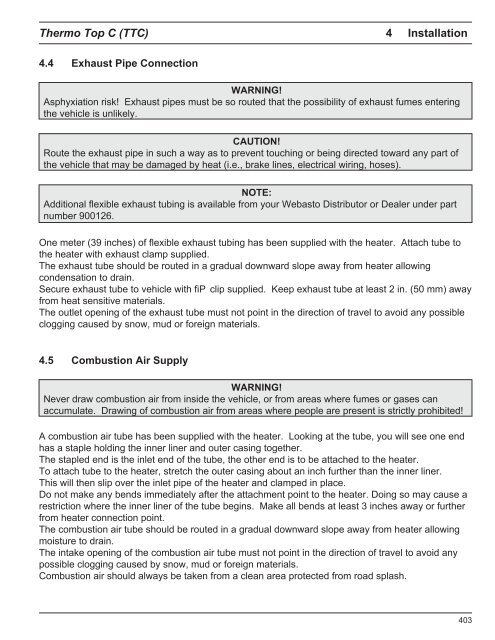
<strong>Thermo</strong> <strong>Top</strong> C (TTC) 4 Installation<br />
4.4 Exhaust Pipe Connection<br />
WARNING!<br />
Asphyxiation risk! Exhaust pipes must be so routed that the possibility of exhaust fumes entering<br />
the vehicle is unlikely.<br />
CAUTION!<br />
Route the exhaust pipe in such a way as to prevent touching or being directed toward any part of<br />
the vehicle that may be damaged by heat (i.e., brake lines, electrical wiring, hoses).<br />
NOTE:<br />
Additional flexible exhaust tubing is available from your Webasto Distributor or Dealer under part<br />
number 900126.<br />
One meter (39 inches) of flexible exhaust tubing has been supplied with the heater. Attach tube to<br />
the heater with exhaust clamp supplied.<br />
The exhaust tube should be routed in a gradual downward slope away from heater allowing<br />
condensation to drain.<br />
Secure exhaust tube to vehicle with fiP clip supplied. Keep exhaust tube at least 2 in. (50 mm) away<br />
from heat sensitive materials.<br />
The outlet opening of the exhaust tube must not point in the direction of travel to avoid any possible<br />
clogging caused by snow, mud or foreign materials.<br />
4.5 Combustion Air Supply<br />
WARNING!<br />
Never draw combustion air from inside the vehicle, or from areas where fumes or gases can<br />
accumulate. Drawing of combustion air from areas where people are present is strictly prohibited!<br />
A combustion air tube has been supplied with the heater. Looking at the tube, you will see one end<br />
has a staple holding the inner liner and outer casing together.<br />
The stapled end is the inlet end of the tube, the other end is to be attached to the heater.<br />
To attach tube to the heater, stretch the outer casing about an inch further than the inner liner.<br />
This will then slip over the inlet pipe of the heater and clamped in place.<br />
Do not make any bends immediately after the attachment point to the heater. Doing so may cause a<br />
restriction where the inner liner of the tube begins. Make all bends at least 3 inches away or further<br />
from heater connection point.<br />
The combustion air tube should be routed in a gradual downward slope away from heater allowing<br />
moisture to drain.<br />
The intake opening of the combustion air tube must not point in the direction of travel to avoid any<br />
possible clogging caused by snow, mud or foreign materials.<br />
Combustion air should always be taken from a clean area protected from road splash.<br />
403


