pre-lab preparation sheet for lab 4—batteries, bulbs, and current
pre-lab preparation sheet for lab 4—batteries, bulbs, and current
pre-lab preparation sheet for lab 4—batteries, bulbs, and current

You also want an ePaper? Increase the reach of your titles
YUMPU automatically turns print PDFs into web optimized ePapers that Google loves.
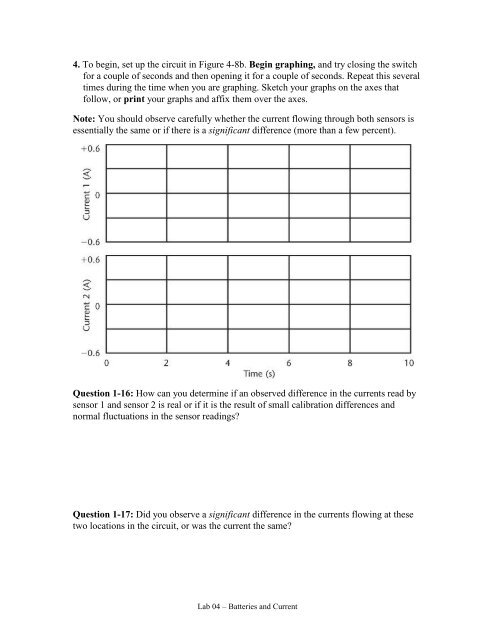
4. To begin, set up the circuit in Figure 4-8b. Begin graphing, <strong>and</strong> try closing the switch<br />
<strong>for</strong> a couple of seconds <strong>and</strong> then opening it <strong>for</strong> a couple of seconds. Repeat this several<br />
times during the time when you are graphing. Sketch your graphs on the axes that<br />
follow, or print your graphs <strong>and</strong> affix them over the axes.<br />
Note: You should observe carefully whether the <strong>current</strong> flowing through both sensors is<br />
essentially the same or if there is a significant difference (more than a few percent).<br />
Question 1-16: How can you determine if an observed difference in the <strong>current</strong>s read by<br />
sensor 1 <strong>and</strong> sensor 2 is real or if it is the result of small calibration differences <strong>and</strong><br />
normal fluctuations in the sensor readings?<br />
Question 1-17: Did you observe a significant difference in the <strong>current</strong>s flowing at these<br />
two locations in the circuit, or was the <strong>current</strong> the same?<br />
Lab 04 – Batteries <strong>and</strong> Current